Design Your Garden Before Spring Arrives: Why Winter Planning Wins

Every spring, the same thing happens. You walk outside after the snow melts, you look at your garden with fresh eyes, and you think: this year is going to be different. This year you’re going to reorganize that chaotic border, finally build the raised beds, add the pollinator garden, move that rose that’s been in the wrong spot for three years.
Then April arrives and you’re too busy planting to think. May is a scramble. By June you’re maintaining what’s there, not transforming anything. October comes and you’re pulling spent plants and thinking “next year.”
The cycle breaks when you do the design work now, in February, when you’re not yet in the urgency of the growing season and your thinking can be clear and deliberate.
Why Winter Is the Right Time to Design
No distractions from what’s actually there. Standing in a dormant, leafless garden, you can see the bones—the paths, the structures, the shapes of beds. Summer’s lush growth hides problems and makes it hard to see the underlying structure clearly.
Time to think things through. Designs made in winter can be reconsidered, adjusted, and refined over weeks. Designs made in spring while standing in a muddy garden with seed trays waiting are rushed and often regretted.
Lead time to order. If your winter plan calls for a specific rose variety, a particular stone for a path, or custom-cut lumber for raised beds, you have time to source it. Many popular bare-root trees and roses sell out by March.
Execution is ready when spring is. When the ground thaws and planting conditions arrive, you’re not figuring out what to do—you’re executing a plan. That’s a completely different experience.
Starting With What You Have
Before imagining what you want, honestly assess what exists.
Map the Space
Get out a tape measure and measure your beds, lawn areas, structures, and any other significant features. Sketch a rough scale map on graph paper—1 square per foot works for most garden areas.
Note:
- Property lines and where your responsibility ends
- Structures: house, garage, fences, walls, existing paths
- Large trees and their drip lines
- Existing beds and their approximate contents
- Downspouts and drainage patterns
- Views in and out (from inside the house; from neighbors; public views from the street)
Assess the Light
Walk through at different times of day and note where shade falls at midday, early morning, and late afternoon. Shade patterns change significantly through the season as trees leaf out—a spot that’s full sun in February may be part shade by July.
Mark on your map: full sun, part sun, part shade, full shade zones.
Identify What’s Working
Not everything needs to change. A mature tree that provides good structure, an established perennial bed that performs reliably, a path that people naturally use—these are assets to design around, not remove.
List what you’d keep if starting fresh versus what you’d change or remove.
Setting Clear Goals
Before putting anything on paper, write down what you actually want from this garden.
Be specific. “A nicer backyard” is not actionable. “A 200 square foot vegetable garden with raised beds on the east side of the yard, a seating area with furniture under the existing oak tree, and a perennial border along the back fence with four-season interest” is.
Questions to help:
- How do you want to use the space? Entertaining? Food production? Wildlife habitat? Cut flowers? Play?
- What’s the maintenance budget—both time and money? Be honest here.
- What do you want to see from the house? From the street?
- Any specific plants you know you want?
- What are the non-negotiables for the household (children’s play area, dog run, compost)?
If you are not sure what style suits you, our garden style quiz takes two minutes and narrows the field from overwhelming to specific.
Design Principles That Always Help
Work With the Bones First
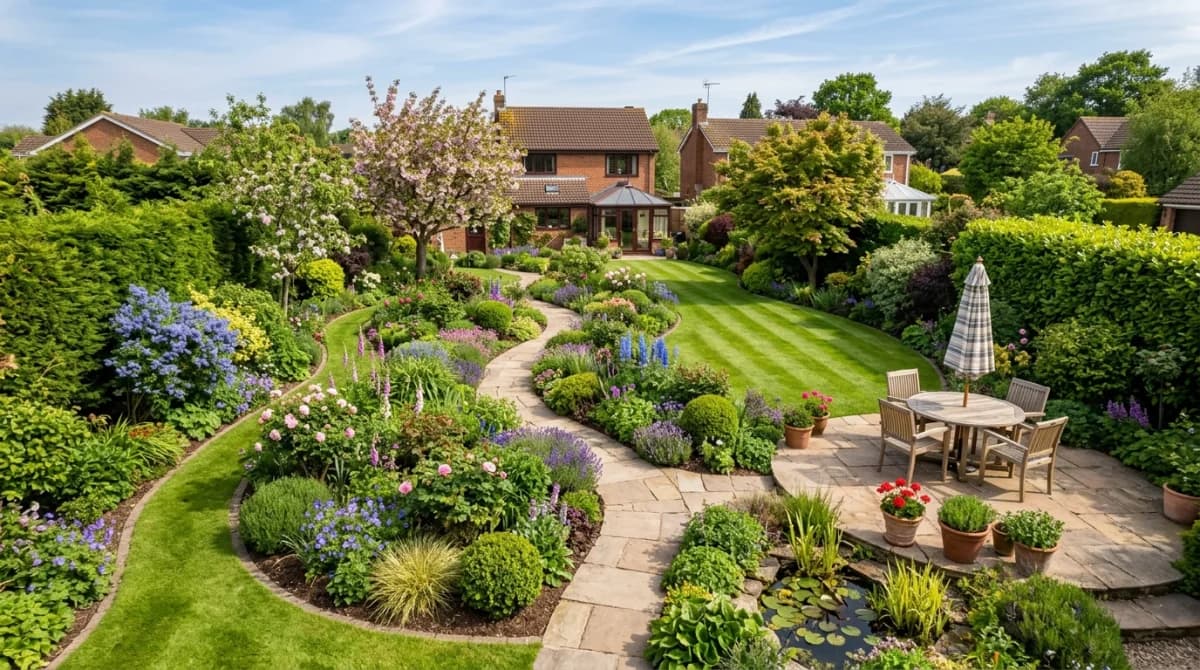
Beds, paths, structures, and focal points are the skeleton of the garden. Plants are the flesh. Getting the skeleton right—proportional paths, well-shaped beds, clear structure—matters more than any planting choice. An elegant simple structure with ordinary plants looks better than chaotic structure with beautiful plants.
Paths: At least 3 feet wide for comfortable single-file walking; 5-6 feet for two people side by side. Curves in paths should be gradual and have a reason (curving around an obstacle or toward a view), not arbitrary wiggles.
Bed edges: Clean, defined edges between bed and lawn or path make the whole garden look more intentional. Straight lines for formal gardens; smooth, flowing curves (not tight wiggles) for informal styles.
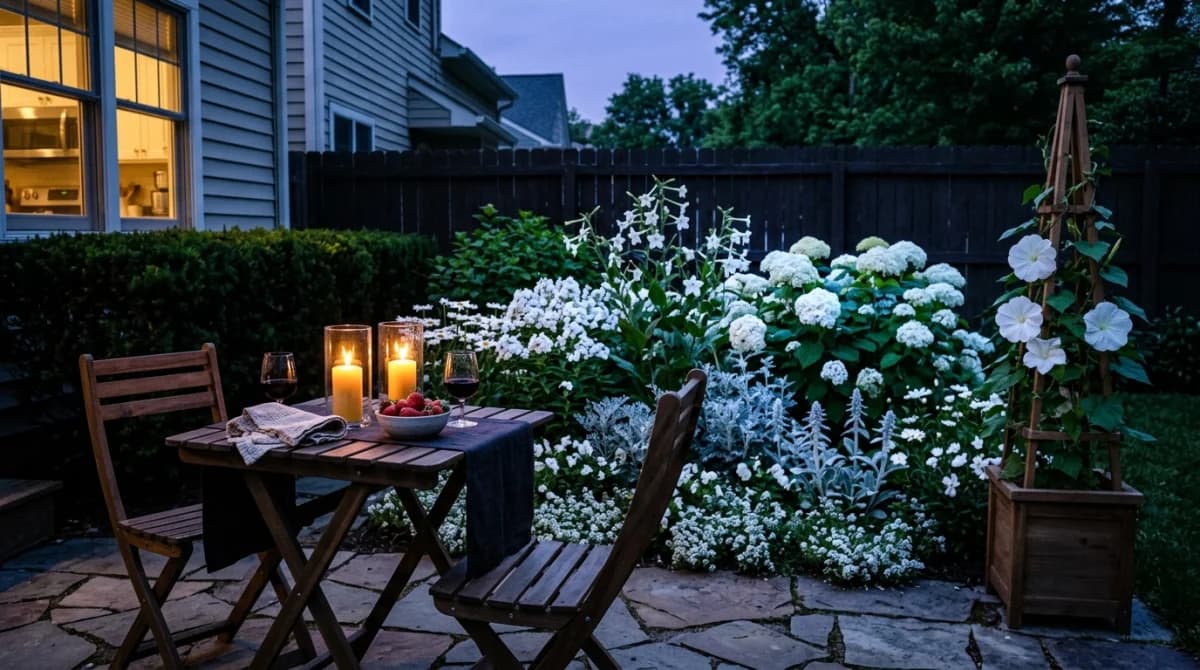
Focal points: Every bed or garden view benefits from something that draws the eye—a tree, a large shrub, an urn or piece of sculpture. Without a focal point, the eye wanders without settling.
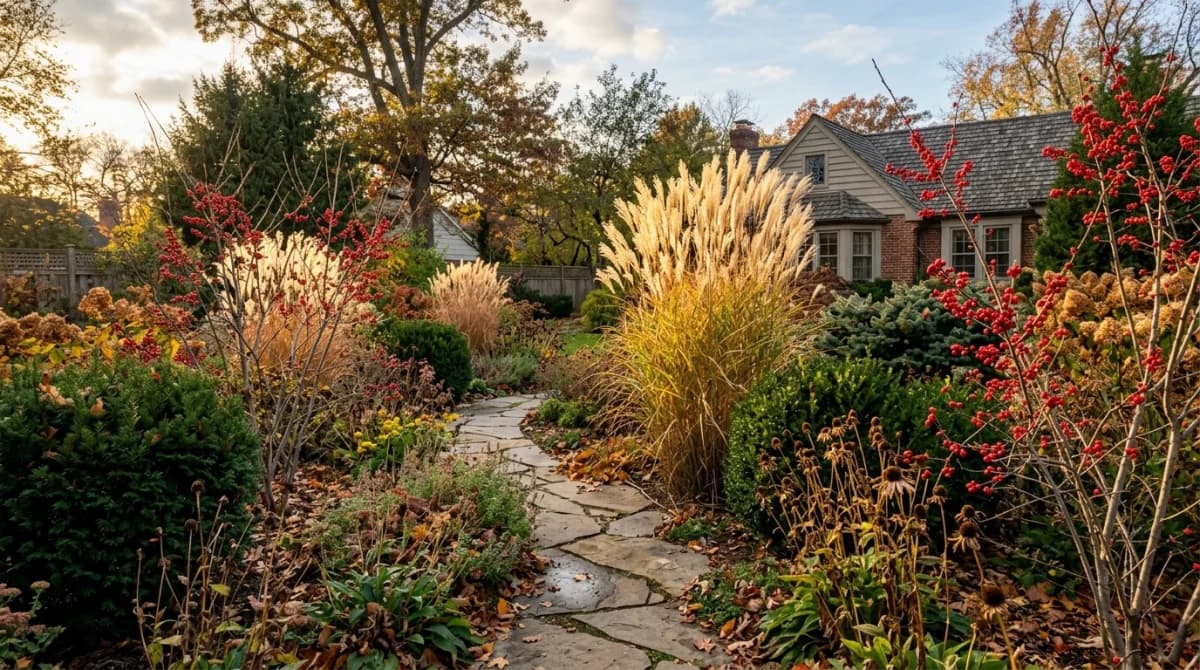
Design for Four Seasons
February is the perfect time to evaluate four-season interest because you’re looking at the garden in its weakest season. What provides structure and interest right now? What will provide interest in December and January?
Aim for:
- Year-round structural plants (evergreens, shapely deciduous shrubs, ornamental grasses that stand through winter)
- Spring flowering (early bulbs, spring-blooming shrubs)
- Summer color (perennials, annuals as needed)
- Fall interest (berries, fall foliage, late-season flowers)
Right Plant, Right Place
Every design decision should start with the site conditions—sun, soil, drainage, mature plant size—and select plants that match, not plants you love that you’ll force into unsuitable conditions.
A shade-lover in full sun fails. A moisture-lover in dry soil fails. A plant that reaches 8 feet placed 2 feet from a wall becomes a problem in five years.
Using Design Tools
Pencil and Paper
Still the most flexible and immediate tool. Graph paper, a ruler, and a pencil let you quickly sketch multiple options. Keep sketch versions rather than erasing—sometimes the first idea was better, or elements of different ideas combine into something better.
AI-Powered Garden Design
Gardenly lets you upload a photo of your existing space and visualize different garden styles and layouts applied to your actual yard. This is particularly valuable in winter—you can experiment with how different designs would transform the space before committing to any physical changes. Seeing realistic renderings of your yard with different planting approaches helps clarify what you actually want more quickly than sketching abstractions.
DXF Plan Viewer
If your landscape architect sent you a DXF file of your property or design plan, our free landscape plan viewer lets you visualize it instantly in your browser, explore individual layers, and calculate bed areas — no CAD software needed.
Google Maps Satellite View
Your property from above, usually with enough resolution to see bed shapes, trees, and structures. Useful for getting a bird’s-eye perspective when sketching your map.
From Design to Implementation Plan
Once you have a design you’re happy with, convert it to an implementation plan:
-
What can be done this spring? Some projects require contractors (large tree removal, major hardscaping, drainage work). Others you can tackle yourself. Be realistic about what’s achievable in one season.
-
What needs to be ordered now? Bare-root trees and shrubs, specialty seeds, structural materials, furniture—anything with lead time should be ordered in February or March.
-
What can wait? A great design can be implemented over multiple seasons. You don’t need to do everything at once, and phased implementation often produces better results than trying to do everything simultaneously.
-
What’s the priority order? Do backbone structures first (paths, major trees, structural shrubs) before planting smaller elements around them.
The gardens people brag about are planned, not improvised. Use the next few weeks to make yours.
Sources & Further Reading
- Planning and Designing Your Home Landscape — University of Wisconsin-Madison Extension Horticulture
- Principles of Garden Design — Penn State Extension
- Landscape Design and Plant Selection — University of Minnesota Extension