DIY Drip: Install a Bed-Winning System in a Morning

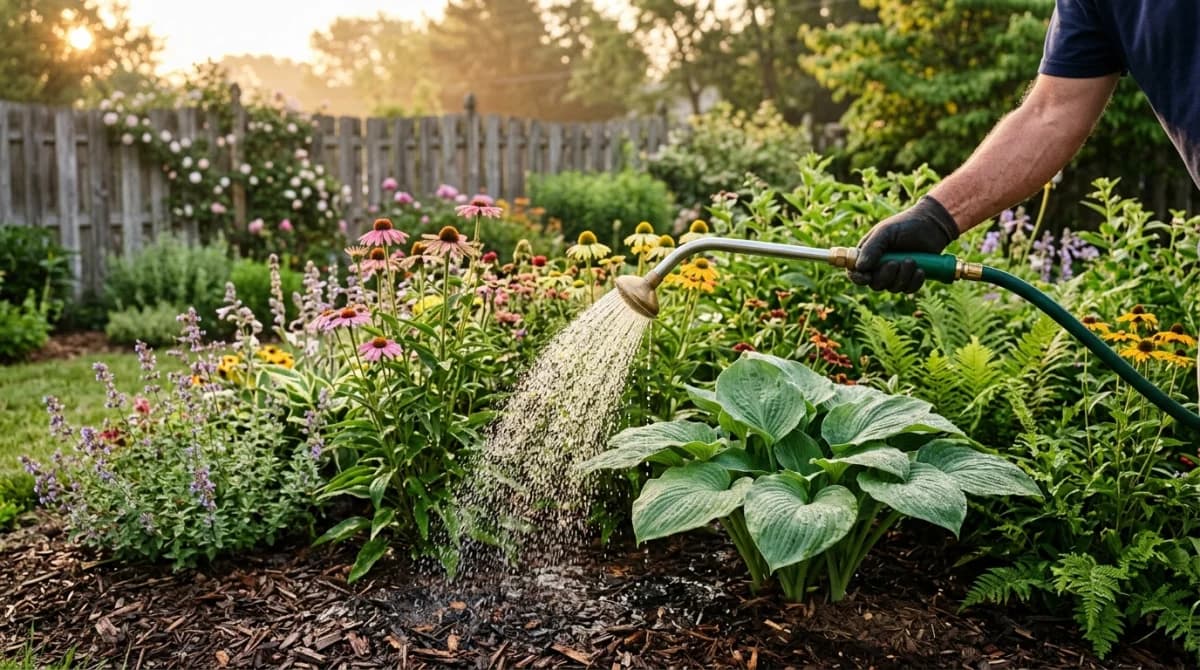
Every evening, gardeners across suburbia emerge with hoses, sprinklers, and watering cans for the daily ritual of irrigation. They stand guard over sprinklers, drag hoses from bed to bed, and watch precious water spray onto sidewalks, evaporate in the heat, and soak foliage instead of roots. Meanwhile, professional landscapers install drip systems that deliver water with surgical precision, reduce usage by 30-50%, and operate automatically for decades.
The gap between amateur and professional irrigation isn’t knowledge—it’s commitment to doing it right the first time. A properly installed drip system transforms your relationship with garden watering from daily chore to seasonal check-in. The plants get consistent, deep watering at root level. You get your evenings back.
Why Drip Beats Everything Else
Drip irrigation delivers water where plants need it:
Efficiency Advantages:
- 90%+ water reaches plant roots (vs 60% for sprinklers)
- No evaporation losses from aerial watering
- No runoff from overwatering surface
- Precise flow control for different plant needs
- Operates at low pressure (saves energy)
Garden Health Benefits:
- Keeps foliage dry (reduces disease pressure)
- Encourages deep root growth
- Maintains consistent soil moisture
- Reduces weed growth between plants
- Allows fertilizer injection directly to roots
Practical Advantages:
- Automated operation (timer-controlled)
- Works regardless of wind conditions
- Can operate during any weather
- Allows for zone-specific watering
- Easy expansion and modification
Professional Secret: Install drip systems in fall for spring success. Cooler weather makes installation comfortable, plants have winter to adapt to the new watering pattern, and you’ll be ready for next summer’s heat before it arrives.
Project Planning: Measure Twice, Install Once
Site Assessment
Before ordering supplies:
- Map your bed dimensions (length, width, irregular areas)
- Count plants and group by water needs
- Note elevation changes (affects pressure)
- Identify water source location (hose bib, existing irrigation)
- Check soil type (sandy drains fast, clay holds water)
- Document sun/shade patterns (affects watering needs)
Zone Planning
Group plants by water requirements:
High-Water Zone:
- Vegetables, annuals, new plantings
- Drippers: 2-4 GPH (gallons per hour)
- Spacing: 12-18 inches apart
Medium-Water Zone:
- Established perennials, shrubs
- Drippers: 1-2 GPH
- Spacing: 18-24 inches apart
Low-Water Zone:
- Drought-tolerant plants, natives after establishment
- Drippers: 0.5-1 GPH
- Spacing: 24-36 inches apart
Flow Rate Calculations
Determine your system capacity:
- Measure water pressure at source (use pressure gauge)
- Test flow rate (time how long to fill 5-gallon bucket)
- Calculate maximum GPH your system can handle
- Plan total drippers (don’t exceed 75% of max capacity)
Example Calculation:
- Water pressure: 30 PSI
- Flow rate: 5 gallons in 2 minutes = 150 GPH max
- System capacity: 150 × 0.75 = 112 GPH available
- With 2 GPH drippers: 56 emitters maximum
Shopping List: Quality Components Matter
Essential Components
Mainline Components:
- Pressure regulator (25 PSI for most drip systems)
- Filter (150-200 mesh to prevent clogging)
- Backflow preventer (required by most codes)
- Timer (digital with multiple programs recommended)
- 1/2” poly mainline tubing (calculate linear feet needed)
Distribution Components:
- 1/4” distribution tubing (for individual plant lines)
- Pressure-compensating drippers (maintain consistent flow)
- Tubing stakes (secure lines to soil)
- End caps (seal tubing ends)
- Tees and elbows (for branch connections)
Installation Tools:
- Hole punch tool (for clean 1/4” holes)
- Tubing cutter (clean cuts prevent leaks)
- Multi-tool with hole punch and cutter
- Measuring tape
- Permanent marker (label zones)
- Garden spade (for burying lines)
Quality Grades
Professional vs. Consumer Grade:
Go Professional For:
- Pressure regulator (cheap ones fail)
- Filter (needs easy cleaning access)
- Timer (outdoor rated, multiple programs)
- Drippers (pressure-compensating type)
Consumer Grade OK For:
- Mainline tubing (but buy thick-wall type)
- Stakes and small fittings
- Basic tools
Avoid Completely:
- All-in-one kits (poor component quality)
- Non-pressure-compensating drippers
- Thin-wall tubing (kinks and fails)
- Timers without manual override
Step-by-Step Installation Guide
Phase 1: Source Connection (30 minutes)
Step 1: Install Backflow Preventer
- Attach directly to hose bib
- Use pipe thread sealant on connections
- Test for leaks before proceeding
- Required by code in most areas
Step 2: Connect System Components
- Backflow preventer → Timer → Filter → Pressure regulator
- Hand-tighten all connections initially
- Use pipe thread sealant on metal connections
- Test system pressure at regulator outlet
Step 3: Verify Component Function
- Turn on water supply gradually
- Check for leaks at all connections
- Verify pressure regulator output (should read 25 PSI)
- Test timer operation through full cycle
Phase 2: Mainline Installation (45 minutes)
Step 1: Lay Out Mainline Route
- Start from pressure regulator
- Route along bed edges when possible
- Avoid sharp bends (use gentle curves)
- Plan for future expansion points
Step 2: Cut and Connect Mainline
- Measure twice, cut once with tubing cutter
- Make straight, clean cuts
- Connect to pressure regulator outlet
- Install end cap at terminal end
Step 3: Pressure Test Mainline
- Fill system slowly to avoid air pockets
- Check all connections for leaks
- Let system pressurize for 10 minutes
- Mark any problem spots for repair
Pro Installation Tip: Install mainlines slightly below soil surface (2-3 inches deep) to prevent damage from cultivation and freezing. Use a narrow spade to cut a clean slit, lay tubing, and close soil over it.
Phase 3: Dripper Installation (90 minutes)
Step 1: Mark Dripper Locations
- Use stakes or flags to mark each plant location
- Measure distances to ensure proper spacing
- Double-check against plant water requirements
- Consider future plant growth
Step 2: Install Distribution Lines
- Use hole punch tool for clean 1/4” holes in mainline
- Cut 1/4” tubing to reach each plant
- Keep distribution lines under 3 feet when possible
- Install barbed connectors firmly
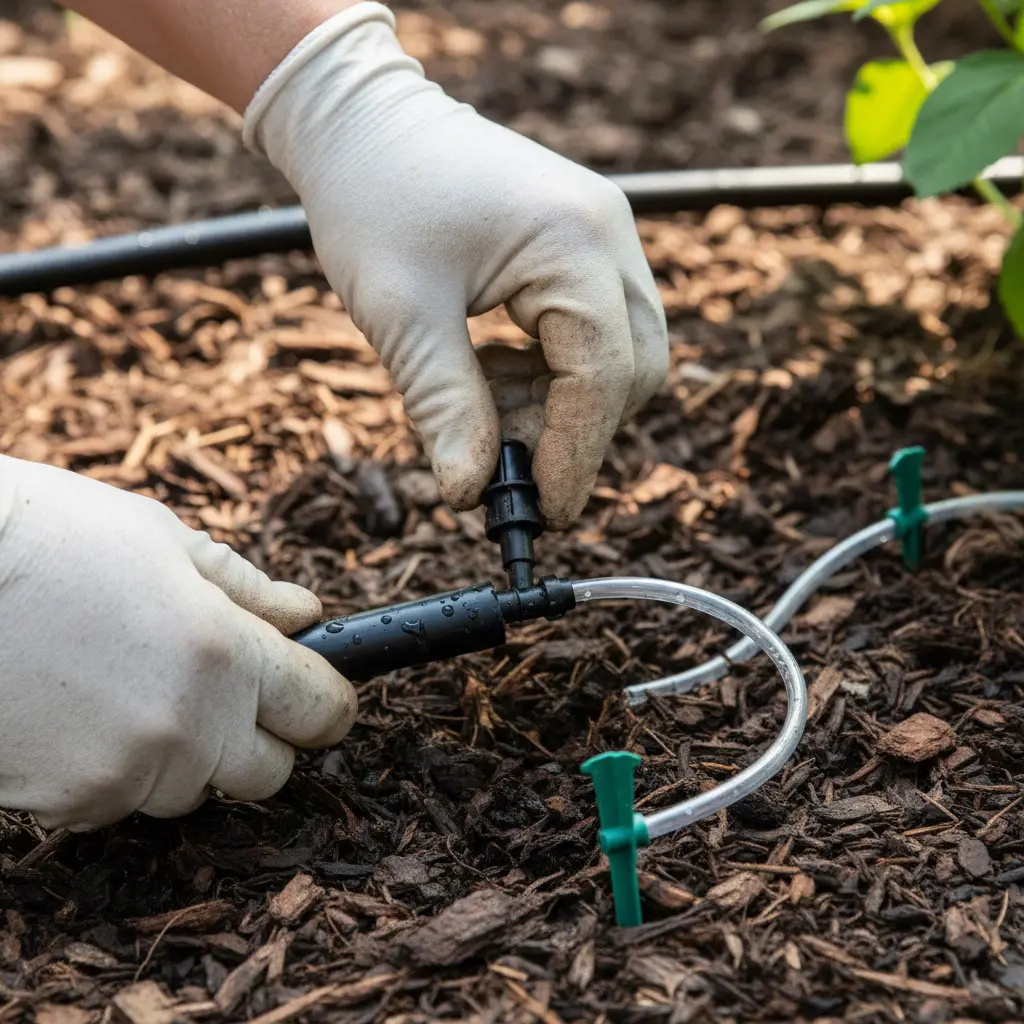
Step 3: Attach Drippers
- Install pressure-compensating drippers at each plant
- Push firmly onto 1/4” tubing until secure
- Position drippers at plant base, not against stem
- Stake down tubing to prevent movement
Step 4: Secure System
- Install tubing stakes every 2-3 feet
- Ensure stakes hold tubing firmly but don’t crimp flow
- Bury mainline if desired (optional but recommended)
- Install end caps on all open tubing ends
Phase 4: System Testing (30 minutes)
Step 1: Initial System Test
- Turn on water supply fully
- Run system for 5 minutes
- Check every dripper for proper flow
- Look for leaks throughout system
Step 2: Flow Rate Verification
- Place containers under multiple drippers
- Run system for exactly 15 minutes
- Measure water collected (should match dripper rating ÷ 4)
- Adjust or replace drippers as needed
Step 3: Coverage Assessment
- Check that water reaches root zones of all plants
- Look for dry spots between drippers
- Add additional drippers if needed
- Verify no water pooling or runoff
Fine-Tuning Your System
Timer Programming
Basic Programming Strategy:
- Early morning watering (4-6 AM reduces evaporation)
- Multiple short cycles better than one long cycle
- Seasonal adjustments (more in summer, less in winter)
- Separate programs for different zones if possible
Sample Schedule:
- Spring: 20 minutes, 3 times per week
- Summer: 30 minutes, daily or every other day
- Fall: 15 minutes, 2 times per week
- Winter: 10 minutes, weekly (if needed)
Not sure how often your specific plants need water? Our free watering schedule calculator gives you personalized timing based on plant type, pot size, and climate.
Pressure Optimization
Signs of Pressure Problems:
Too High Pressure:
- Drippers spray instead of drip
- Frequent fitting failures
- Uneven water distribution
- Shortened component life
Too Low Pressure:
- Some drippers don’t function
- Uneven flow rates
- Poor water distribution
- System takes too long to pressurize
Solutions:
- Adjust pressure regulator
- Check for clogged filters
- Verify adequate supply pressure
- Reduce number of drippers if necessary
Seasonal Adjustments
Spring Startup:
- Check all connections for winter damage
- Clean or replace filter
- Test timer battery/function
- Gradually increase watering duration
Summer Maintenance:
- Monitor soil moisture regularly
- Adjust timer for heat waves
- Check for clogged drippers monthly
- Add mulch around drippers to reduce evaporation
Fall Preparation:
- Reduce watering frequency
- Check system before winter
- Plan any expansions or modifications
- Document what worked well
Winter Care (Cold Climates):
- Drain system completely to prevent freeze damage
- Remove and store timer indoors
- Cap all open connections
- Mark system components for spring reactivation
Advantages
- Reduces water usage by 30-50% compared to sprinklers
- Delivers water directly to plant root zones
- Operates automatically with timer control
- Works in any weather conditions
- Keeps plant foliage dry (reduces disease)
- Easy to expand and modify
- Low maintenance once properly installed
- Pays for itself through water savings
Drawbacks
- Higher upfront cost than sprinklers
- Requires careful planning and installation
- Can clog if water quality is poor
- Needs protection from freeze damage
- May require seasonal pressure adjustments
- Initial learning curve for system management
- Professional installation recommended for large areas
- Components can fail and need replacement
Troubleshooting Common Issues
Poor Water Distribution
Symptoms:
- Some plants getting too much water
- Others showing drought stress
- Uneven soil moisture
Solutions:
- Check for clogged drippers
- Verify pressure regulator function
- Ensure proper dripper sizing for each plant
- Add drippers in dry areas
System Won’t Pressurize
Symptoms:
- Water doesn’t reach end of system
- Weak flow from drippers
- Long delay before water appears
Causes & Fixes:
- Kinked tubing: Straighten or replace damaged sections
- Loose connections: Tighten all fittings
- Clogged filter: Clean or replace filter element
- Insufficient supply pressure: Check main water pressure
Frequent Clogging
Prevention Strategies:
- Install high-quality filter at system head
- Use pressure-compensating, self-cleaning drippers
- Flush system monthly in high-mineral water areas
- Consider water treatment if extremely hard water
Timer Malfunctions
Common Problems:
- Program resets unexpectedly
- Won’t turn on/off at scheduled times
- Display shows error codes
Solutions:
- Replace battery in battery-powered units
- Check electrical connections in wired units
- Protect timer from direct sun and moisture
- Upgrade to professional-grade timer
Advanced Techniques
Multi-Zone Systems
When to Use Multiple Zones:
- Different plant water requirements
- Varying sun/shade conditions
- Large garden areas
- Steep slopes with different drainage
Implementation:
- Install separate timer channels
- Use zone valves for large systems
- Color-code different zones
- Document zone boundaries clearly
Micro-Sprinklers for Ground Cover
Best Applications:
- Large areas of ground cover
- Newly seeded areas
- Dense plantings where individual drippers aren’t practical
- Areas needing quick establishment
Fertilizer Injection
Venturi Fertilizer Injectors:
- Install between filter and pressure regulator
- Use water-soluble fertilizers only
- Inject monthly during growing season
- Flush system after each application
System Expansion and Upgrades
Adding New Zones
Planning Considerations:
- Available water pressure and flow
- Timer channel capacity
- Mainline routing to new areas
- Integration with existing zones
Installation Process:
- Tap into existing mainline with tee fitting
- Install separate pressure regulator if needed
- Use consistent component types
- Test new zone independently
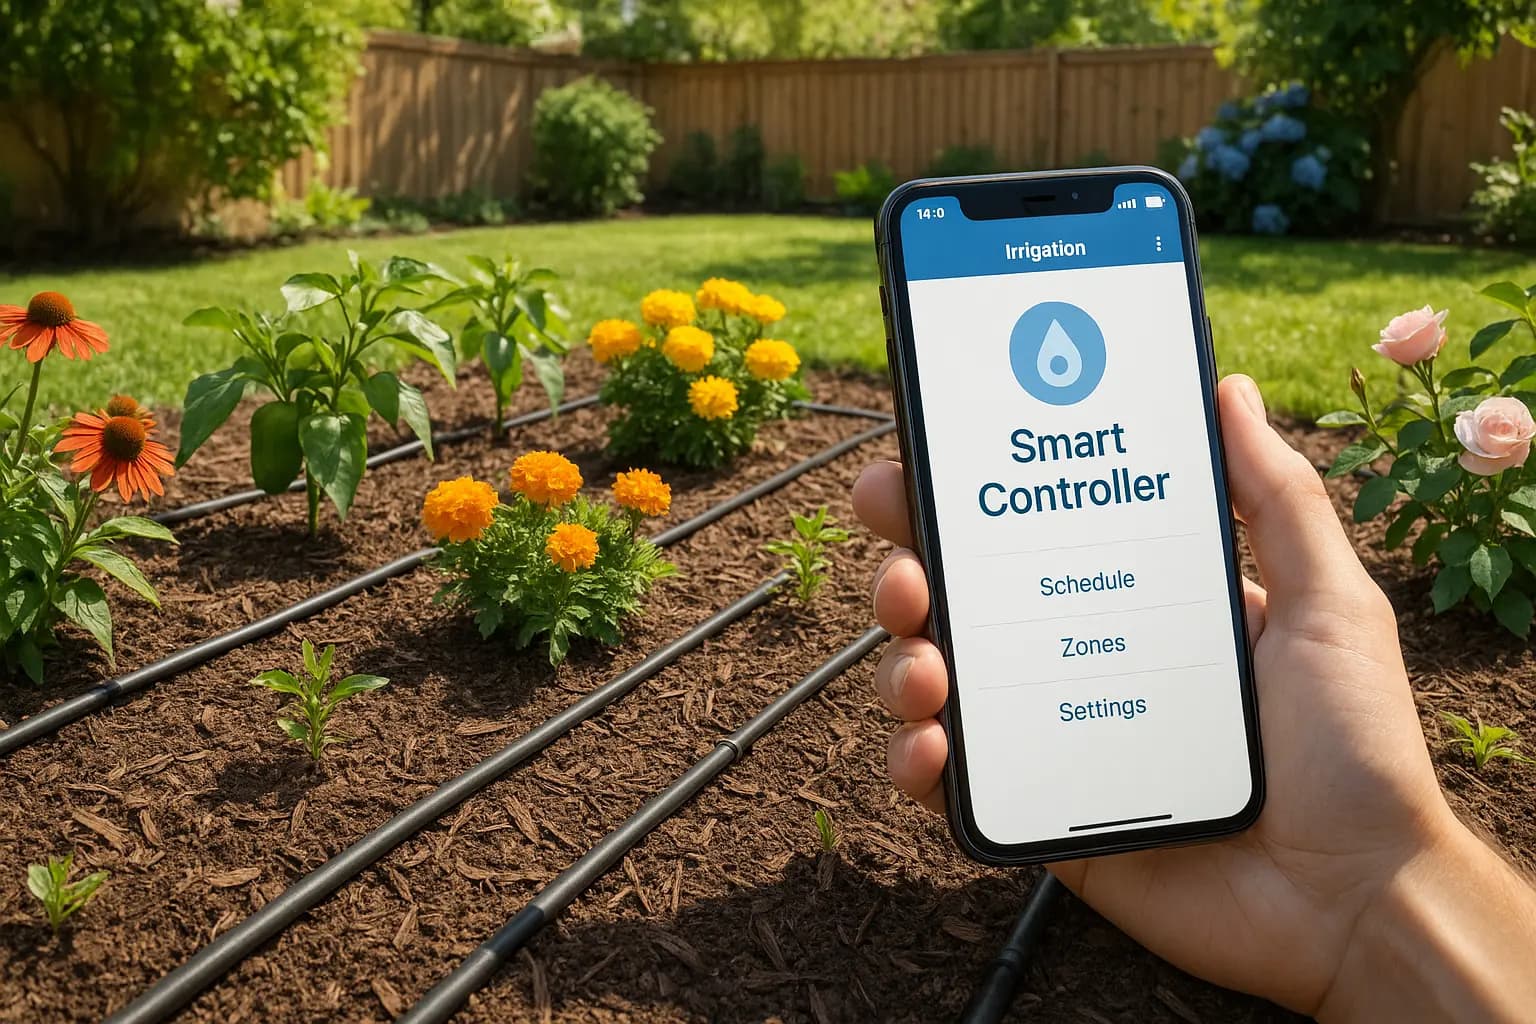
Smart Controller Integration
WiFi-Enabled Timers:
- Weather-based adjustment
- Remote monitoring and control
- Water usage tracking
- Smartphone notifications
Soil Moisture Sensors:
- Automatic watering based on actual soil conditions
- Prevents overwatering in rainy periods
- Optimizes watering efficiency
- Extends system life by reducing unnecessary cycles
Return on Investment
Cost Analysis
Initial Investment (400 sq ft bed):
- Components: $150-250
- Tools (if purchasing): $50-75
- Installation time: 4-6 hours
- Total: $200-325
Annual Savings:
- Water bill reduction: $100-200
- Time saved: 50+ hours
- Plant replacement reduction: $50-100
- Total Annual Value: $150-300
Break-even: 12-24 months
Long-term Benefits
10-Year Value:
- Water savings: $1,000-2,000
- Time savings: 500+ hours
- Improved plant health and reduced replacements
- Increased property value from professional irrigation
- Total 10-Year Value: $3,000-5,000+
Professional Installation vs DIY
When to DIY
- Single bed or small area (under 1,000 sq ft)
- Simple rectangular layout
- Good water pressure available
- You enjoy weekend projects
When to Hire Professionals
- Multiple zones required
- Complex layouts or slopes
- Poor water pressure or flow
- Integration with existing irrigation
- Large areas (over 2,000 sq ft)
Maintenance Schedule
Monthly (During Growing Season)
- Check timer operation
- Inspect for damaged tubing
- Clean or replace filter
- Test random drippers for proper flow
Seasonal
- Spring: Full system startup and inspection
- Summer: Adjust timing for heat, check soil moisture
- Fall: Reduce frequency, plan improvements
- Winter: Drain system (cold climates), plan expansions
Annual
- Replace filter element
- Check pressure regulator calibration
- Inspect all connections
- Document system performance
- Plan upgrades or modifications
Your Morning Installation Success
A well-installed drip system transforms both your garden and your relationship with it. Plants receive consistent, optimal watering that promotes deep root growth and resilient health. You gain freedom from daily watering chores and confidence that your garden thrives even when you’re away.
The key to success lies in thorough planning, quality components, and patient installation. Rush the process, and you’ll spend the season troubleshooting problems. Invest the morning properly, and you’ll enjoy automated, efficient irrigation for the next decade.
Your neighbors will continue their evening watering ritual, dragging hoses and moving sprinklers. You’ll be inside, knowing your garden is receiving precisely the water it needs, delivered exactly where it does the most good.
Ready to design a custom drip irrigation system for your specific garden layout? Try Gardenly’s irrigation planner to calculate components, generate shopping lists, and create installation diagrams based on your exact beds and plant types. Transform your watering routine from daily chore to seasonal check-in.
Sources & Further Reading
- Microirrigation — U.S. Environmental Protection Agency, WaterSense
- Drip Irrigation for Home Gardens — UC Master Gardeners of San Luis Obispo County
- Drip Irrigation — UC Master Gardener Program of Sonoma County