Garden Management Systems: Building a Garden Dashboard
Quick Answer
A garden dashboard is one place that answers four questions: what is planted where, what needs doing this week, what conditions are the plants actually in, and what happened last year. Most people build it from a plant and bed record, a task calendar, and optionally a sensor feed for soil moisture and temperature.
You do not need sensors to start. A garden management system built from records alone is more useful than a wall of live gauges nobody reads, because the questions that change your decisions are seasonal, not minute-by-minute.
What a Garden Dashboard Should Answer
Build backwards from the questions. Anything that does not answer one of these is decoration.
| Question | What it needs | How often you look |
|---|---|---|
| What is planted where? | Bed map, plant list with varieties and dates | Weekly in season |
| What needs doing now? | Task list with due dates, tied to your climate | Weekly |
| Is anything stressed? | Soil moisture, recent rainfall, visual check | Daily in summer |
| What happened last year? | Sowing, harvest and failure log | Twice a year, when planning |
| What did that cost? | Spend log by bed or crop | Annually |
The fourth row is the one people skip and later wish they had. Memory of a growing season decays fast, and the note that says “tomatoes here got blight, three years before nightshades again” is worth more than any live sensor reading.
Layer 1: The Records (Start Here)
A Spreadsheet
Genuinely fine, and better than most apps for the first year. One row per planting: bed, crop, variety, source, sow date, transplant date, first harvest, last harvest, notes. Add a second sheet for tasks.
The advantage is that it bends to how you actually garden rather than how an app’s designer assumed you do.
Dedicated Garden Planning Software
Worth it once you are rotating crops across multiple beds and the spreadsheet starts fighting you.
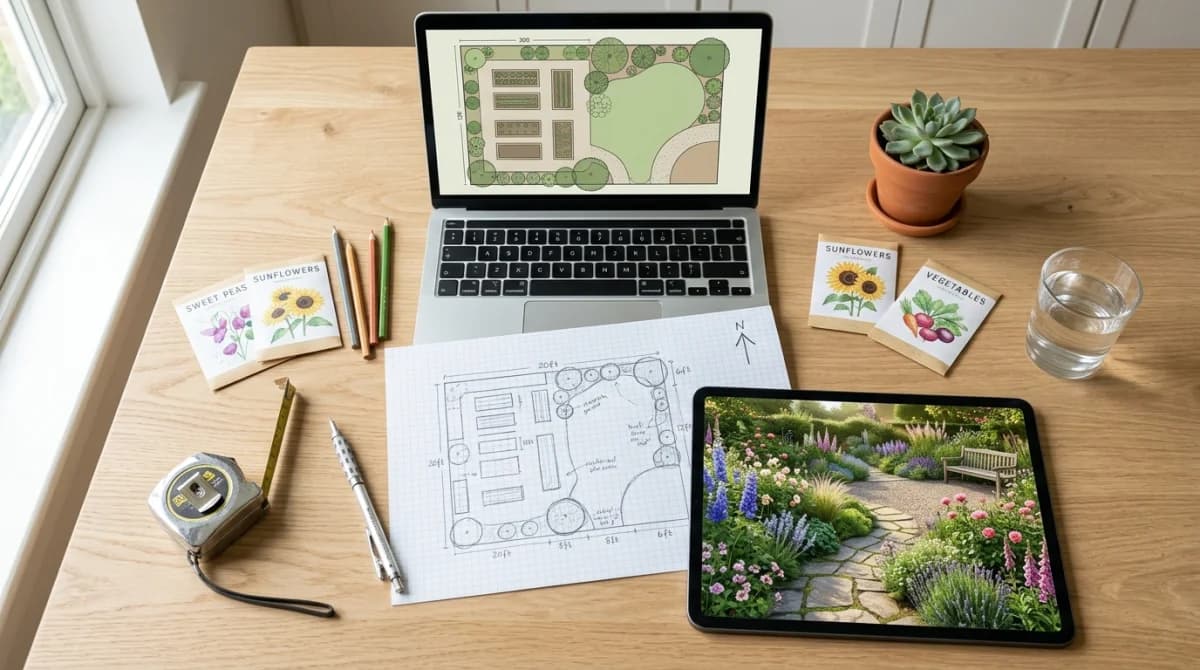
Bed-layout planners such as GrowVeg’s Garden Planner and Seedtime let you draw beds to scale, place crops with correct spacing, and generate a sowing and planting calendar from your frost dates. The spacing calculation alone saves a season of overcrowding.
Plant collection and care trackers such as Planta, Gardenize and Gardenly hold the plants you own, with photos, identification and care schedules attached. Useful when the problem is “what is this and what does it need” rather than “how many carrots fit in this bed”.
General-purpose tools. Notion, Airtable or Obsidian all work well, and several serious gardeners run everything from one Airtable base. You give up crop-spacing intelligence and gain total flexibility.
What to Log
Keep it short enough that you actually do it.
- Sow and plant dates, with variety names. Variety matters more than most beginners expect.
- First and last harvest dates. This is what turns into next year’s succession plan.
- Failures, with a guess at the cause. More valuable than successes.
- Rainfall, if you do not have a weather station. A $10 rain gauge and a weekly note beats a soil sensor for deciding whether to water.
- What you bought and what it cost.
- Photographs, monthly, from the same spot. The cheapest and most revealing record in gardening.
A log you keep beats a system you abandon. The most common failure is building an elaborate dashboard in January and stopping in May. Start with a notes app and photos from a fixed spot, then upgrade only when a specific limitation annoys you.
Layer 2: The Sensors
Add these once records are habitual, not before.
Soil Moisture
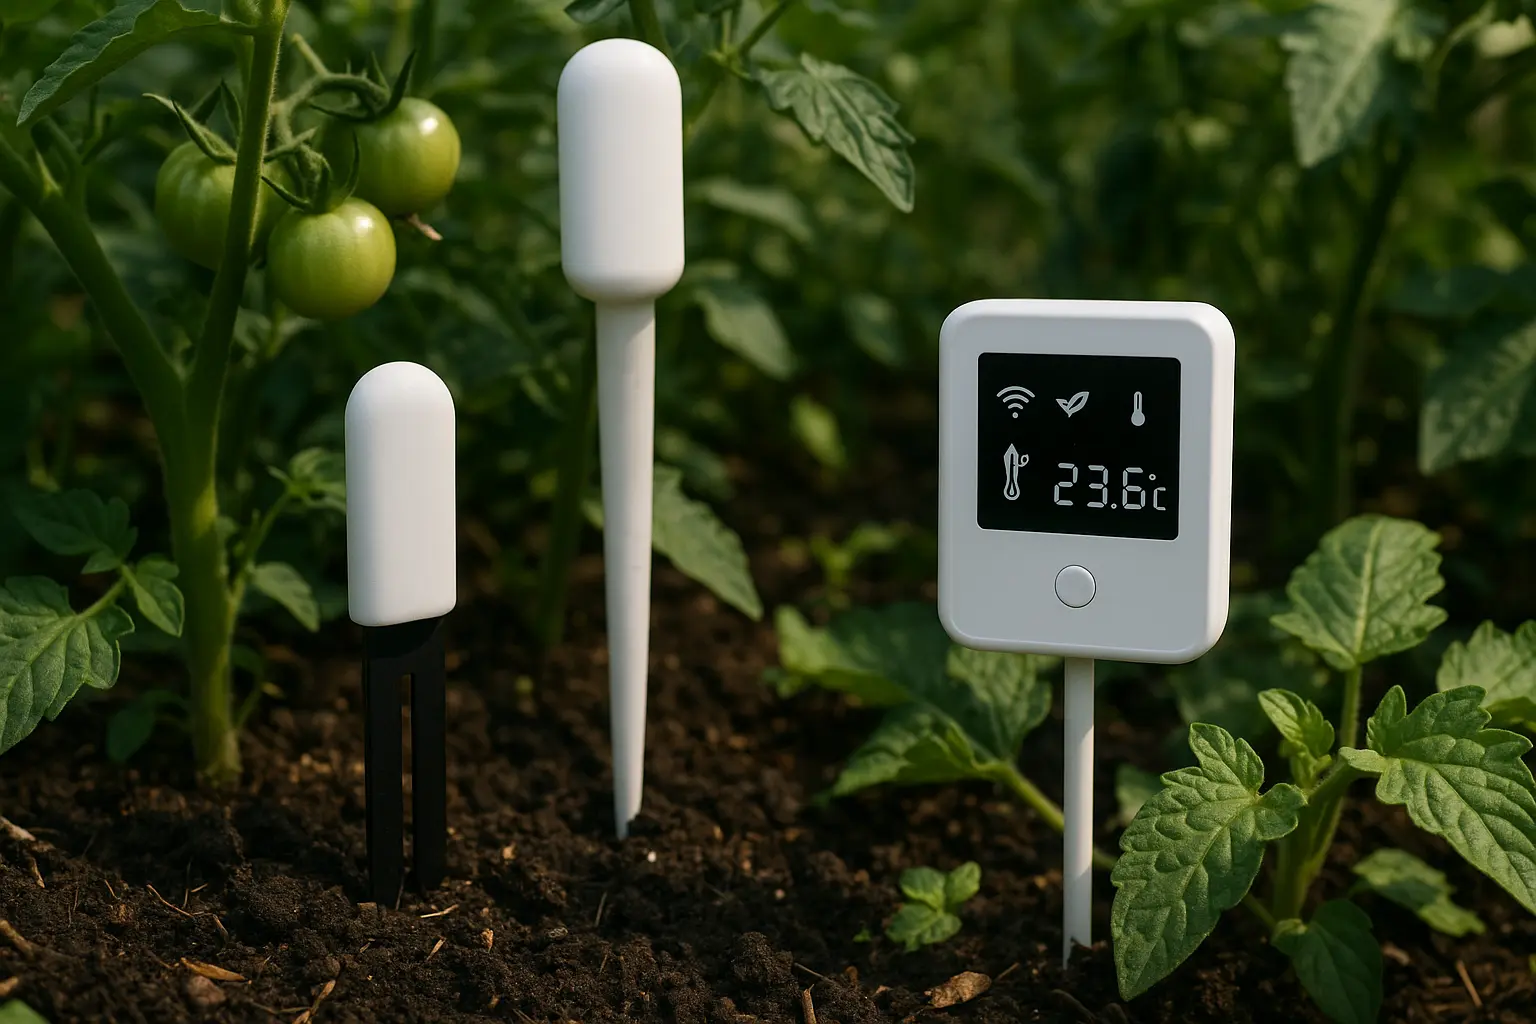
The only sensor that changes daily decisions. Buy capacitive, never the cheap two-prong resistive probes, which corrode within a season and drift long before they fail.
Placement decides whether it is useful. Bury the probe at root depth, 15–20cm for vegetables and 30cm or more for shrubs, in the driest representative spot of the zone. A probe in the top 5cm reports the mulch drying out and tells you nothing about the roots. University of Minnesota Extension’s soil moisture sensor guidance and UC’s soil moisture sensor resource both cover placement and interpretation.
Air Temperature and Humidity
Cheap, and useful for two things: frost warnings and understanding your microclimates. A few wireless sensors placed around the garden will show you differences of several degrees between spots, which is exactly the data behind garden microclimates.
Rainfall
A tipping-bucket gauge integrated into your dashboard removes the biggest guess in watering decisions. A $10 manual gauge and a habit does the same job.
Light
Interesting once, then rarely. Worth borrowing a meter for a season to map sun hours, not worth permanent installation.
Soil pH and Nutrients
Continuous electronic soil nutrient sensors are not reliable enough at consumer prices to base decisions on. Send a sample to your extension service or a soil lab every two or three years instead. That result is accurate, actionable and cheaper than the sensor.
Layer 3: Bringing It Together
This is where most setups fall apart, because each device ships with its own app.
The Easy Route: One Ecosystem
Buy sensors and controllers from a single manufacturer and use their app. You get a working dashboard immediately, and you accept whatever they choose to show you. Fine for most people.
The Flexible Route: Home Assistant
Open-source home automation that runs on a Raspberry Pi or a small always-on machine. It ingests sensors across brands, keeps history locally, and lets you build exactly the dashboard you want, with automations such as “notify me if bed 3 drops below threshold and no rain is forecast in 48 hours”.
The costs are real: a weekend to set up, and ongoing maintenance. The payoff is that it keeps working when a vendor discontinues a cloud service, which is the failure mode that kills commercial setups.
For serious history and graphing, people usually pair it with InfluxDB and Grafana. That is a hobby in itself, and worth being honest about.
The Rule That Matters
Prefer local control over cloud-only. A cloud-only sensor or controller stops working when the provider has an outage or shuts the product down. Anything that keeps your irrigation running matters more than anything that draws a pretty graph.
What This Costs
| Setup | Components | Cost |
|---|---|---|
| Records only | Spreadsheet, rain gauge, phone camera | $10 |
| Records plus planner | Garden planning software subscription | $30–$60/yr |
| Basic sensing | 2 capacitive soil probes, temperature sensor, hub | $120–$300 |
| Integrated | Above plus weather-aware irrigation controller | $350–$900 |
| DIY platform | Above plus Raspberry Pi running Home Assistant | Add $80–$150 |
For the irrigation hardware itself, see automated garden systems, which covers controllers, valves and what each build actually costs.
A Sensible Build Order
- Photograph the same spots monthly and keep a notes file. Free, and immediately useful.
- Add a planting log with varieties and dates. One row per planting.
- Add a rain gauge and note weekly totals.
- Add a bed-layout planner once rotation gets complicated.
- Add two capacitive soil probes in the beds you most often get wrong.
- Add a weather-aware irrigation controller and let the probes overrule its schedule.
- Consolidate onto Home Assistant only if the separate apps genuinely annoy you.
Most gardeners get almost all the benefit by step 3 and stop there without losing much.
Frequently Asked Questions
The Bottom Line
Records first, sensors second, integration last. A planting log, a rain gauge and monthly photographs from the same spot beat any amount of hardware in the first year.
When you do add sensors, buy capacitive soil probes, bury them at root depth, and keep control local. For the irrigation side, see automated garden systems; for reading the conditions those sensors are measuring, see garden microclimates.
Sources & Further Reading
- Soil Moisture Sensors for Irrigation Scheduling — University of Minnesota Extension
- Soil Moisture Sensors — UC Agriculture and Natural Resources
- Smart Irrigation Controllers — UC Agriculture and Natural Resources
- Introduction of Automatic Irrigation Systems — Penn State Extension