Automated Garden Systems: Setup, Costs and Best Gear
Quick Answer
An automated garden system is a weather-aware irrigation controller driving zone valves, fed by soil moisture sensors so the beds get watered from what the soil reports rather than from a fixed timer. A worthwhile home setup costs $350 to $900 for two to four zones. Watering, feeding and monitoring automate well. Pruning, harvesting, pest patrol and judgement do not, and no amount of hardware changes that.
What “Automated Garden” Actually Means
Four layers, and you do not need all of them. Most people who say their garden is automated have built the first two.
| Layer | What it does | Typical cost | Worth it? |
|---|---|---|---|
| 1. Delivery | Drip line, soakers, micro-sprayers, zone valves | $60–$250 | Yes, first purchase |
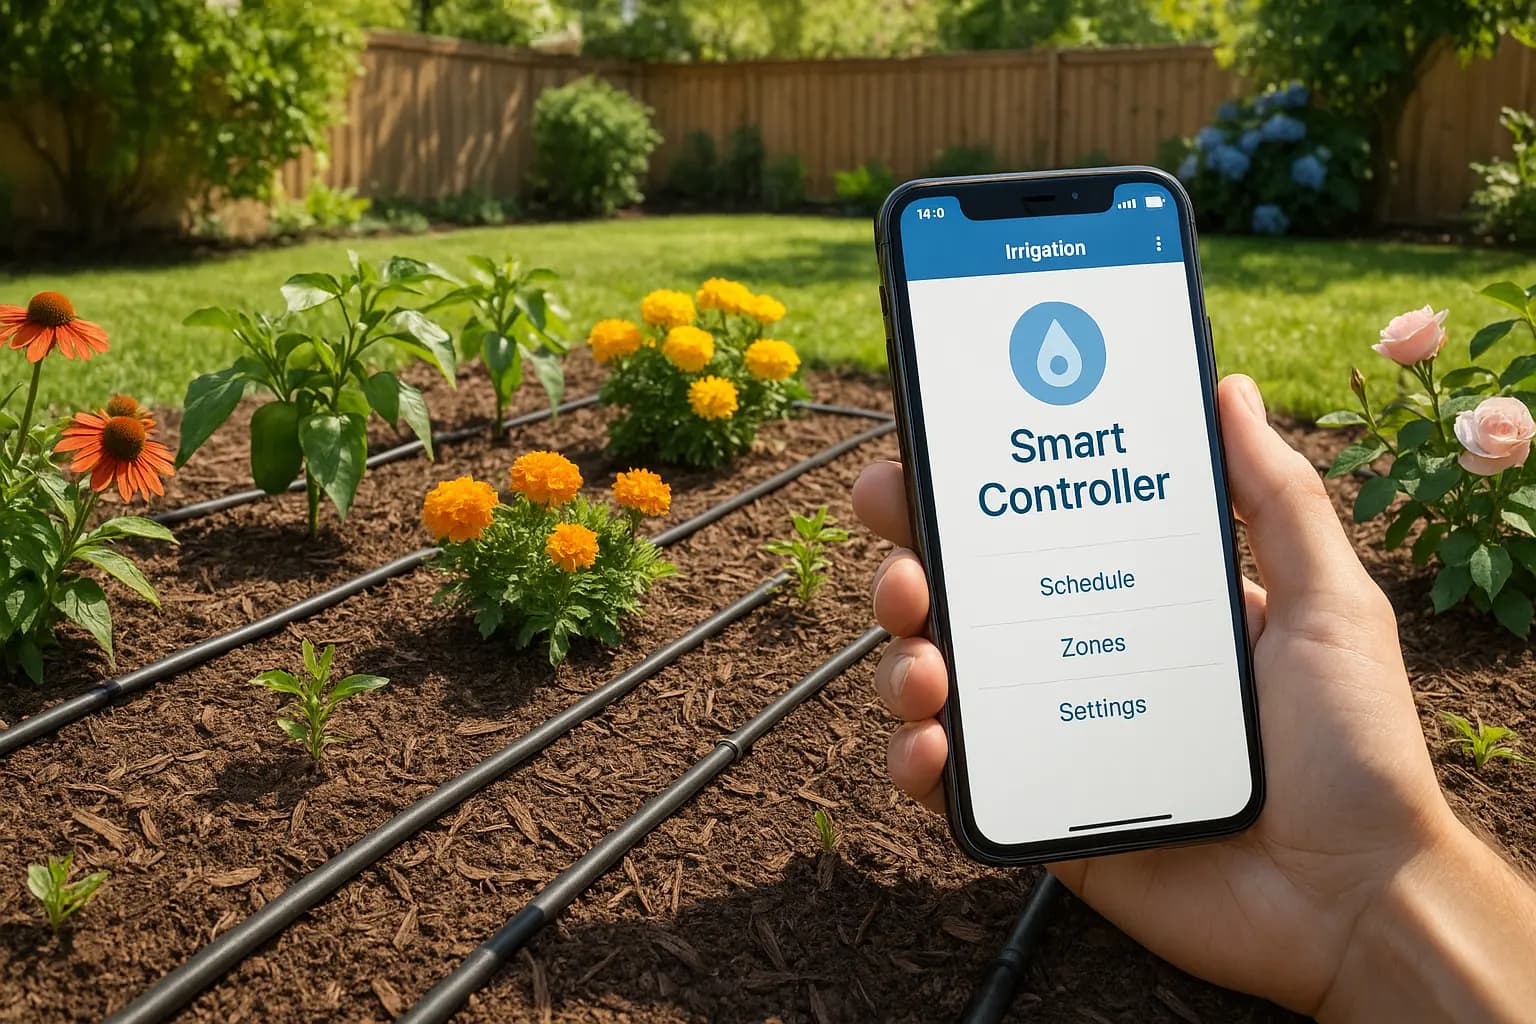
| 2. Control | Weather-aware controller that decides when to open valves | $80–$300 | Yes, second purchase |
| 3. Sensing | Soil moisture probes feeding the controller real data | $25–$150 per zone | Yes, once zones are stable |
| 4. Robotics | Robot mowers, weeding robots, greenhouse vents | $600–$3,000+ | Only the mower, for most people |
A timer on its own is not automation. It waters the same amount during a fortnight of rain as it does in a heatwave, which wastes water and drowns roots. The controller has to react to something, either a forecast, a sensor, or both.
What Automation Cannot Do
Worth reading before you spend anything.
Pruning. Nothing consumer-grade prunes a shrub. Robot pruners exist in commercial orchards on trellised, uniform trees.
Harvesting. Some systems flag ripeness from a camera. None pick your tomatoes.
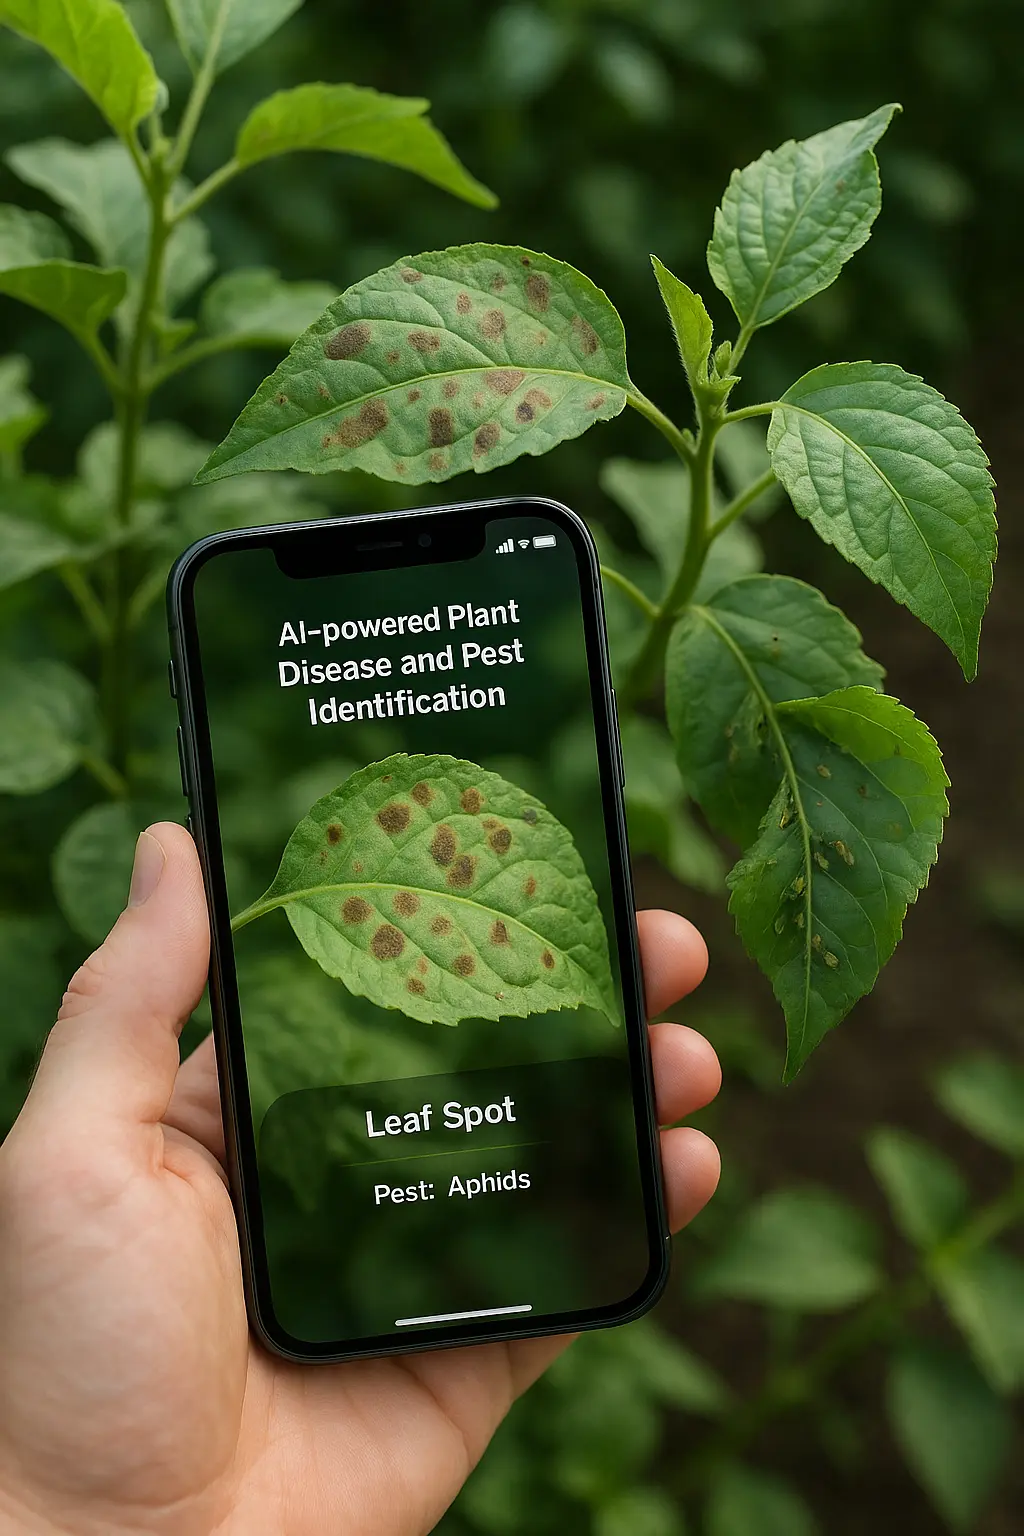
Pest patrol. Camera traps and sticky-trap monitors tell you aphids arrived. Deciding what to do about them is still your call, and squashing them is still your thumb.
Judgement. A sensor reads moisture at one point, at one depth. It cannot see that the shrub is wilting because of vine weevil rather than drought. Automation removes the routine, not the noticing.
Anything marketed as a garden that runs itself, with no input, is selling you the first two layers and hoping you do not read closely.
What It Costs to Build
Three realistic builds. Prices are typical street prices and move around, so treat them as bands rather than quotes.
Starter: one zone, about $150
| Part | Typical cost |
|---|---|
| Battery tap timer with rain skip (Orbit B-hyve, Netro Pixie) | $50–$80 |
| Drip kit, 15m with emitters and connectors | $40–$70 |
| Pressure reducer and filter | $15–$25 |
Covers one bed or a row of containers. Runs off an outdoor tap, no wiring, no electrician. The controller checks the forecast over Wi-Fi or Bluetooth and skips the cycle when rain is coming.
Standard: three to four zones, $350 to $900
| Part | Typical cost |
|---|---|
| Multi-zone smart controller (Rachio 3, Rain Bird ST8, Gardena Smart) | $130–$300 |
| Zone valves and manifold, 4 zones | $80–$160 |
| Drip and micro-spray across four beds | $120–$250 |
| Two soil moisture sensors | $50–$180 |
| Backflow preventer, fittings, trenching bits | $40–$80 |
This is the sweet spot. Separate zones let vegetables get frequent shallow water while established shrubs get an occasional deep soak, which a single-zone system cannot do without compromising both.
Full: whole garden with robotics, $2,000 to $6,000
Adds a robot mower ($700–$2,500 depending on lawn size and whether it needs a boundary wire), fertigation injection ($150–$400), a greenhouse vent and heater controller ($200–$600), and a local weather station ($100–$300).
Spread it across seasons. Buy delivery and control in year one, add sensing in year two once you know where the dry spots actually are. Sensors placed before you understand your zones tend to end up in the wrong place.
Choosing a Controller
The controller is the decision you live with, because the valves, sensors and app all have to talk to it.
Zone count. Count your beds, then add two. Retrofitting a fifth zone onto a four-zone controller means buying a second controller.
How it decides. Forecast-based controllers pull rain and evapotranspiration data from a weather service and adjust the run time. Sensor-based ones water when a probe drops below a threshold. The good ones do both, and let the sensor overrule the forecast.
Local control. If the cloud service goes down or the company folds, does it still water? Controllers with an on-device schedule keep running. Cloud-only ones stop, which is how people come home to a dead garden.
Sensor compatibility. Check which probes the controller accepts before buying probes. Wireless soil sensors are mostly proprietary, and a Gardena sensor will not talk to a Rachio.
Power. Mains controllers handle more zones and never need battery changes. Battery tap timers need no wiring at all. For anything beyond two zones, run mains to a controller in the shed or garage.
Choosing Soil Moisture Sensors
The single most useful upgrade, and the one people get wrong most often.
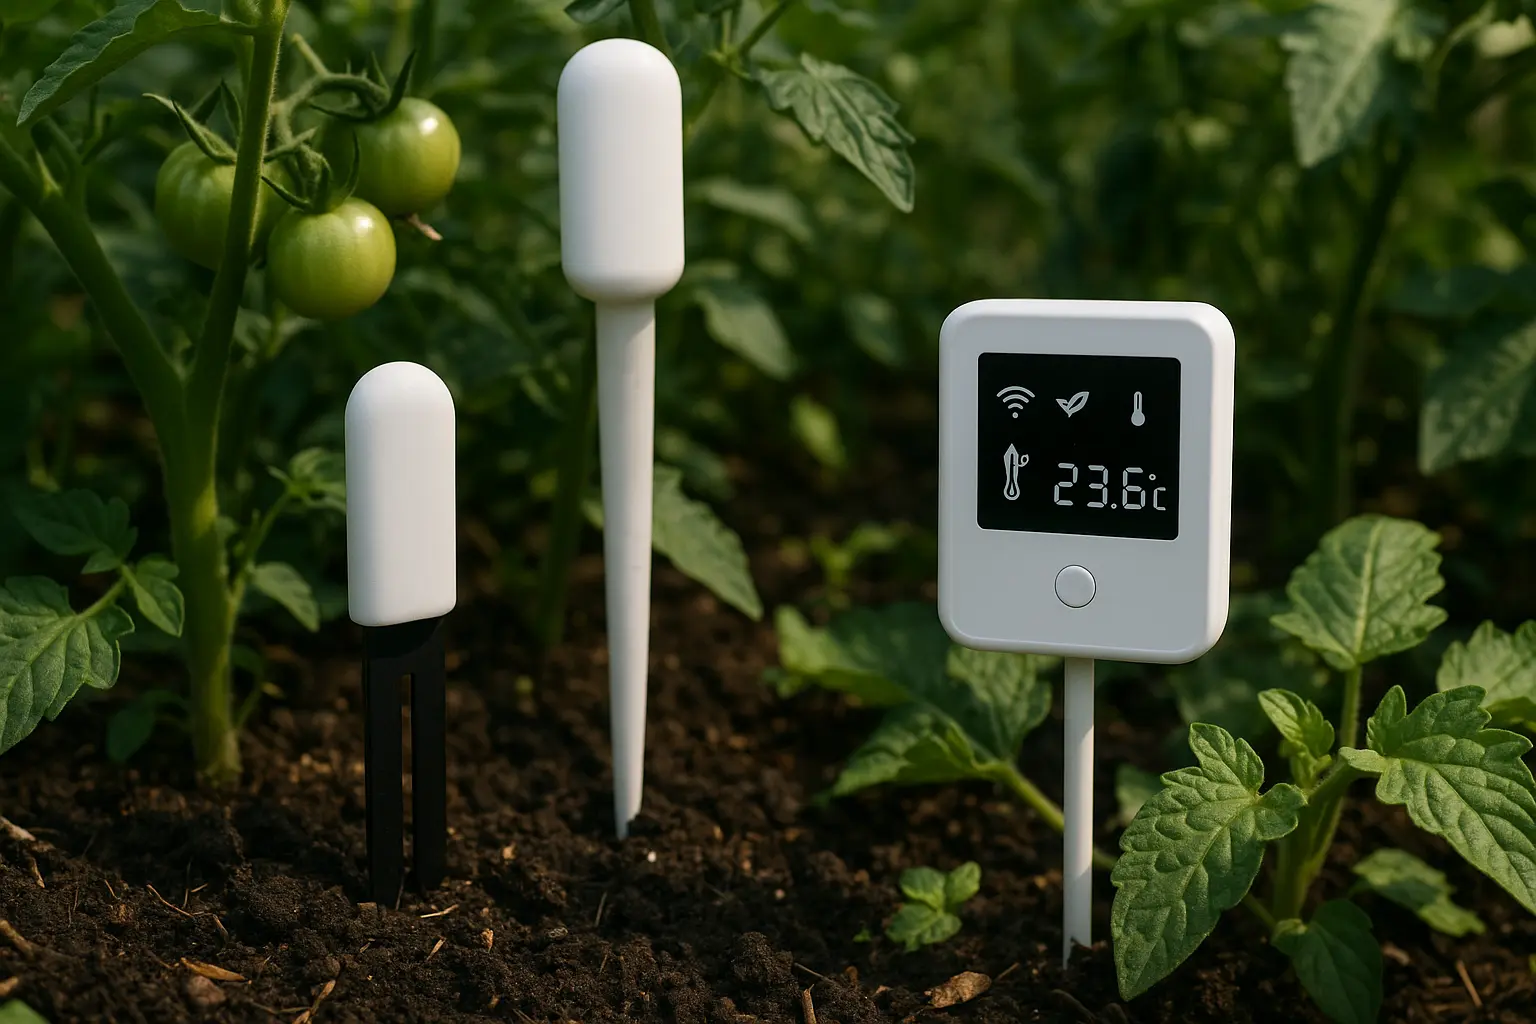
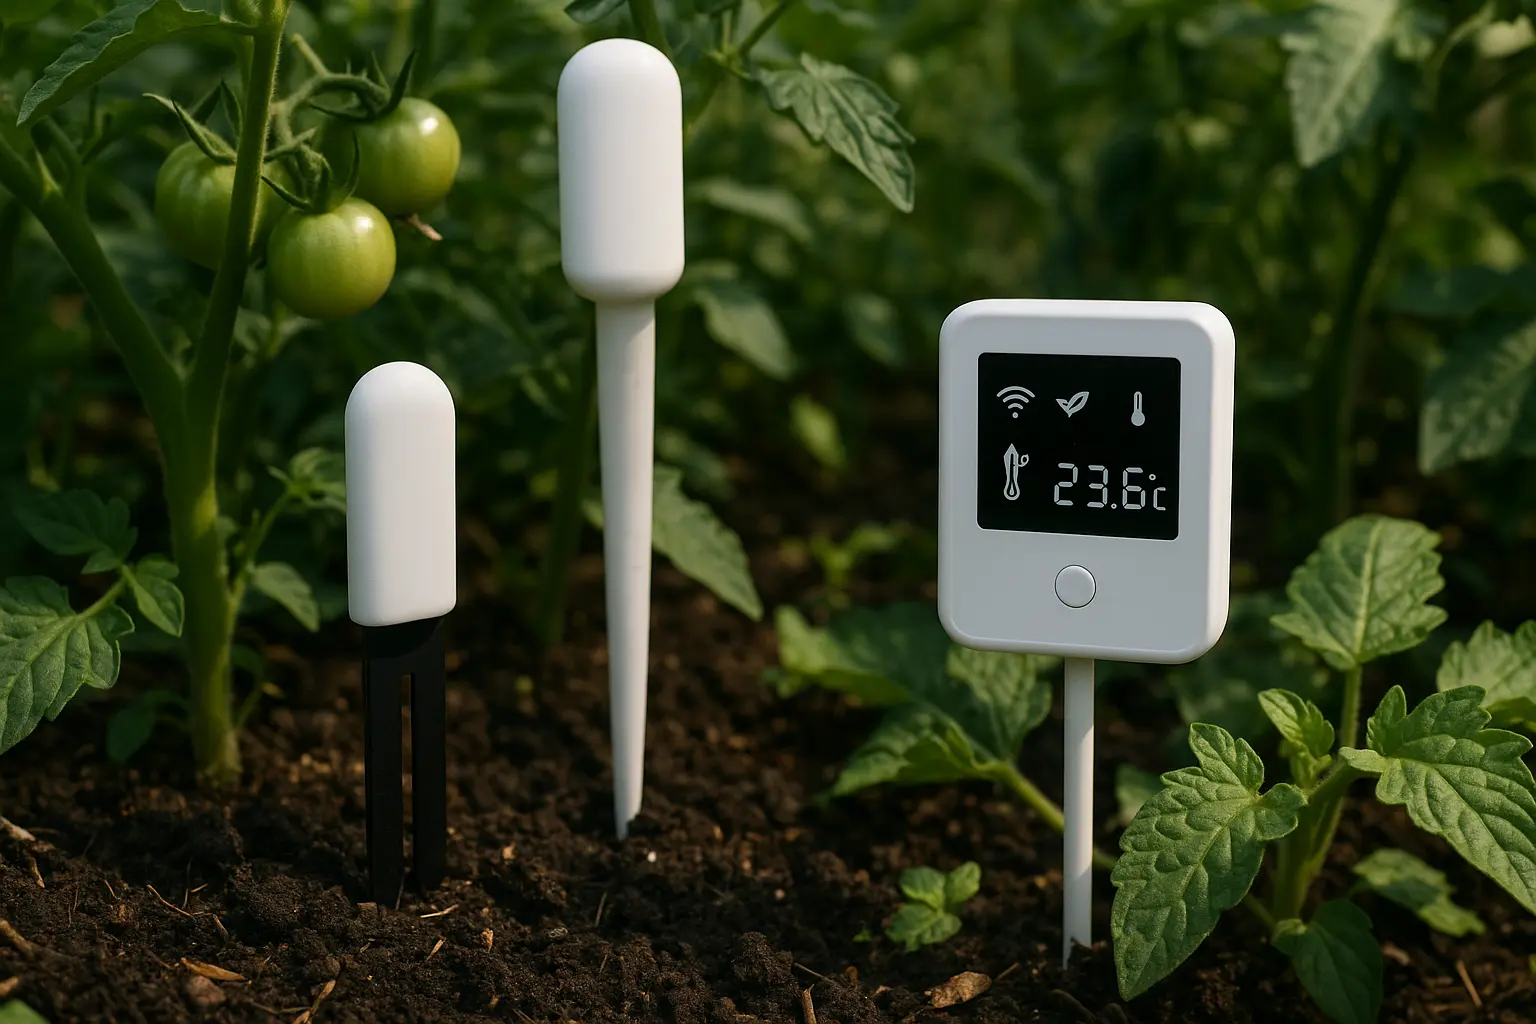
Capacitive, not resistive. Cheap two-prong resistive probes corrode within a season and drift long before they fail. Capacitive sensors have no exposed metal and last years.
Depth matters more than count. A probe in the top 5cm reports the mulch drying out, not the root zone. Bury it at the depth the roots actually occupy: 15–20cm for vegetables, 30cm+ for shrubs.
Placement. Put the probe in the driest representative spot in the zone, not the wettest and not the average. Watering to the driest point in a zone is the whole reason for zoning in the first place.
Two per zone beats one. One probe tells you a number. Two tell you whether the number is credible.
University of Minnesota Extension’s work on soil moisture sensors for irrigation scheduling is the clearest public guidance on placement and thresholds, and it applies to a garden bed as much as a field.
How the Parts Fit Together
Water goes: tap, backflow preventer, filter, pressure reducer, controller-driven valve manifold, then one drip line per zone.
Data goes: probe reports moisture, controller compares it to a threshold, controller checks the forecast, controller opens or skips the valve, app tells you what it did.
Two details that cause most failures:
Filter and pressure reducer are not optional. Drip emitters clog with grit and split at mains pressure. A $15 pair of parts prevents most drip system failures.
One valve per zone, not one timer per bed. Separate battery timers on separate taps cannot coordinate, cannot share sensor data, and all need their batteries changed on different weeks.
A Build Order That Works
- Map the zones before you buy anything. Group beds by how much water they want and how much sun they get, not by where they happen to sit. A quick AI garden design from a photo pass is a fast way to get a layout you can draw zones on.
- Lay delivery first. Drip and soakers in every bed, run manually off the tap for a few weeks. You will discover dry spots you did not know about.
- Add the controller and valves. Program a conservative schedule, forecast-aware, and watch it for a fortnight.
- Add sensors last. Now you know where the dry spots are, put probes there and let them overrule the schedule.
- Add a mower if you have lawn. It is the only robot in this category that reliably earns its money.
Running Costs and Savings
Batteries. Wireless probes and battery timers need cells every 6 to 18 months. Budget $20 a year.
Subscriptions. Most controllers work fully without one. Some gate weather data or history behind a $30–$60 a year plan. Check before you buy.
Water. UC’s review of smart irrigation controllers documents meaningful reductions against fixed timers, with the savings coming almost entirely from rain skips and seasonal adjustment rather than from clever scheduling.
Winterising. In freezing climates, blow out or drain the lines every autumn. A split manifold costs more than the controller.
What Breaks
| Symptom | Usual cause |
|---|---|
| One zone stays dry | Clogged emitters, or the filter needs cleaning |
| Everything waters during rain | Rain skip off, or the controller lost its data connection |
| Sensor reads bone dry after watering | Probe above the wetted zone, or air gap around the probe |
| Beds waterlogged | Threshold set for sand while you garden on clay |
| System stops after an update | Cloud-only controller, provider outage |
Frequently Asked Questions
The Bottom Line
Buy delivery, then control, then sensing, and skip the robotics until the lawn justifies a mower. Four zones of drip on a weather-aware controller with two capacitive probes at root depth covers almost everything worth automating in a home garden, for under $900.
Map the zones before you buy the hardware. If you are redesigning the space anyway, work the irrigation layout out on a garden design first, then buy against the plan. Related reading: smart irrigation tune-up and building a garden dashboard.
Sources & Further Reading
- Soil Moisture Sensors for Irrigation Scheduling — University of Minnesota Extension
- Smart Irrigation Controllers and Their Importance in Water Conservation — UC Agriculture and Natural Resources
- New Technology Lets Plants Tell Farmers When They Are Thirsty — USDA National Institute of Food and Agriculture