Start Tomatoes and Peppers from Seed: A Complete Indoor Guide

The case for starting tomatoes and peppers from seed is simple: your local garden center will carry maybe twenty varieties in spring. Seed catalogs carry thousands. If you want ‘Cherokee Purple’ or ‘Brandywine’ or ‘Green Zebra’ or a Peruvian pepper variety that no one around you grows, you have to start it yourself.
There’s also the satisfaction of following a plant from its first emergence through harvest—and the significant cost savings when you’re growing dozens of plants.
Here’s what you need to know to do it well.
Timing: When to Start
The most critical decision is when to start, and it’s determined by a calculation:
Weeks to transplant date = Last frost date minus weeks to transplant-ready seedling
For tomatoes, you need 6-8 weeks of indoor growing. For peppers, 10-12 weeks because they germinate slowly and grow more slowly than tomatoes.
Example:
- Last frost date: April 30
- Tomato timing: Count back 8 weeks from April 30 = start March 4
- Pepper timing: Count back 12 weeks from April 30 = start February 3
If you’re in a colder zone with a late last frost (May 15 or later), peppers should be going in right now, in early February.
Starting too early is a common mistake—you end up with overgrown, rootbound seedlings before it’s warm enough to transplant. Tomatoes in particular get tall and leggy when they run out of space or light. Time it right.
What You Need
Growing Containers
Start seedlings in small containers, not large ones—small root zones warm up faster and dry out appropriately between waterings.
Options:
- Cell trays: 72-cell or 128-cell trays for initial germination; up to 6-inch pots for final potting up
- Small plastic pots: 3-inch pots work well from germination through the first potting up
- Paper pots: Biodegradable and can go directly in the ground; get a little floppy when wet
Seed-Starting Mix
Do not use regular potting soil or garden soil. Seed-starting mix is finely textured, lightweight, and usually sterile—important for preventing the damping-off fungal disease that kills seedlings at the soil line.
The best-known brands include Pro-Mix, Jiffy, and Burpee’s seed-starting mix. All work well.
Heat Source
This is non-negotiable for peppers and important for tomatoes. Soil temperature has a massive effect on germination rate and time.
| Soil Temperature | Tomato Germination | Pepper Germination |
|---|---|---|
| 60°F | 14-21 days | May not germinate |
| 70°F | 7-14 days | 14-21 days |
| 80°F | 5-7 days | 10-14 days |
| 85°F | 5-7 days | 7-10 days |
A seedling heat mat ($25-40) maintains soil temperature around 70-80°F and dramatically improves germination speed and rate, especially for peppers.
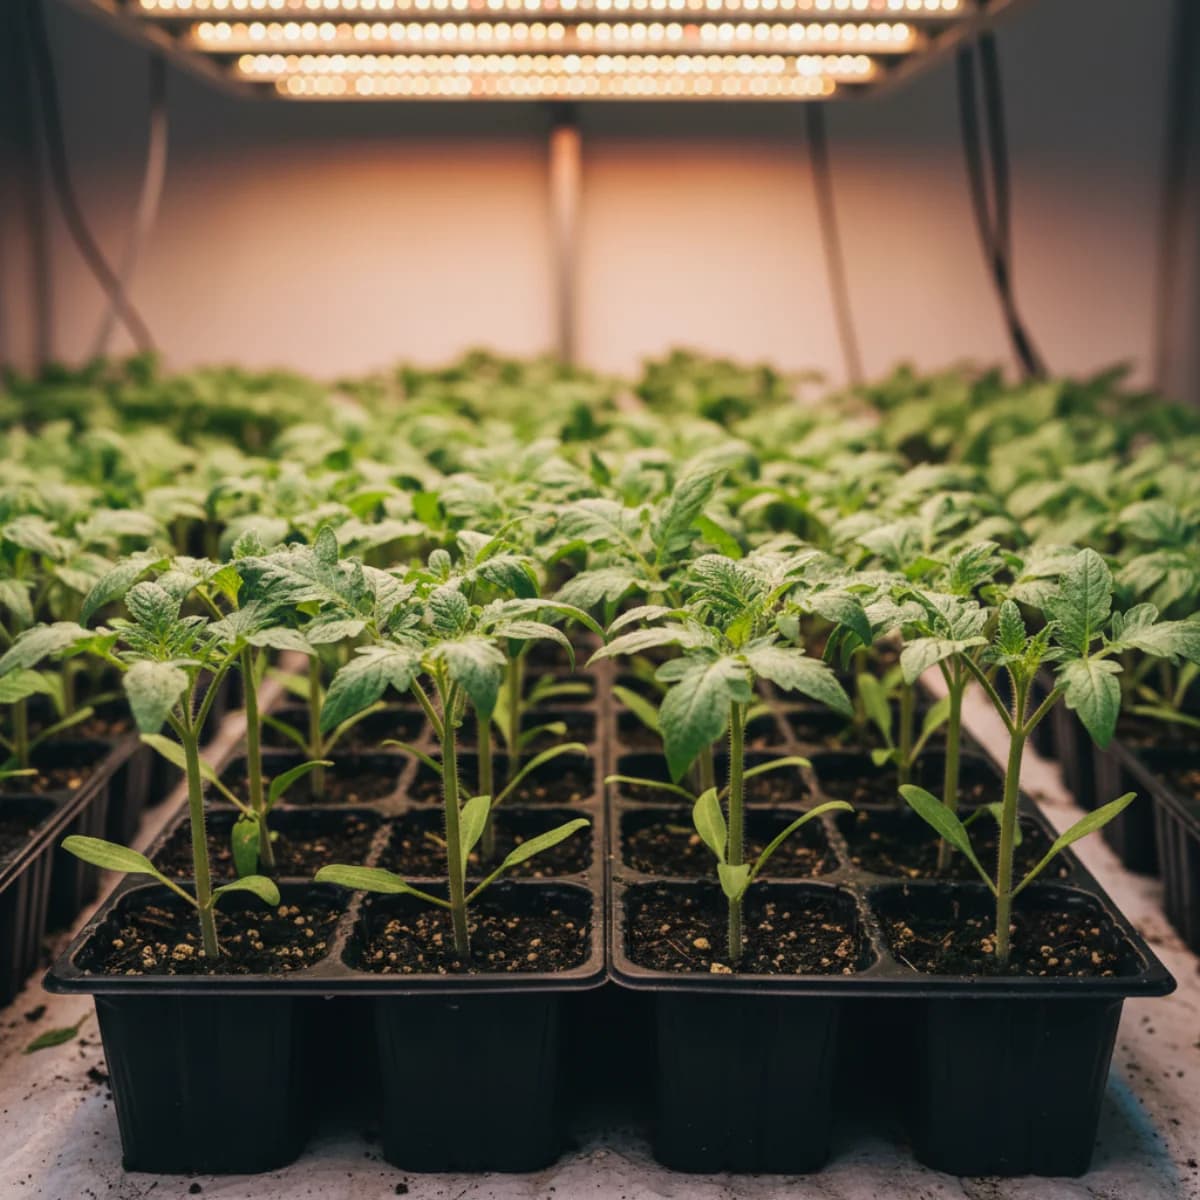
Grow Lights
A sunny south-facing window is better than nothing, but almost always insufficient. Seedlings in windowsill light grow etiolated (stretched, pale, weak) reaching toward inadequate light.
A simple setup: a two-bulb T5 or T8 LED shop light hung on an adjustable chain, 2-4 inches above seedling tops, on a 16-hour timer. This costs around $30-50 and produces remarkably better seedlings than windowsill growing. Raise the light as seedlings grow.
The Process
Step 1: Pre-Moisten Your Mix
Pour seed-starting mix into a large bowl or bucket and add warm water, mixing thoroughly until the mix feels like a wrung-out sponge. Moist but not dripping. Fill cells or pots with the moistened mix, pressing down lightly to remove air pockets.
Step 2: Sow Seeds
For tomatoes and peppers, plant 2 seeds per cell at a depth of about ¼ inch. Press them in lightly and cover with a sprinkle of dry mix.
Seal the tray inside a clear plastic dome or a clear plastic bag. This creates a humid mini-greenhouse that maintains moisture during germination. You don’t need to water during germination as long as the dome stays on.
Set the tray on a heat mat in a warm location. No light is needed yet—seeds germinate in darkness.
Step 3: Watch for Sprouts
Check daily. Tomatoes typically emerge in 5-10 days at warm soil temperatures. Peppers take longer—10-21 days depending on variety and temperature.
The moment you see the first curved seed loop pushing through the soil, move the tray immediately under your grow lights and remove the dome. Seedlings reaching for inadequate light in just a few hours will become visibly stretched.
Step 4: First Thinning
Once seedlings have their first set of true leaves (the second set of leaves, not the initial seed leaves), thin to one plant per cell by snipping the weaker seedling at soil level with scissors. Don’t pull—you’ll disturb the roots of the seedling you’re keeping.
Step 5: Potting Up
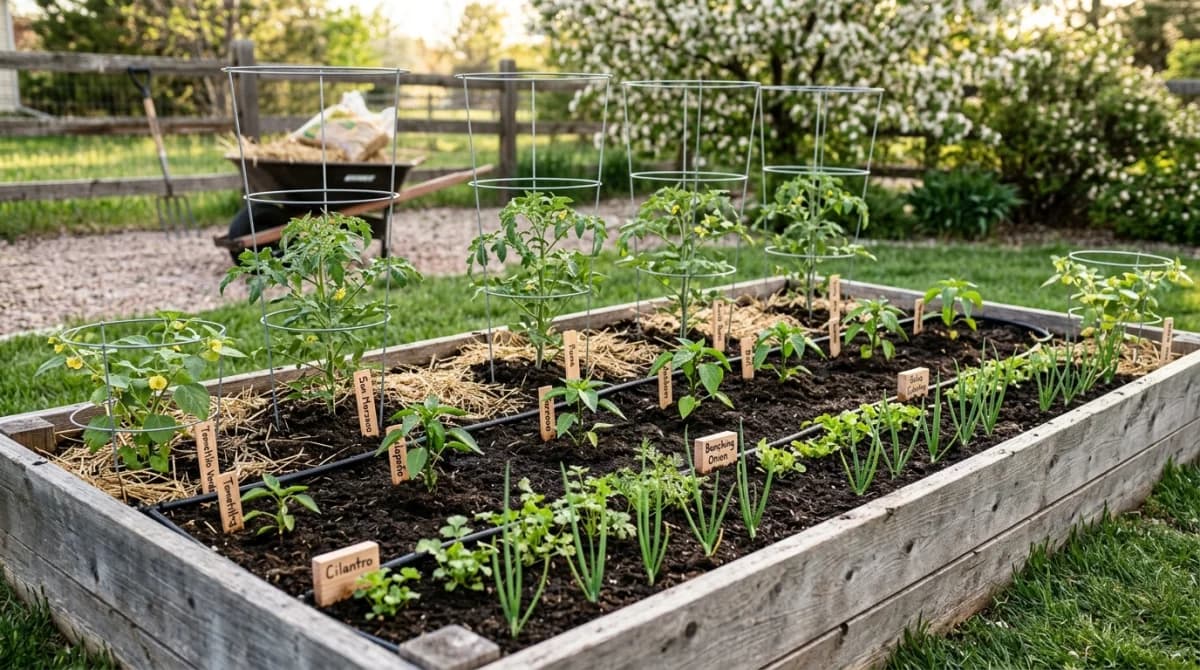
When tomatoes get 3-4 sets of true leaves and start looking crowded in their small cells, it’s time to move them to larger pots (3-4 inch). Peppers can wait a bit longer—they’re slower and smaller.
Bury tomato seedlings deeply when potting up—tomatoes can grow roots along any buried stem portion, so burying deeply creates a stronger root system. Plant peppers at the same depth they were growing.
Step 6: Ongoing Care
Watering: Let the top of the mix dry slightly between waterings—wet/dry cycles are healthier than constant moisture and prevent damping off. Water from below when possible.
Fertilizing: After the first true leaves appear, begin fertilizing weekly with a half-strength balanced liquid fertilizer. Seedlings in a sterile seed-starting mix have no nutrients beyond what was in the seed—they need to be fed.
Air circulation: Run a small fan on low near seedlings for a few hours daily. The gentle movement strengthens stems and reduces fungal disease.
Hardening Off: The Step Everyone Skips
Before transplanting outdoors, seedlings grown in the controlled indoor environment need to be gradually acclimated to outdoor conditions—this process is called hardening off and takes about 1-2 weeks.
The first few days: take plants outside for 1-2 hours in a sheltered, partly shaded spot. Bring them back in.
Gradually increase outdoor time and exposure to direct sun over 10-14 days until plants are outside all day and can handle a night in mild conditions.
Skipping this step—taking plants straight from indoors to the garden—causes transplant shock that sets plants back by weeks. Don’t skip it.
Variety Selection Tips
For tomatoes: Start with a mix of cherry types (fast to produce, heavy yielding) and a couple of larger slicers. For challenging climates, look for disease-resistant varieties (coded VFF or VFFN on seed packets). For best flavor, seek out heirlooms—but accept that heirlooms often lack disease resistance.
For peppers: ‘Carmen’ is a reliable sweet pepper. ‘Shishito’ is currently everywhere for good reason. For heat, ‘Jalapeño M’ is productive and reliable; habaneros and harder-to-find varieties reward the seed-starting investment most.
Starting from seed does require some setup and attention in the early weeks. But once you’re harvesting tomatoes and peppers that you selected, planted, and grew from a seed smaller than a pencil point, you’ll understand why so many gardeners won’t go back to buying transplants.
Sources & Further Reading
- Growing Tomatoes in Home Gardens — University of Minnesota Extension
- Growing Peppers — University of Minnesota Extension
- Optimizing Plant Growth with Indoor Lighting Q&A — University of New Hampshire Extension