Start Dahlias Indoors Now for Spectacular Summer Blooms

If you’ve ever grown dahlias, you know the payoff: plate-sized dinner-plate blooms, tight pompons, delicate collarettes — all from a funny-looking tuber that spends winter in a paper bag. The trick to getting the longest, most productive season out of them is to start tubers indoors about four to six weeks before your last frost date. For most of the US, that means right now, in late February or early March.
Starting indoors gives you a real advantage. Instead of planting a dormant tuber into cold soil in May and waiting weeks for it to wake up, you transplant an already-growing plant with sturdy stems and a developed root system. The result is earlier blooms, more flowers overall, and healthier plants that establish faster.
Why Indoor Starting Matters
Dahlias are warm-season plants native to the highlands of Mexico. They will not grow in cold soil. A tuber planted directly outdoors in early May might not send up its first shoot for three or four weeks, and you may not see flowers until August. By starting indoors, you can move that timeline forward by a full month or more.
Indoor-started dahlias also tend to be sturdier. The controlled conditions let you grow a thick, compact stem rather than the leggy growth that sometimes happens when tubers break dormancy in unpredictable spring weather.
Choosing and Inspecting Your Tubers
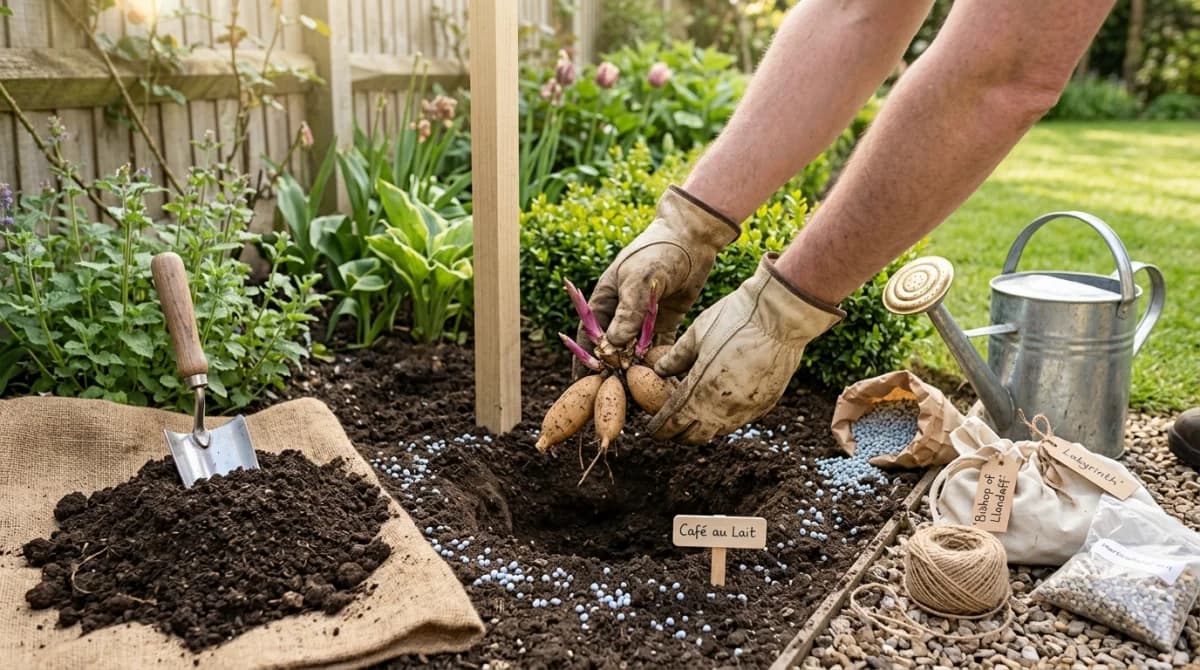
Before you pot anything up, inspect each tuber carefully. A viable dahlia tuber needs two things: a firm body and at least one visible eye (growth point) on the crown where the tuber connects to last year’s stem. If the tuber is mushy, shriveled, or has no eye, it will not grow.
Good varieties for beginners include ‘Café au Lait’ (a massive creamy blush dinner-plate), ‘Bishop of Llandaff’ (deep red flowers with dark foliage), and ‘Gallery Art Deco’ (a compact border type in peach-pink). If you are ordering online, late February is the last reliable window before popular cultivars sell out.
What to Look For
- Firm flesh: The tuber should feel solid, like a sweet potato. Squeeze gently — if it gives, it’s rotting.
- Visible eye: A small bump or nub near the crown. No eye means no sprout.
- No mold: A little surface dust is fine. Fuzzy white or green mold means the tuber was stored too wet. Cut away any affected area and dust with sulfur powder before potting.
How to Pot Up Dahlia Tubers
You don’t need anything fancy. A one-gallon nursery pot or a large yogurt container with drainage holes punched in the bottom works perfectly.
Materials
- One-gallon pots (one per tuber)
- All-purpose potting mix (not garden soil)
- Labels and a permanent marker
- A spray bottle or watering can
Steps
- Fill the pot about two-thirds full with moist potting mix.
- Lay the tuber horizontally with the eye pointing up. If you’re not sure which end the eye is on, lay it flat — the sprout will find its way.
- Cover with one to two inches of potting mix. Don’t bury it deeply.
- Water lightly so the mix is damp but not saturated. Overwatering at this stage is the most common mistake and leads to rot.
- Label the pot with the variety name. You will forget which is which — everyone does.
- Place in a warm spot (65–75°F). A heat mat set to 70°F speeds things up but is not required.
Light and Watering While Sprouting
For the first week or two, the tubers don’t need light at all — they’re still underground, doing their thing. Keep the soil barely moist. Stick your finger an inch into the mix; if it feels dry, give a light watering. If it feels damp, leave it alone.
Once green shoots emerge and reach about two inches tall, move the pots to your brightest window or under grow lights. Dahlias are sun-lovers, and leggy, pale shoots at this stage mean they are not getting enough light. A south-facing window or a simple shop light hung six inches above the shoots will keep growth compact and green.
Water more frequently as the plant grows, but always let the top inch of soil dry between waterings. Dahlia tubers are surprisingly prone to rot if kept constantly wet.
Pinching for Bushier Plants
When your dahlia has three or four sets of leaves, pinch out the growing tip — the very top of the main stem, just above a leaf node. This feels wrong, like you’re hurting the plant, but it triggers branching. Instead of one tall stem, you get multiple side shoots, and each one will produce flowers.
Pinching is optional for compact border varieties that naturally branch, but for tall dinner-plate types like ‘Café au Lait’ or ‘Thomas Edison,’ it makes a dramatic difference in flower count.
Hardening Off and Transplanting
About one to two weeks before your last frost date, start hardening off your dahlias. Set them outside in a sheltered spot for a few hours on the first day, then gradually increase the time and sun exposure over seven to ten days. Don’t skip this step — indoor-grown plants have soft leaves that will scorch in direct sun without acclimation.
Transplant into the garden after all danger of frost has passed and night temperatures stay above 50°F. Dig a hole large enough for the root ball, set the plant at the same depth it was in the pot, and water well. Tall varieties will need staking — put the stake in at planting time to avoid damaging the tuber later.
Planting Tips
- Spacing: 18–24 inches apart for most varieties, 12 inches for compact types.
- Sun: Full sun, at least 6–8 hours. More sun means more flowers.
- Soil: Rich, well-drained soil. Work in compost before planting if your soil is heavy clay.
- Fertilizer: A balanced granular fertilizer at planting time. Switch to a low-nitrogen formula (like 5-10-10) once buds form to promote flowers over foliage.
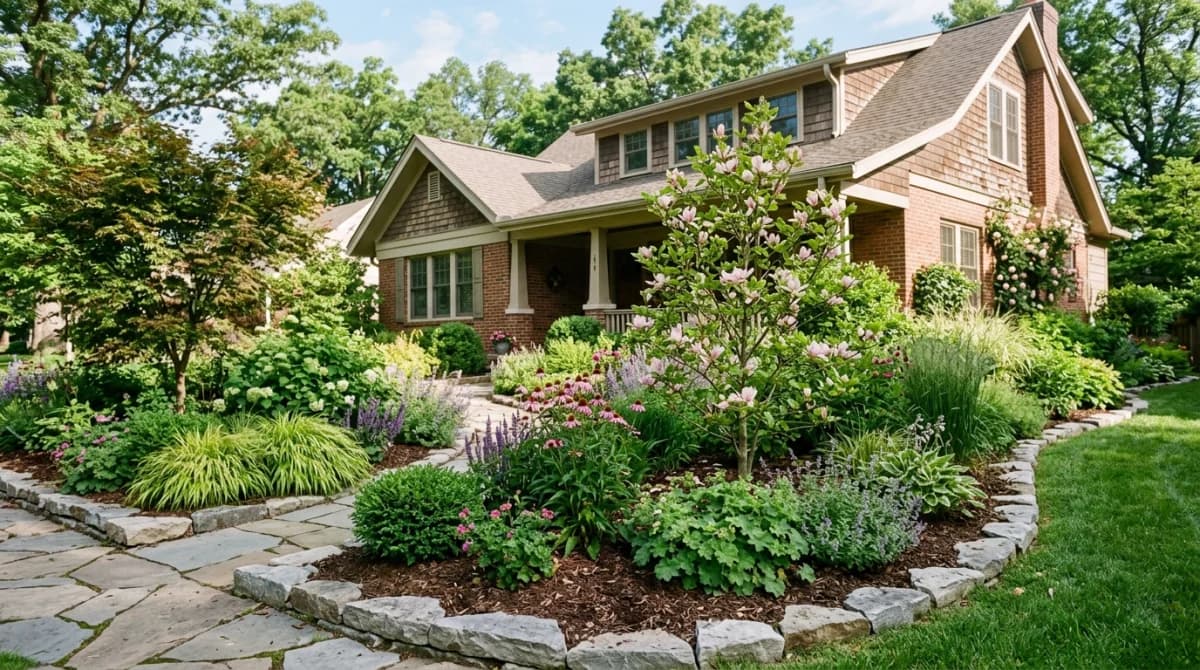
Planning Your Dahlia Display
Part of the fun of dahlias is designing with them. They come in nearly every color except true blue, and the flower forms range from tight two-inch pompons to twelve-inch dinner plates. Mixing heights and forms creates a dynamic display that carries from midsummer through the first hard frost.
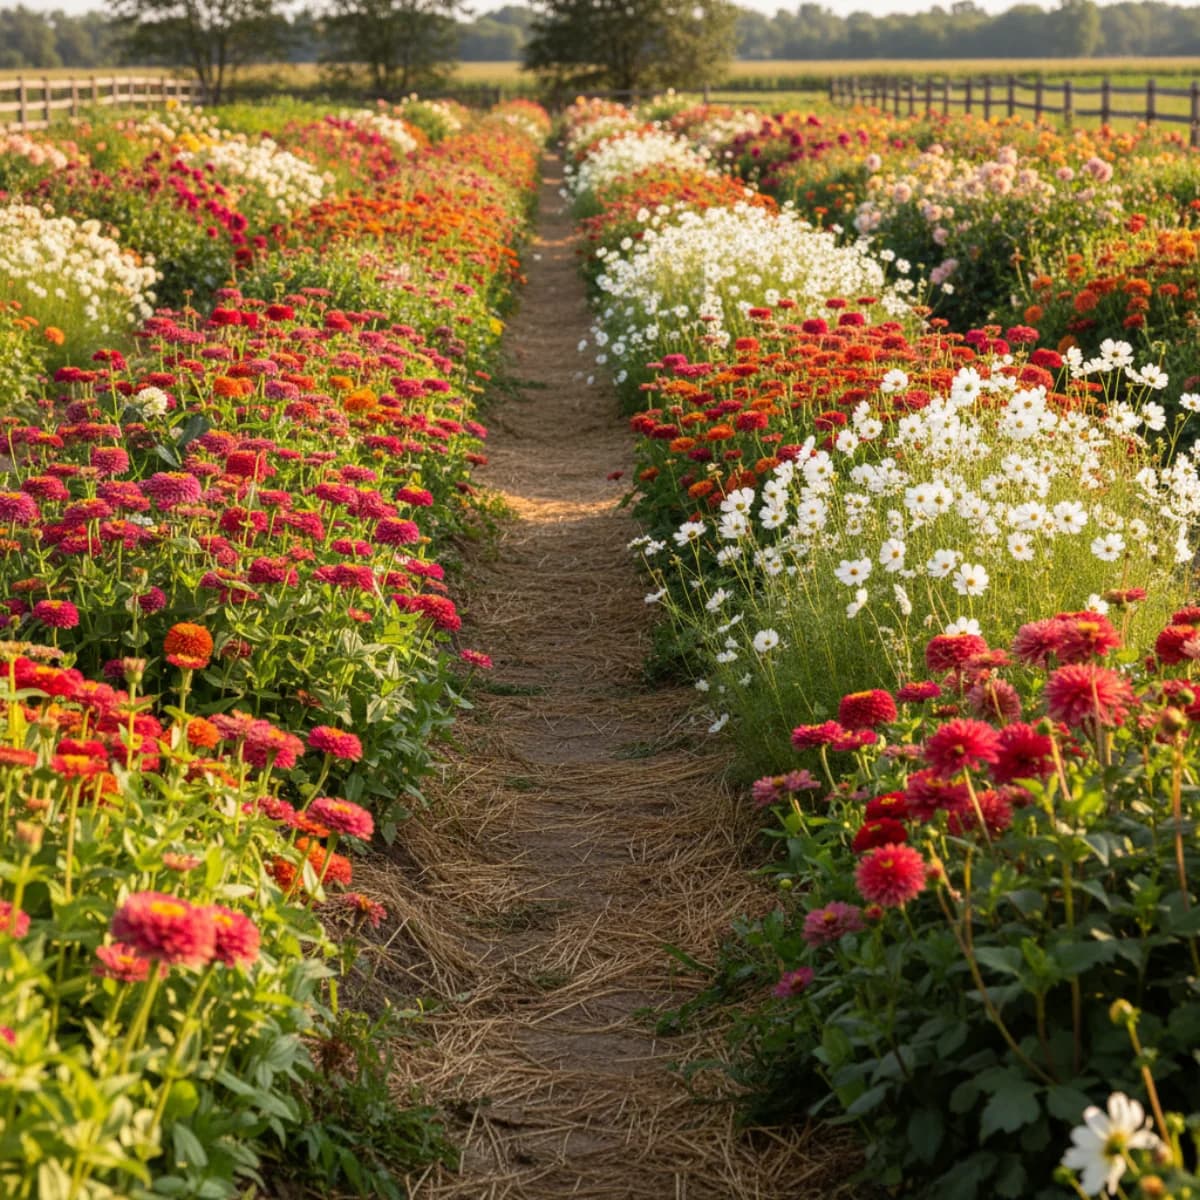
If you’re planning a cutting garden, group dahlias in rows for easy harvesting. For a mixed border, tuck them behind lower perennials where their height (3–5 feet for most varieties) works as a backdrop. Tools like Gardenly can help you visualize where dahlias will fit into your overall garden layout before you commit to digging.
The Late-February Advantage
Starting now means your dahlias will have a six-week head start by planting time. While your neighbors are tucking dormant tubers into cold soil in May, you’ll be transplanting vigorous, foot-tall plants that are already reaching for the sun. The first blooms could appear as early as late June instead of August — and that’s a full extra month of one of the garden’s most rewarding flowers.
Grab your tubers, find your biggest windowsill, and get them growing. Summer is closer than you think.
Sources & Further Reading
- How to Grow Dahlias — Royal Horticultural Society
- Dahlias in Oregon: Planting for a Parade of Late-Season Blooms — Oregon State University Extension
- The Dirt on Dahlias — Penn State Extension