Growing Asparagus: Plant Crowns This Spring for 20 Years of Harvests
Most vegetables ask you to start over every single year. Asparagus is different. Plant a row of crowns this March, take care of them through one patient season, and you get thick, tender spears every spring for the next 20 years — sometimes longer. No replanting, no seed starting, no annual bed prep. Just cut, eat, repeat.
The catch is that asparagus rewards careful site selection and soil preparation more than almost any other crop. You are choosing where this plant will live for decades, so the upfront work matters. Here is how to get it right.
Choosing the Right Varieties
Not all asparagus is created equal. The all-male hybrid varieties bred at Rutgers University in the 1980s and 1990s changed the game. They put all their energy into spear production instead of making seeds, which means thicker stalks and higher yields.
Best Varieties for Home Gardens
- Jersey Knight — the most widely adapted all-male hybrid, tolerant of heavier soils, reliable in zones 3 through 8
- Jersey Supreme — earlier to produce than Jersey Knight, with excellent spear quality and uniformity
- Purple Passion — a burgundy-purple variety that turns green when cooked, sweeter than green types, slightly lower yield but striking in the garden
- Millennium — a Canadian-bred variety that thrives in colder climates, zones 3 through 5
Avoid older open-pollinated varieties like Mary Washington unless you specifically want to save seed. They produce both male and female plants, and the females divert energy into berry production, resulting in thinner spears and volunteer seedlings everywhere.
Picking the Perfect Spot
Asparagus needs full sun — at least eight hours of direct light daily. Because the bed is permanent, think carefully about where you place it. The ferny foliage grows 4 to 6 feet tall by midsummer, so put the bed along the north or west edge of your vegetable garden where it will not shade other crops.
Good drainage is non-negotiable. Asparagus crowns sitting in waterlogged soil will rot. If your site has heavy clay, either build a raised bed 10 to 12 inches high or choose a sloped area where water drains away naturally.
One more thing to consider: asparagus beds take up space for a long time. Plan for a row about 4 feet wide and as long as you want. Ten crowns, spaced 18 inches apart, fill a 15-foot row and produce enough spears for a family of four to eat fresh asparagus several times a week during the six-to-eight-week harvest season.
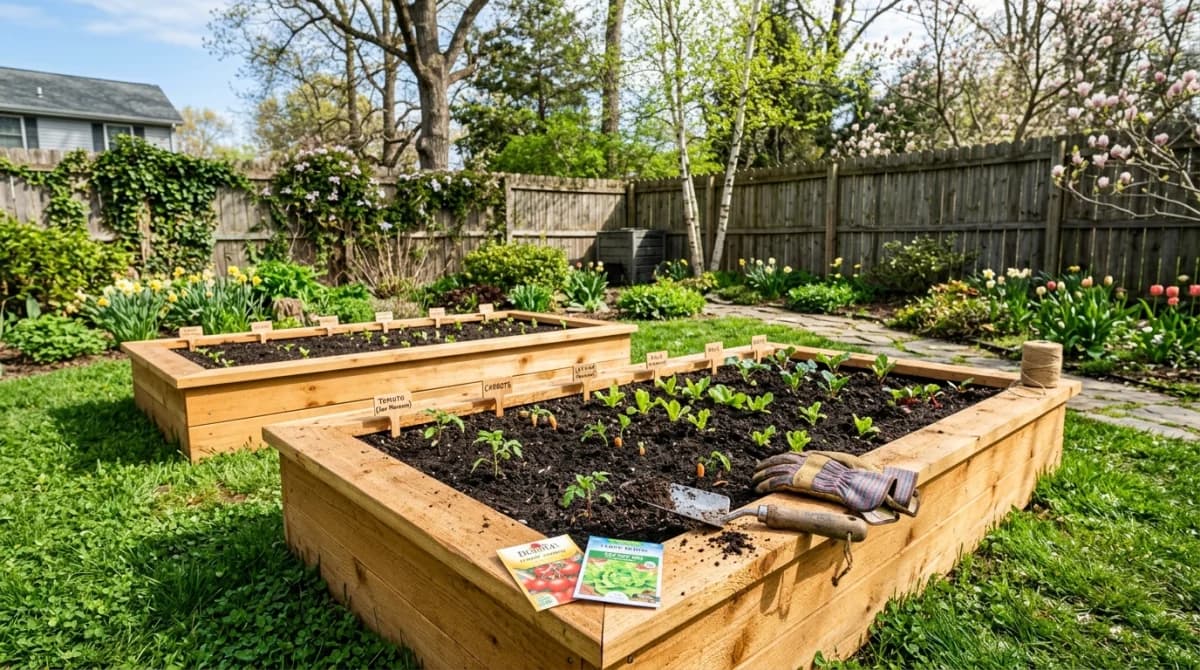
Preparing the Bed
This is the step that separates mediocre asparagus from the kind that makes you cancel your grocery store membership every April.
Soil Preparation
- Test your soil pH. Asparagus prefers a pH between 6.5 and 7.5 — slightly more alkaline than most vegetables. If your soil is acidic, work in garden lime according to your test results.
- Dig a trench 12 inches deep and 12 inches wide. Set the excavated soil to one side.
- Mix 4 to 6 inches of aged compost into the bottom of the trench. Add a balanced organic fertilizer (such as 5-5-5) at the rate on the package and work it into the compost layer.
- Create small mounds in the trench, spaced 18 inches apart. Each mound should be about 4 inches tall. These are the pedestals for your crowns.
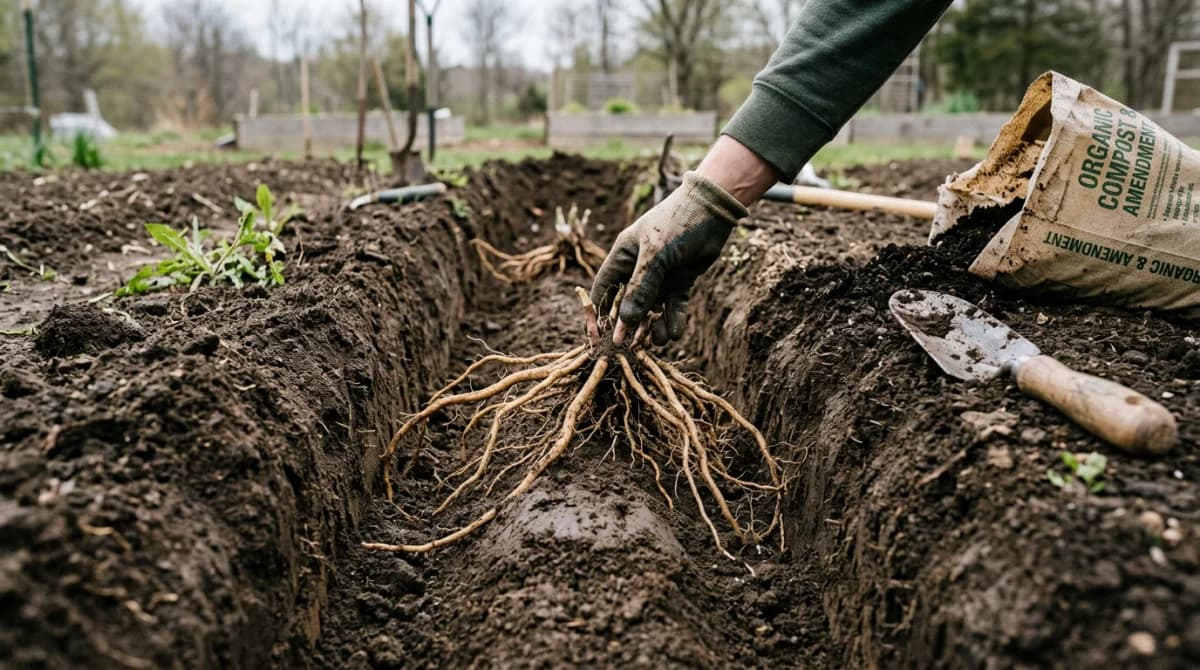
Planting the Crowns
Buy one-year-old crowns from a reputable nursery. They look like flattened brown octopuses — a central growing point with long, stringy roots radiating outward.
- Soak crowns in lukewarm water for 15 to 20 minutes before planting.
- Set each crown on top of a mound with the roots draped down the sides. The growing point (the bud cluster) should face up.
- Cover with 2 to 3 inches of the reserved soil. Do not fill the trench all the way — you will add more soil gradually as the plants grow.
- As spears emerge and grow, add another 2 inches of soil every few weeks until the trench is filled level with the surrounding ground. This gradual filling encourages deeper root development.
Water the bed well after planting and keep the soil consistently moist but not soggy through the first growing season.
The Patience Year
Here is the hard part: you should not harvest asparagus the first year after planting. The crowns need a full season to establish their root systems. Let every spear grow into a tall, ferny frond. Those fronds are photosynthesizing and sending energy back down to the roots, building the reserves that will fuel decades of future harvests.
In the second year, you can take a light harvest — cut spears for two to three weeks, then let the rest grow into ferns. By the third year, you can harvest for the full six-to-eight-week season.
This waiting period is the reason many gardeners never plant asparagus. They want results now. But think of it this way: if you plant crowns this March, you will be harvesting lightly by spring of next year and fully by the spring after that. Two years from now, you will have a permanent food source that requires almost no work.
Ongoing Care
Once established, asparagus is remarkably low maintenance.
During Harvest Season (Spring)
Cut or snap spears when they reach 7 to 9 inches tall and the tips are still tight. Harvest every two to three days during peak production. Use a sharp knife to cut spears at or just below the soil surface.
Stop harvesting when new spears start coming up thinner than a pencil. That is the plant telling you it needs to recharge.
After Harvest (Summer and Fall)
Let the ferns grow undisturbed through summer. They will reach 4 to 6 feet and create a feathery screen that is actually quite attractive. Apply a side dressing of compost or balanced fertilizer in early summer.
In late fall, after the ferns have turned brown and been killed by frost, cut them down to the ground. Rake clean. Apply 2 to 3 inches of compost or aged manure as a top dressing — this is the only annual soil work your asparagus bed needs.
Weed Control
Weeds are the main enemy of asparagus. A thick layer of straw or shredded leaf mulch (3 to 4 inches) between plants keeps weeds down and retains moisture. Refresh the mulch each spring before harvest and again after cutting the ferns in fall.
Common Problems and Solutions
Asparagus beetles: These small, spotted beetles chew on spears and ferns. Hand-pick them in the morning when they are sluggish. Removing fern debris in fall eliminates overwintering sites.
Thin spears: Usually means the bed is too young, over-harvested, or under-fertilized. Shorten your harvest window and apply more compost.
Crown rot: Almost always a drainage issue. If you lose plants to rot, it is worth rebuilding the bed in a better-drained location or switching to a raised bed.
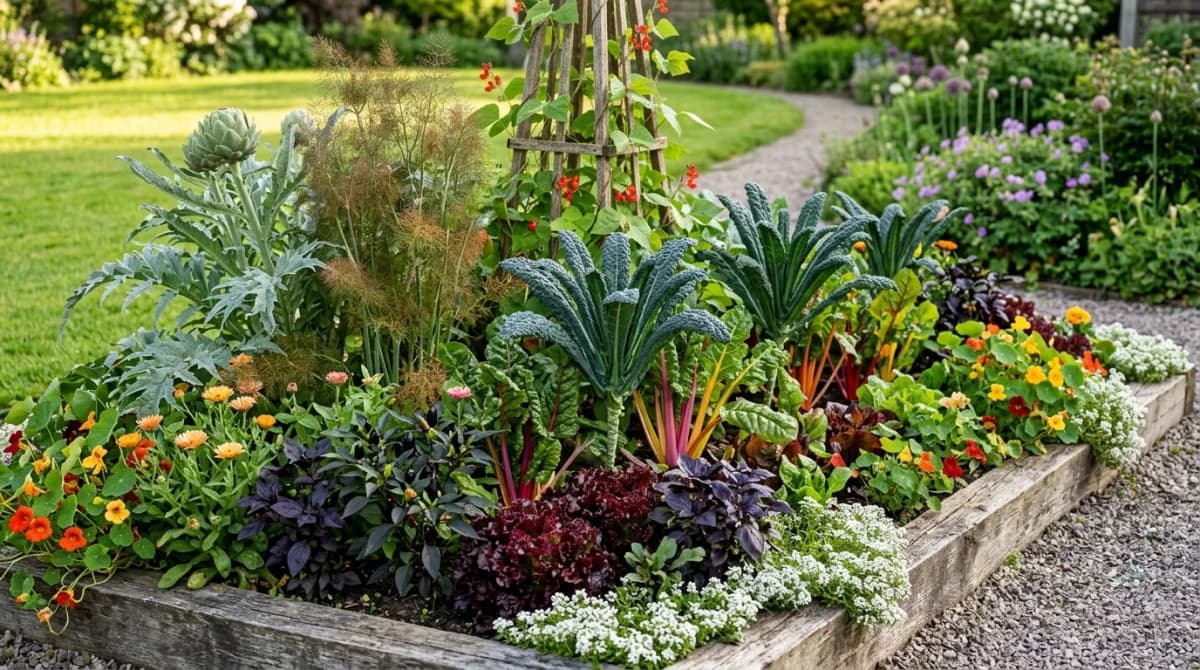
Making It Part of Your Garden Design
An asparagus bed does not have to be hidden in the back corner. The tall, airy ferns make a beautiful summer backdrop for flower borders or shorter vegetables. Some gardeners use asparagus rows as a seasonal hedge or privacy screen along a fence line.
If you are planning your garden layout this spring, Gardenly can help you visualize where a permanent asparagus bed fits into your overall design — a useful step when you are committing space for the next two decades.
Get Crowns in the Ground Now
Mid-March through mid-April is the prime planting window in most of the country (zones 4 through 7). In warmer climates (zones 8 and 9), plant in late February or early March before the heat arrives. In colder zones (3 and 4), wait until the soil is workable, usually late April.
Order crowns from a nursery now if you have not already. One-year-old crowns from a reliable grower establish faster and outperform cheaper, older crowns from big box stores. Expect to pay about $1 to $2 per crown — a small investment for a plant that will feed you for two decades.
Sources & Further Reading
- Growing Asparagus in Home Gardens — University of Minnesota Extension
- Growing Asparagus in a Home Garden — University of Maryland Extension
- Growing Asparagus in the Home Garden — Penn State Extension
- Growing Asparagus Takes Patience But Rewards Gardeners for Years — OSU Extension Service