Growing Tomatoes: Your Complete Guide to a Great Harvest

Tomatoes are the gateway drug of vegetable gardening. They’re the crop that makes people start growing food, and they’re the crop that teaches people how much can go wrong. Blossom end rot, cracking, blight, hornworms, leggy transplants, flowers that never set fruit: the list of tomato problems is long enough to fill a book.
But here’s the thing: most tomato problems come from a handful of preventable mistakes. Choose the right variety, plant at the right time, support the plants properly, water consistently, and you’ll get more tomatoes than you can eat. It’s not complicated, but it’s specific.
Here is everything you need to know.
Determinate vs. Indeterminate
This is the first and most important decision. All tomato varieties fall into one of two categories, and they behave very differently in the garden.
Determinate (Bush Tomatoes)
Determinate tomatoes grow to a fixed size (usually 3 to 4 feet), set all their fruit at roughly the same time, and are done for the season. They don’t need aggressive pruning and work well in cages or compact stakes.
Best for: Container growing, small gardens, canning and preserving (because you get a large harvest at once), and gardeners who want tomatoes without constant maintenance.
Popular varieties: ‘Roma’ (paste), ‘Celebrity’ (all-purpose), ‘Mountain Merit’ (disease-resistant slicer), ‘Patio Princess’ (container).
Indeterminate (Vining Tomatoes)
Indeterminate tomatoes grow and produce continuously until frost kills them. They can reach 6 to 8 feet or more, produce fruit over a long season, and require staking, pruning, and consistent management.
Best for: Gardeners who want tomatoes from July through October, fresh eating, and anyone willing to invest time in ongoing plant care.
Popular varieties: ‘Cherokee Purple’ (heirloom slicer), ‘Sun Gold’ (cherry), ‘Brandywine’ (heirloom), ‘Better Boy’ (classic hybrid), ‘San Marzano’ (paste).
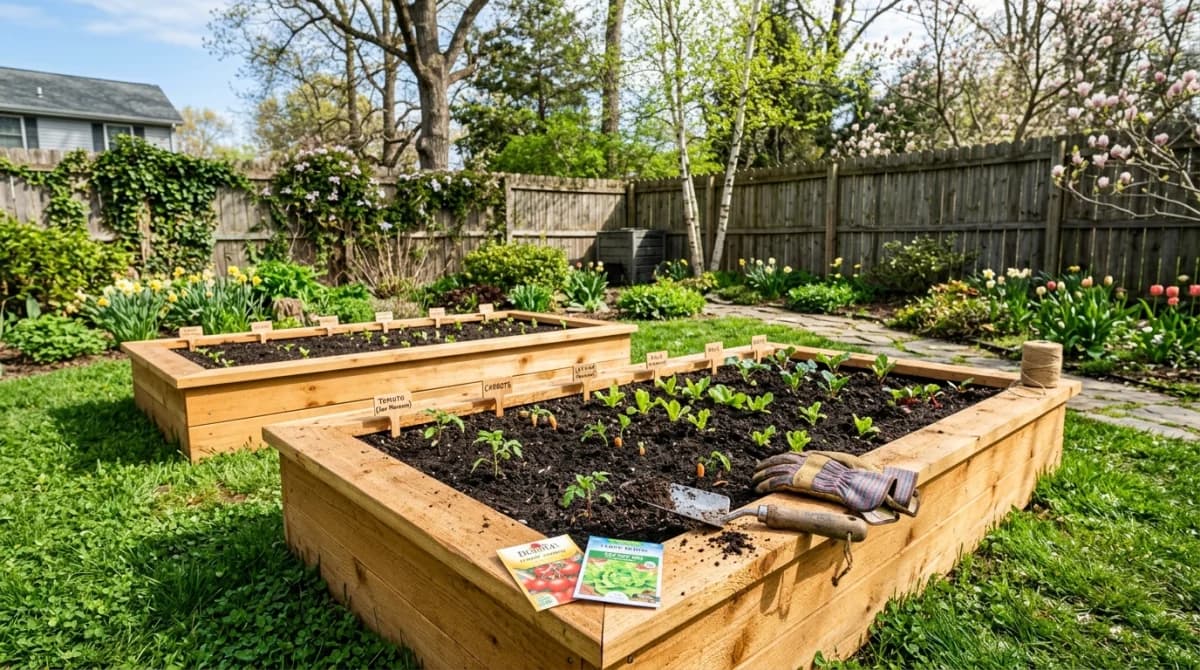
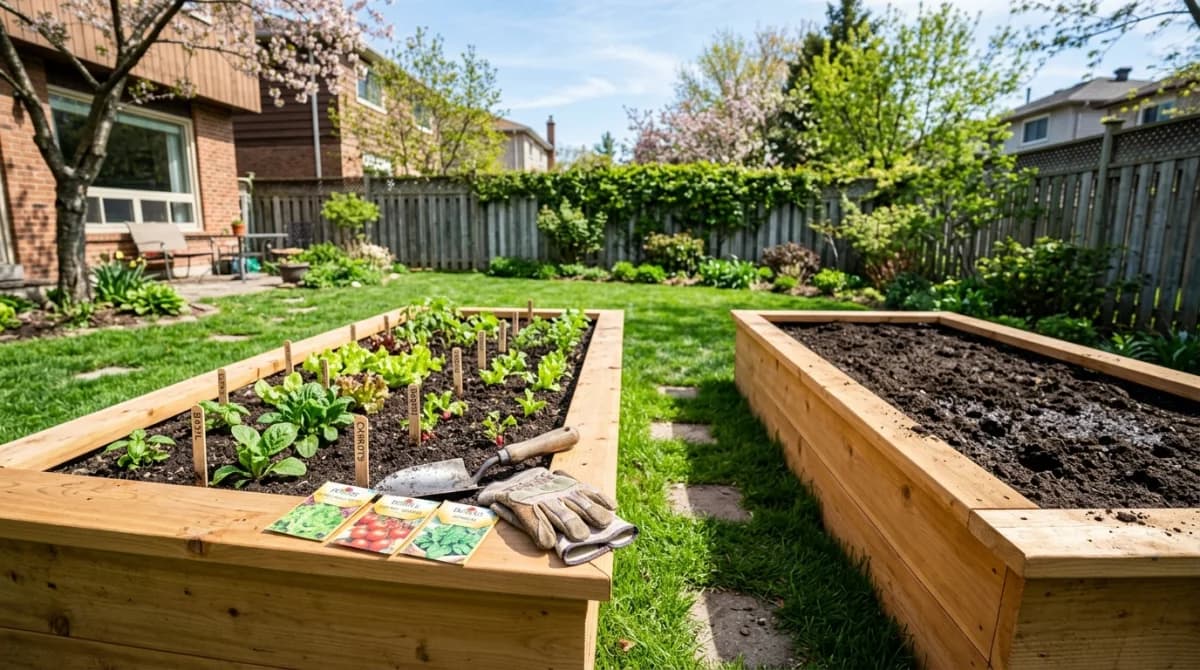
Transplanting
Tomatoes should be transplanted outdoors only when nighttime temperatures consistently stay above 50°F (10°C) and all danger of frost has passed. Cold soil stunts tomato growth for weeks; a tomato planted into 55°F soil grows slower than one planted two weeks later into 65°F soil.
Planting Deep
Tomatoes are one of the few plants that benefit from being planted deeper than they grew in the pot. Bury the stem up to the lowest set of healthy leaves. Roots will form along the buried stem, creating a stronger, more drought-resistant root system.
Alternatively, dig a shallow trench and lay the stem sideways with just the top leaves above ground. The stem will curve upward within a day or two. This technique works especially well for leggy transplants.
Spacing
Indeterminate tomatoes need 24 to 36 inches between plants. Determinate varieties can be slightly closer at 18 to 24 inches. Proper spacing ensures air circulation, which is the single most important factor in preventing foliar disease.

Staking and Support
Every tomato plant needs support. Unsupported plants sprawl on the ground, where fruit rots, diseases splash up from the soil, and slugs feast. Choose a support system before planting, as installing stakes after plants are established risks damaging roots.
Tomato Cages
The wire cones sold at hardware stores are too flimsy for indeterminate tomatoes. They topple over by July. If you use cages, buy heavy-gauge welded wire cages at least 5 feet tall, or make your own from concrete reinforcing wire (a 5-foot length of 6-inch mesh rolled into a cylinder).
Good cages are self-contained systems: the plant grows up through the center and the branches rest on the wire. Minimal tying needed.
Stake and Tie
A single wooden or metal stake (6 to 8 feet tall for indeterminate varieties) driven 12 inches into the ground next to the plant. Tie the main stem to the stake every 12 inches as it grows, using soft ties (torn fabric strips, pantyhose, or flexible plant ties). This method requires more pruning to keep the plant to one or two main stems.
Florida Weave
For row plantings, drive stakes every two to three plants. Run twine between the stakes on alternating sides of each plant, creating a cradle. Add a new level of twine every 12 inches as the plants grow. This is the method market gardeners use because it’s fast, cheap, and effective for large numbers of plants.
Pruning Suckers
Suckers are the shoots that grow in the “armpit” between the main stem and a branch. On indeterminate tomatoes, suckers grow into full-sized secondary stems if left alone, creating a massive, bushy plant.
Should you prune them? It depends on your goals:
- Prune for fewer, larger tomatoes. Removing all suckers below the first flower cluster focuses the plant’s energy into fewer fruits that ripen faster and grow larger. This is the approach for slicing tomatoes and short-season climates.
- Leave some for more, smaller tomatoes. Allowing two to three main stems produces more fruit overall, though individual fruits are smaller. This works well for cherry tomatoes and long-season climates.
- Don’t prune determinate tomatoes. They have a built-in growth limit and pruning reduces yield without benefit.
When pruning suckers, pinch them when they’re small (under 4 inches). Once a sucker grows large, removing it creates a big wound. If you find a large sucker, you can either leave it or carefully snap it off; don’t cut it with dirty tools, which risks introducing disease.
Watering
Inconsistent watering causes more tomato problems than any pest or disease.
Consistent deep watering is the rule. Tomatoes need 1 to 2 inches of water per week, delivered in one or two deep sessions rather than daily light sprinklings. Drip irrigation or soaker hoses are ideal because they keep water off the foliage.
Water at the base, never overhead. Wet foliage invites blight, septoria leaf spot, and other fungal diseases. If you must use a hose, water in the morning so leaves dry quickly.
Mulch heavily. A 3-to-4-inch layer of straw, shredded leaves, or grass clippings around tomato plants retains moisture, suppresses weeds, and prevents soil-borne disease from splashing onto lower leaves.
Common Problems and Fixes
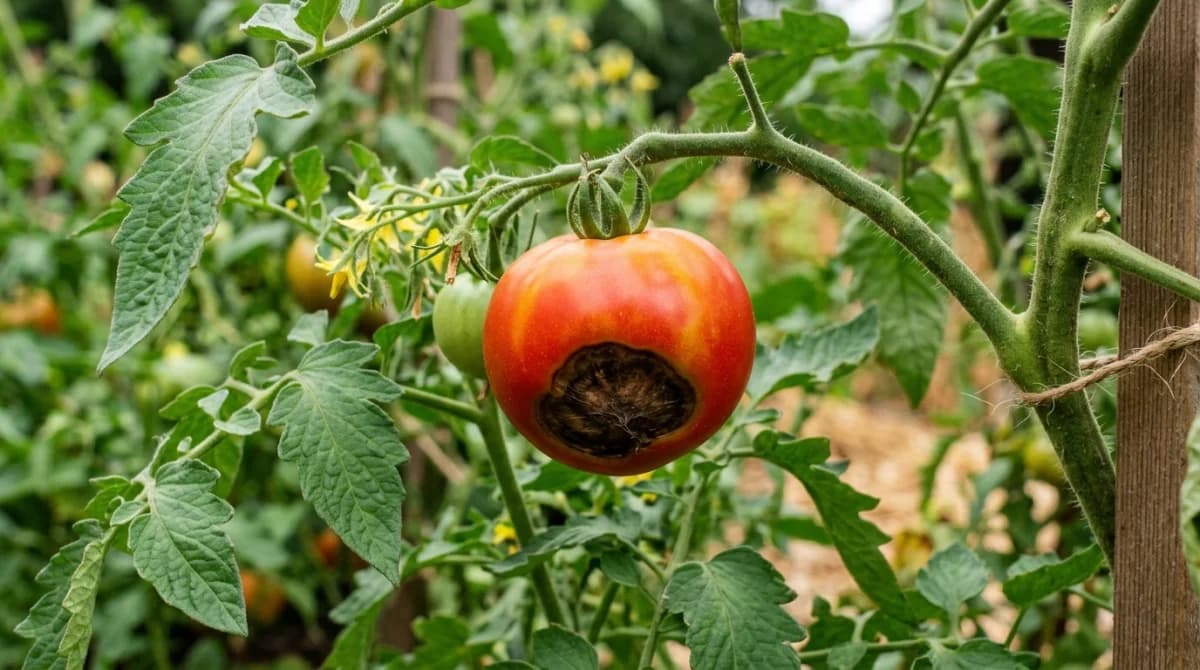
Blossom End Rot
A dark, sunken, leathery spot on the bottom of the fruit. It’s not a disease; it’s a calcium uptake disorder caused by inconsistent watering. The soil usually has plenty of calcium, but the plant can’t absorb it when soil moisture fluctuates between wet and dry.
Fix: Water consistently. Mulch. That’s it. Adding calcium (eggshells, lime) rarely helps because the problem is water management, not calcium deficiency.
Cracking
Concentric cracks around the stem end, or radial cracks running from stem to blossom end. Caused by sudden water availability after a dry period, when the fruit swells faster than the skin can expand.
Fix: Consistent watering. Mulch. Harvest promptly when fruit is ripe. Some varieties are genetically prone to cracking, so switching varieties helps.
Blight (Early and Late)
Early blight: Brown spots with concentric rings on lower leaves, progressing upward. Common in humid climates. Late blight: Gray-green water-soaked spots that spread rapidly, killing entire plants within days. The disease that caused the Irish potato famine.
Prevention: Mulch to prevent soil splash. Remove lower leaves that touch the ground. Space plants for air circulation. Water at the base. Choose resistant varieties. Rotate crops and don’t plant tomatoes or potatoes in the same spot two years running.
Blossom Drop
Flowers form but fall off without setting fruit. Usually caused by temperature extremes: nighttime temperatures below 55°F or daytime temperatures above 90°F inhibit pollination. High humidity, low humidity, and excessive nitrogen can also contribute.
Fix: Wait for temperatures to normalize. Gently tapping or shaking flower clusters improves pollination. Reduce nitrogen if plants are very leafy with few flowers.
Hornworms
Large green caterpillars (up to 4 inches) that can defoliate a tomato plant in days. They’re masters of camouflage; look for dark droppings on leaves below and stripped stems above.
Fix: Hand-pick. If you find a hornworm covered in white rice-like cocoons, leave it, as those are parasitic wasp eggs that will kill the hornworm and produce wasps that control future generations.
Feeding
Tomatoes are heavy feeders. Start with rich, well-amended soil, then supplement:
- At planting: Mix compost and a slow-release organic fertilizer into the planting hole.
- At flowering: Switch to a lower-nitrogen, higher-phosphorus and potassium fertilizer to support fruit development. Too much nitrogen at this stage produces leafy growth at the expense of fruit.
- Every two weeks: Apply liquid fertilizer (fish emulsion, seaweed, or a tomato-specific feed) through the growing season.
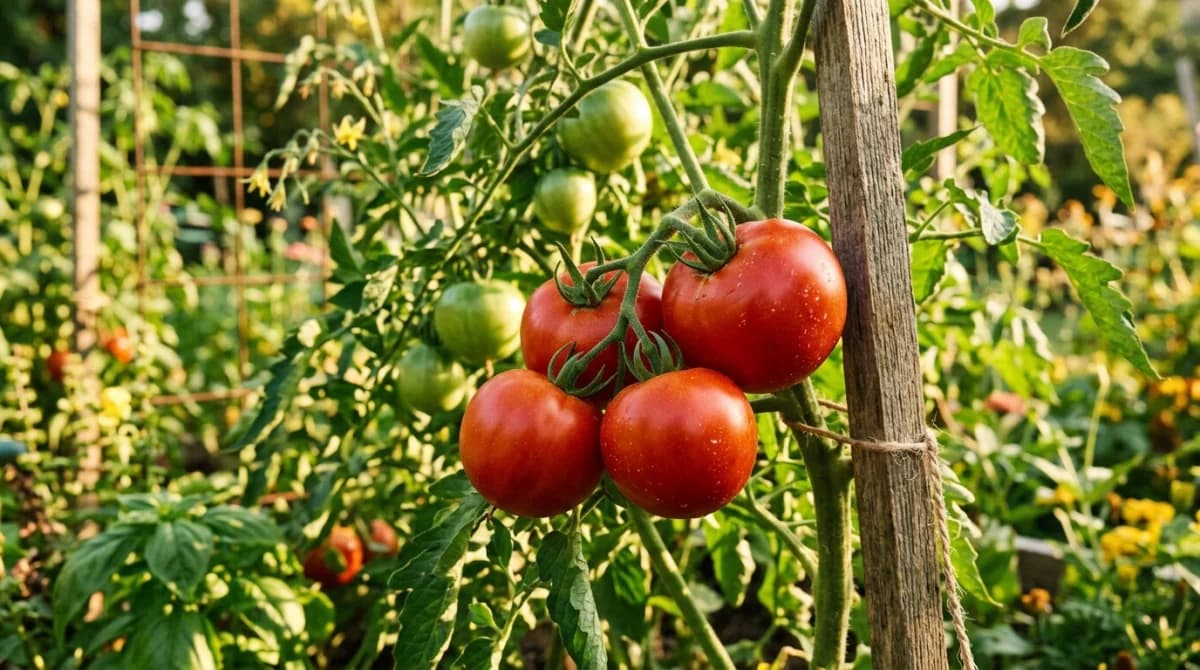
Harvesting at Peak Flavor
The best-tasting tomato is one that ripens fully on the vine in warm weather. Pick when the fruit is fully colored, gives slightly to gentle pressure, and separates from the stem with a light twist.
In late season, when frost threatens, pick all fruit that shows any color change (even slightly blushing) and ripen them indoors on the counter. Green tomatoes without any color won’t ripen well.
Never refrigerate tomatoes. Cold temperatures destroy the volatile compounds that give tomatoes their flavor. Store them at room temperature and eat within a few days of picking.
A well-grown tomato plant can produce 10 to 20 pounds of fruit over the season. Start with two or three plants your first year, learn what works in your specific conditions, and expand from there. The reward (a warm, sun-ripened tomato eaten in the garden) is worth every bit of effort.