How to Start a Vegetable Garden From Scratch This Spring
Starting a vegetable garden sounds simple until you actually try it. You pick a spot, buy some seeds, stick them in the ground, and then nothing happens the way the seed packet promised. The lettuce bolts in two weeks, the tomatoes get some mysterious brown spot, and the zucchini either produces nothing or buries you alive.
Most of these problems trace back to decisions made before a single seed went in the ground. The spot you chose, how you prepared the soil, which crops you picked, and how you laid everything out. These decisions determine whether your first garden is a frustrating experiment or the start of something you’ll do for years.
Here is how to get it right the first time.
Choose the Right Spot
The single most important decision is where your garden goes. Get this wrong and no amount of good soil, watering, or variety selection will save you.
Sun is non-negotiable. Vegetable gardens need a minimum of six hours of direct sunlight per day. Eight hours is better. Fruiting crops like tomatoes, peppers, squash, and beans need full sun to produce anything worth picking. Leafy greens can get by with less, but even they perform better with plenty of light.
Spend a day watching your yard before you commit. That sunny corner in the morning might be fully shaded by afternoon. Track sunlight at 9 AM, noon, and 3 PM to get an accurate picture.
Water access matters more than you think. Your garden needs to be close enough to a water source that you’ll actually water it consistently. If the nearest spigot is 100 feet away, you’ll start skipping days when it’s hot. A hose that reaches the garden easily is a basic requirement.
Flat ground drains better. Slopes send water downhill before it can soak in, and low spots collect water and drown roots. If your yard has some slope, terracing or raised beds solve the problem.
Prepare Your Soil
The difference between struggling plants and thriving ones is almost always soil quality. Most yard soil is compacted, nutrient-poor, and either too sandy or too heavy with clay. It needs work before it can grow food.
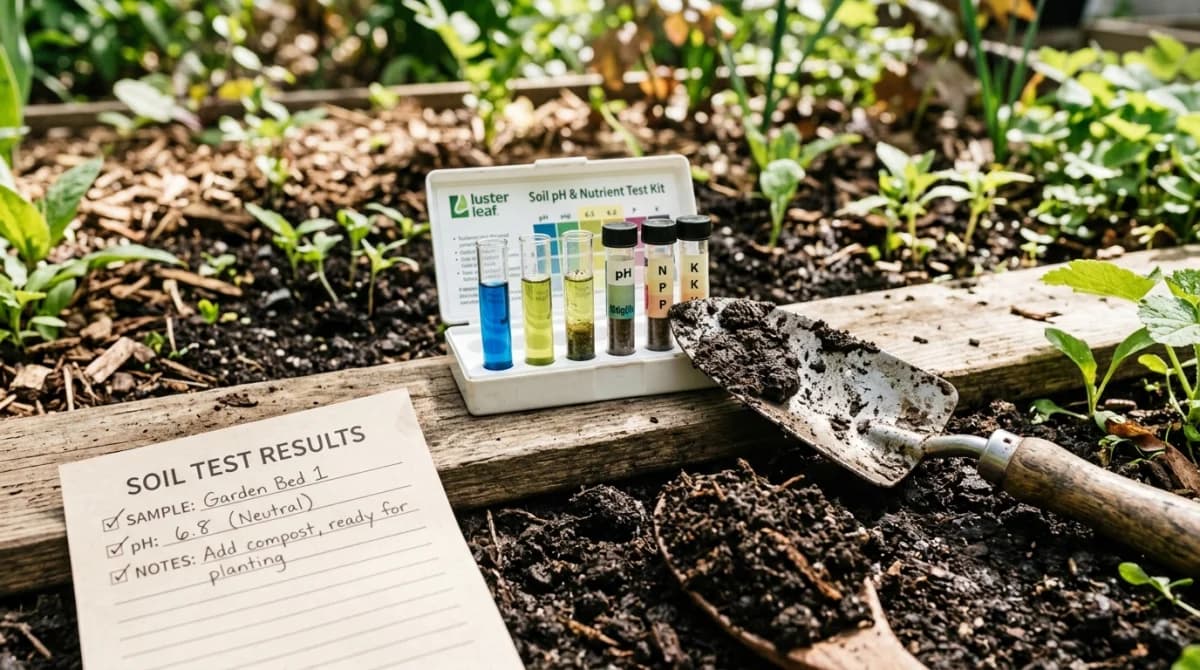
Test First
A soil test tells you the pH, nutrient levels, and organic matter content. Your local cooperative extension office offers inexpensive soil testing, usually for $10 to $20. The results come back with specific recommendations for what to add. This is far more useful than guessing.
Most vegetables prefer a pH between 6.0 and 7.0. If your soil is too acidic, lime brings it up. If it’s too alkaline, sulfur brings it down. But you won’t know what you need without testing.
Amend Generously
The universal fix for almost any soil problem is organic matter. Two to four inches of finished compost, worked into the top eight to ten inches of soil, improves drainage in clay, water retention in sand, and nutrient availability in both.
If you’re building new beds, add compost every time you plant for the first two to three years. After that, the soil biology builds up and the soil starts improving itself.
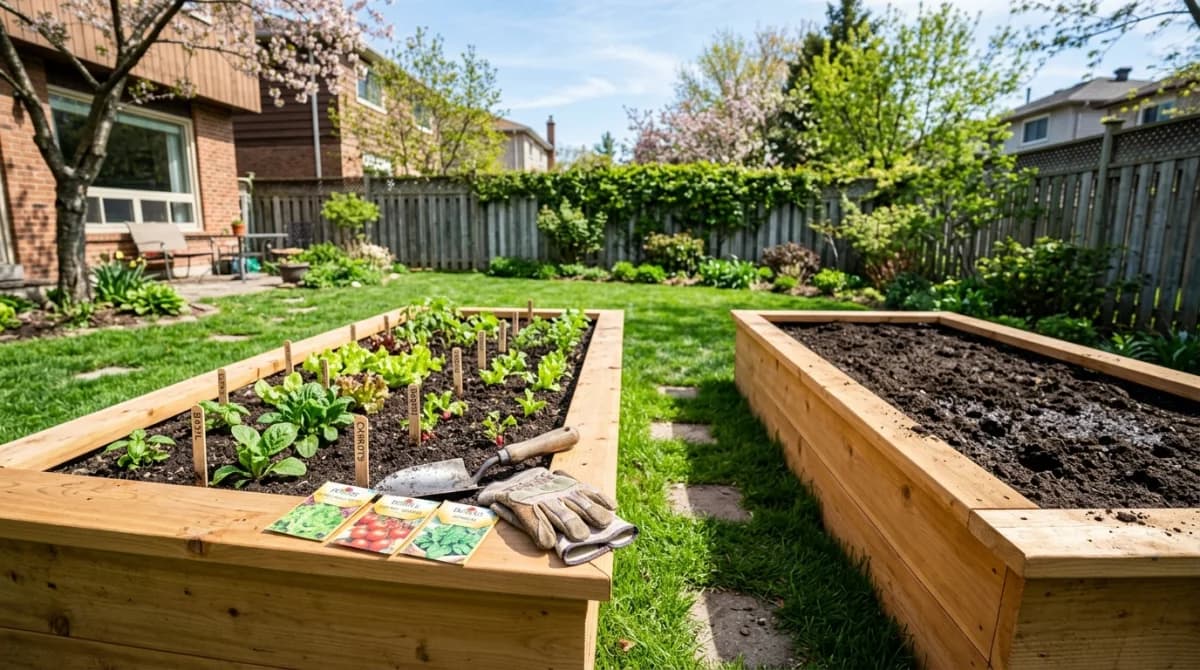
Consider Raised Beds
If your native soil is truly terrible (hardpan clay, solid rock, contaminated), raised beds let you bypass the problem entirely. Fill them with a mix of topsoil, compost, and a drainage material like perlite, and you have perfect growing conditions from day one.
A 4-by-8-foot raised bed is the standard starting size. It’s big enough to grow a meaningful amount of food, small enough to reach the center from either side without stepping in the bed.
Pick the Right Starter Crops
The biggest beginner mistake is growing too many things at once. Start with five to seven crops that are reliable, productive, and forgiving.
Almost Impossible to Fail
- Lettuce and salad greens: Direct sow in early spring, harvest in 30 to 45 days. Sow every two weeks for continuous harvest.
- Bush beans: Direct sow after last frost. Virtually no pest problems, heavy producers, zero fuss.
- Zucchini: One plant produces more than a family can eat. Space it generously (3 feet) because it gets enormous.
- Radishes: Ready to harvest in 25 to 30 days. Great for filling gaps and teaching patience (or rewarding impatience).
- Herbs (basil, cilantro, parsley): Grow in the bed or in pots nearby. Cut-and-come-again harvesting all season.
Moderate Skill Required
- Tomatoes: Start with transplants, not seeds. Choose a disease-resistant variety like ‘Defiant’ or ‘Mountain Merit’ for your first year. Stake or cage them early.
- Peppers: Similar to tomatoes but slower. Start with transplants, give them the warmest spot in the garden.
- Cucumbers: Productive and fast, but need trellising to save space and prevent disease.
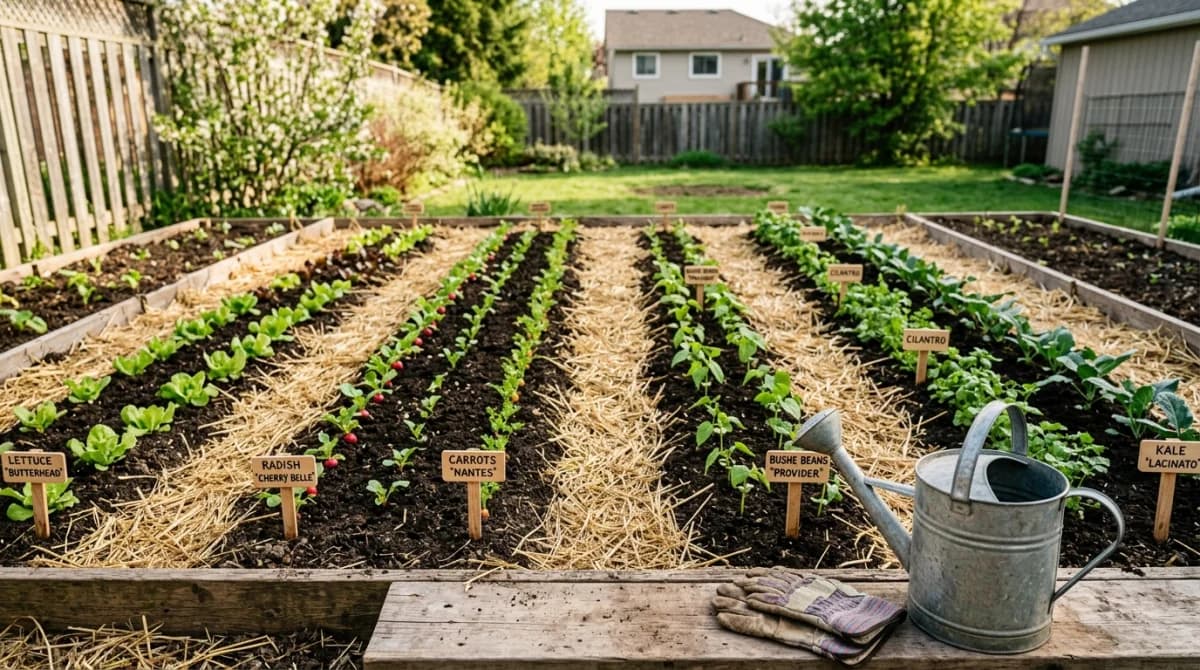
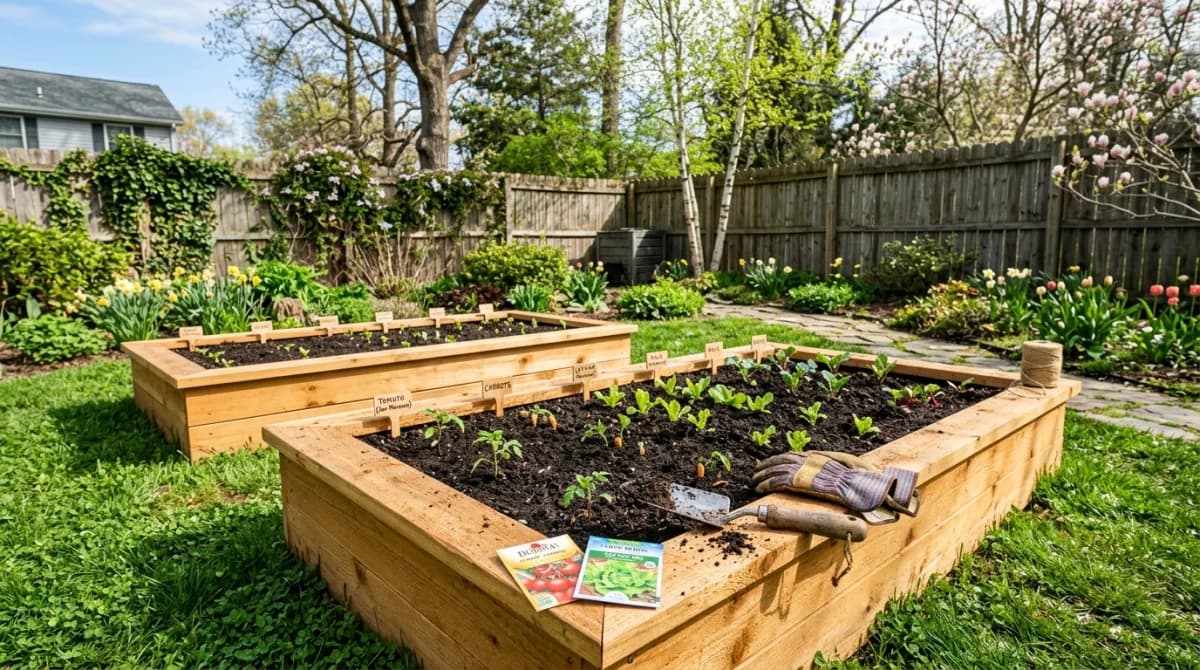
Plan Your Layout
How you arrange your crops matters more than most beginners realize. A bad layout leads to shaded-out plants, wasted space, and pest problems.
Tall Plants Go North
Orient your bed so that the tallest crops (tomatoes, trellised cucumbers, pole beans) are on the north side. This prevents them from shading shorter crops. Everything else cascades down in height toward the south.
Leave Room for Access
You need to reach every plant without stepping in the bed. If you can only access from one side, keep the bed no wider than 2 feet. With access from both sides, 4 feet is the maximum comfortable width.
Leave at least 18 inches between beds for walking paths. If you use a wheelbarrow, 24 to 30 inches is better.
Don’t Overcrowd
Seed packets list spacing for a reason. Crowded plants compete for light, water, and nutrients, and the humid conditions between packed stems invite disease. If the packet says 18 inches apart, that means 18 inches, not 12.
This is the hardest lesson for new gardeners. A garden with proper spacing looks sparse in May and full by July. A garden that looks full in May is an overcrowded mess by July.
Use Succession Planting
Instead of planting all your lettuce at once and harvesting it all at once, sow a short row every two weeks. This gives you a continuous harvest instead of a glut followed by nothing. The same approach works for radishes, beans, and other quick crops.
Your First-Month Care Schedule
The first four weeks set the tone for the whole season.
Week 1: Water transplants daily for the first three to five days, then every other day. Direct-sown seeds need consistently moist soil until germination; check daily.
Week 2: Reduce watering to every two to three days for established transplants. Watch for signs of transplant shock (wilting in afternoon sun, yellowing lower leaves) and shade stressed plants temporarily if needed.
Week 3: Mulch around established plants with 2 to 3 inches of straw or shredded leaves. This cuts watering needs roughly in half and suppresses weeds.
Week 4: Begin feeding with a balanced organic fertilizer if your plants are actively growing. Side-dress with compost or apply a diluted liquid fertilizer every two weeks through the growing season.
Common Beginner Mistakes
Planting too early. Tomatoes and peppers planted into cold soil sit and sulk. Wait until nighttime temperatures consistently stay above 50°F (10°C) before transplanting warm-season crops.
Watering on a schedule instead of based on need. Stick your finger an inch into the soil. If it’s dry, water. If it’s moist, wait. Overwatering causes as many problems as underwatering.
Ignoring pests until it’s too late. Walk through your garden every day or two and look at the plants. Turn over leaves, check stems, and look for holes or discoloration. Catching a problem early (when it’s five aphids instead of five hundred) makes the difference between a quick fix and a lost crop.
Skipping mulch. Bare soil dries out fast, heats up fast, and grows weeds fast. Mulch is not optional: it’s the single biggest labor-saving practice in vegetable gardening.
Buying too many varieties. Five crops grown well beat fifteen crops grown poorly. You can always expand next year once you know what works in your specific conditions.
Start Small, Expand Later
A single 4-by-8 raised bed or a 10-by-10-foot in-ground plot is enough for your first year. This gives you enough space to grow a meaningful amount of food without making the garden a second job.
If you want to plan your layout before you build anything, tools like Gardenly let you experiment with different bed arrangements and see how the space works together before you commit to digging.
The goal for year one isn’t a magazine-cover garden. The goal is learning what works in your yard, with your soil, in your climate. Everything you plant this spring teaches you something that makes next year better. Start now, keep it simple, and let the garden grow alongside your confidence.