Grow Peas Now: The First Crop of Spring Rewards the Impatient Gardener

If you have been staring out the window since January waiting for growing season to start, peas are your answer. They germinate in soil as cold as 40°F, laugh off light frosts, and actually produce sweeter pods in cool weather than they do in warmth. While your tomato and pepper seedlings sit under grow lights for another two months, peas can be in the ground right now and producing by late May.
A ten-foot row of peas yields roughly five to eight pounds of pods over a three-week harvest window — more than enough to eat fresh, toss in stir-fries, and still freeze a few bags for summer.
Choosing What to Grow
Peas break into three categories, and the one you pick determines how you will eat them.
Shelling Peas (English Peas)
The classic garden pea. You pop open the pod and eat only the round green peas inside. The pods themselves are tough and fibrous. These are what most people picture when they think of fresh peas, and the flavor difference between homegrown and store-bought is enormous — sugars start converting to starch within hours of picking.
Strong varieties:
- ‘Green Arrow’: Heavy yields, 24-28 inch vines, excellent disease resistance. The reliable workhorse.
- ‘Lincoln’: Heirloom from the 1900s. Smaller pods but exceptional sweetness. Tolerates heat better than most.
- ‘Wando’: The best choice for warmer zones where spring heats up fast. Produces well even as temperatures climb.
Snow Peas
Flat, thin pods eaten whole before the peas inside develop. The entire pod is tender and crisp. Essential for stir-fries and salads.
- ‘Oregon Sugar Pod II’: The standard. Disease-resistant, prolific, 28-inch vines. Hard to go wrong.
- ‘Mammoth Melting Sugar’: Tall vines (4-5 feet) with large, sweet pods. Needs sturdy support but worth the effort.
Sugar Snap Peas
The best of both worlds — thick, crunchy pods with plump peas inside, all edible. These are the ones people eat straight off the vine and can’t stop.
- ‘Sugar Snap’: The original, bred in 1979. Tall vines (5-6 feet), outstanding flavor, heavy yields.
- ‘Sugar Ann’: Bush type, only 24 inches tall, no trellis needed. Two weeks earlier than Sugar Snap. Good for containers.
- ‘Super Sugar Snap’: Improved disease resistance over the original, similar flavor and height.
Which Type to Plant?
If you have room for only one, grow sugar snaps. They are the most versatile, the most snackable, and they produce over the longest window. If you cook a lot of Asian food, add a row of snow peas. If you want peas for soups, risotto, or to freeze, plant shelling types.
When and Where to Plant
Peas go in the ground four to six weeks before your last frost date. In most of the country, that means mid-March through mid-April. They handle frost down to about 28°F without damage, so there is no need to wait for warm weather — in fact, waiting too long is the more common mistake.
Site Selection
Full sun is ideal, but peas tolerate light afternoon shade and may even benefit from it in zones 7 and warmer, where spring heat arrives early. Avoid spots where peas or beans grew last year to reduce disease pressure.
Peas fix their own nitrogen from the air through a symbiotic relationship with soil bacteria, so they do not need nitrogen-rich soil. In fact, too much nitrogen produces lush vines with few pods. If you have reasonably fertile garden soil, no fertilizer is needed. A light side-dressing of compost at planting time is plenty.
Soil Prep
Peas want well-drained soil. They tolerate a wide pH range (6.0-7.5) but suffer in waterlogged ground. If your soil is heavy clay, raise the bed a few inches or plant in a mound to improve drainage. Work the soil to a depth of about six inches — peas are not deep rooted.
Inoculant: Worth the Effort
Pea and bean inoculant is a powder containing Rhizobium bacteria that helps peas fix nitrogen more efficiently. If you have never grown peas or beans in a particular spot, coating seeds with inoculant before planting noticeably improves growth. It costs a few dollars for enough to treat several plantings and is available at any garden center. Dampen the seeds, sprinkle the powder on, and plant immediately.
Planting
Sow seeds directly in the ground — peas do not transplant well because their roots are sensitive to disturbance.
- Make a furrow one to two inches deep.
- Drop seeds every two to three inches. Peas planted closer together support each other and shade their own roots, which they prefer.
- Cover with soil and water gently. Do not soak — pea seeds rot in soggy conditions before they germinate.
- Germination takes 7-14 days depending on soil temperature. At 40°F, expect the longer end. At 60°F, seedlings appear in a week.
For a longer harvest, make a second sowing two weeks after the first. The two plantings will overlap, extending your picking window by about ten days.
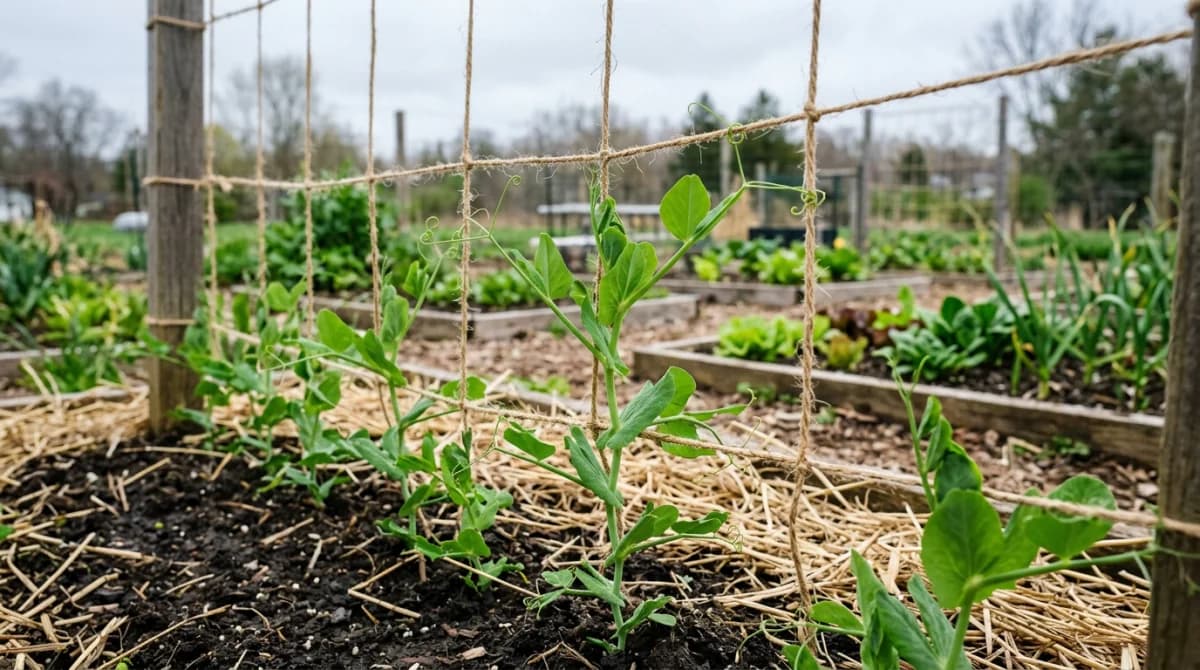
Supporting Your Peas
Even “bush” varieties benefit from something to lean on. Unsupported plants flop, develop mildew from poor air circulation, and make harvesting a muddy, frustrating chore.
Simple Support Options
- Twine trellis: Pound two stakes at each end of the row, run horizontal lines of twine at 6-inch intervals from bottom to top. Cost: nearly zero.
- Wire cattle panel: A 16-foot cattle panel from the farm supply store, cut in half and arched or stood upright. Lasts forever, supports even the tallest varieties.
- Pea brush: The traditional English method. Push branchy twigs (birch, maple, anything) into the soil along the row. The peas grab on with their tendrils and climb naturally. Free if you have a woodlot.
- Netting: Plastic or nylon trellis netting strung between posts. Inexpensive and effective, though harder to clean at season’s end.
Install supports at planting time, not after the peas emerge. Once they start growing, they send out tendrils within days and need something to grab immediately.
How Tall?
Match your support to your variety. Bush types need 2-3 feet. Tall varieties like ‘Sugar Snap’ and ‘Mammoth Melting Sugar’ need 5-6 feet. Undersized supports lead to a tangled mess of vines flopping over the top.
Care Through the Season
Peas are genuinely low-maintenance once established.
Watering: About an inch per week. Peas need consistent moisture during flowering and pod development — dry stress at this stage means fewer, tougher pods. Mulch with straw or shredded leaves to keep roots cool and retain moisture.
Weeding: Keep the bed clean for the first three weeks. After that, pea foliage shades the ground enough to suppress most weeds.
Feeding: None needed in decent soil. If your plants look pale and yellow (unlikely), a light dose of balanced fertilizer helps. Never use high-nitrogen feed — the plants fix their own.
Pests: Aphids are the main concern. A strong spray of water from the hose knocks them off. Avoid broad-spectrum insecticides, which kill the beneficial insects that eat aphids faster than you can spray.
Disease: Powdery mildew appears in late spring as temperatures warm and humidity rises. Choose resistant varieties, space plants for good air flow, and water at the base rather than overhead. Once mildew arrives heavily, the season is ending anyway — pull the plants and compost them.
Harvesting
This is where timing matters. Peas picked too early are underdeveloped; too late and they turn starchy and tough. Check plants daily once pods start forming.
Shelling peas: Harvest when pods are plump and round but still bright green. You should feel the individual peas through the pod wall. If the pod is starting to fade or wrinkle, you have waited too long.
Snow peas: Pick when pods are flat, tender, and about three inches long, before the peas inside start to swell. The pod should snap cleanly when bent.
Sugar snaps: Wait until the pods are plump and round, with the peas visible inside, but the pod wall is still bright green and crisp. Bite into one — it should be sweet and crunchy with no fiber or string. Remove the string from the seam before eating if your variety has one.
Harvest with two hands: hold the vine with one hand and pull the pod with the other. Pea vines are fragile, and yanking pods one-handed tears off branches and reduces future production.
Pick every two days to keep the plants producing. Once a pea plant decides it has made enough mature seeds, it stops flowering.
After the Harvest
Peas are a cool-season crop, and they naturally decline as summer heat arrives. When production drops off and the lower leaves start yellowing, pull the plants. Cut them at ground level rather than pulling — the roots are full of nitrogen-fixing nodules that will feed whatever you plant next.
Peas are one of the best predecessors for heavy feeders like tomatoes, peppers, or squash. The nitrogen they leave behind in the soil gives your summer crops a running start.
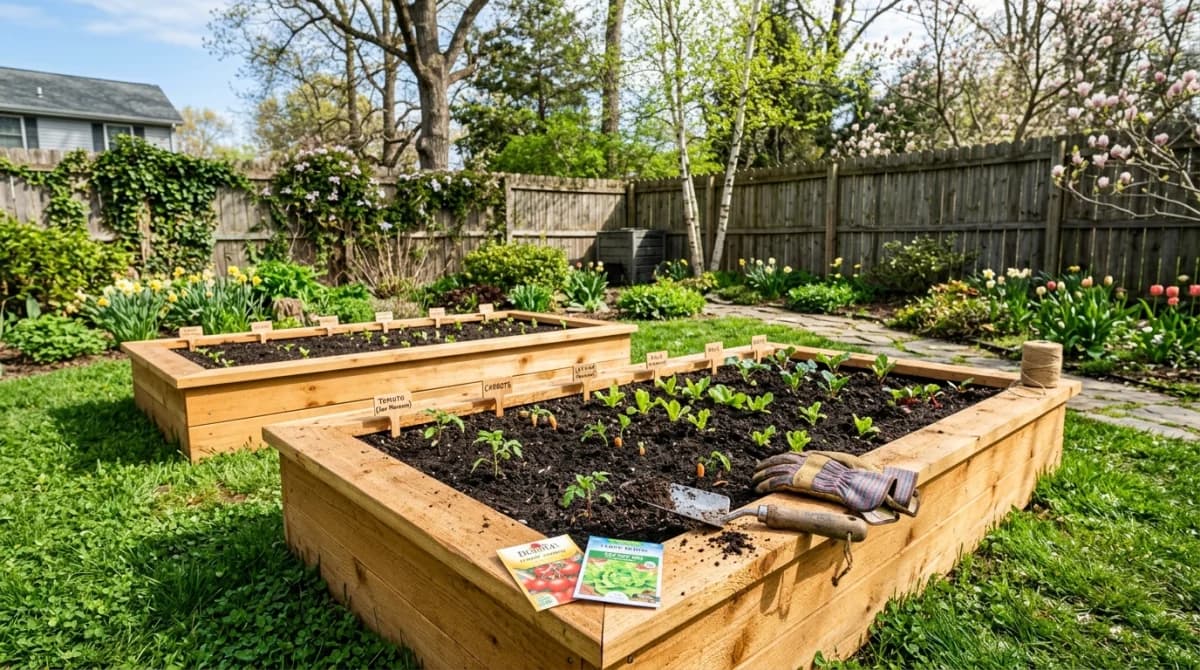
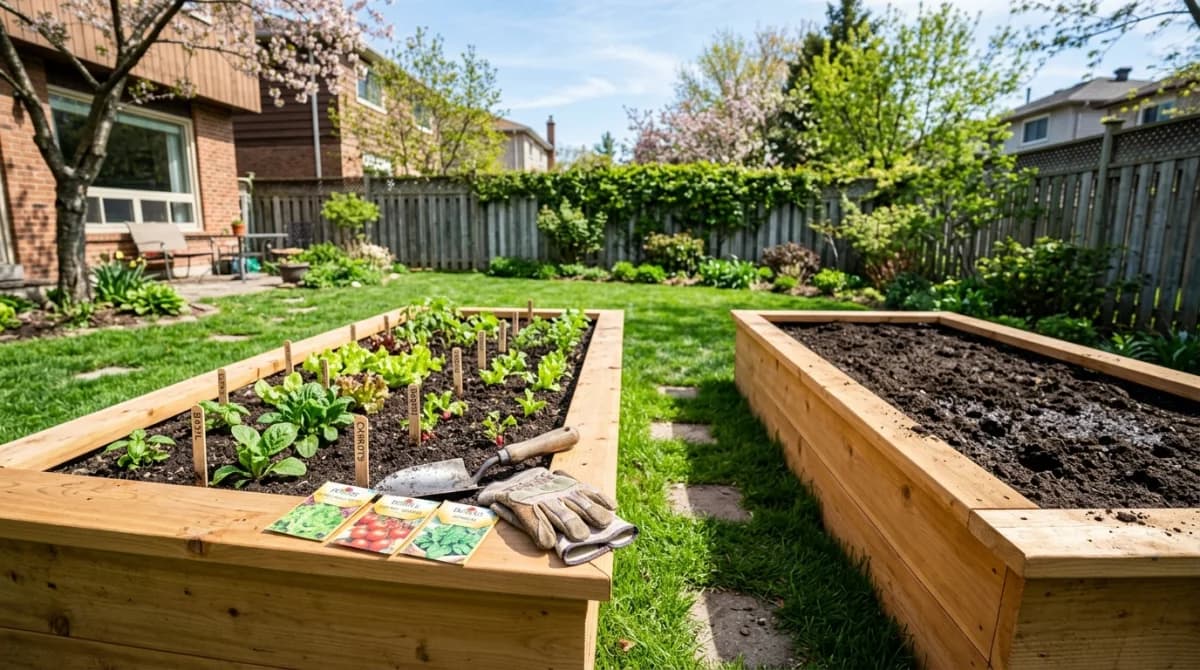
If you are planning where peas fit into your spring garden layout alongside other early crops, Gardenly can help you map out a succession plan that keeps every bed productive from the last frost through fall.
The Case for Growing Peas
There is no vegetable with a bigger gap between fresh-from-the-garden and store-bought. Grocery store peas — even the ones in the pod — were picked days ago, and their sugars have been converting to starch every hour since. A pea eaten within minutes of picking is a completely different food: intensely sweet, bright, and crisp in a way that the packaged version simply cannot replicate.
That alone is reason enough to clear a row, string up some twine, and get seeds in the ground this week. The soil is ready, the weather is right, and the peas do not mind the cold one bit.
Sources & Further Reading
- Growing Peas in Home Gardens — University of Minnesota Extension
- Cultural Tips for Growing Peas — UC Statewide IPM Program
- Plant Cold-Hardy Vegetables Now for a Spring Harvest — Oregon State University Extension