Growing Potatoes: How to Plant, Hill, and Harvest Your Own Crop This Spring
Few vegetables deliver the satisfaction of potatoes. You push a wrinkled chunk of tuber into cold spring soil and a few months later you dig up pounds of food. No greenhouse, no grow lights, no fuss. Potatoes are one of the most productive crops you can grow in a home garden, and mid-March is the window to get them started in most of the country.
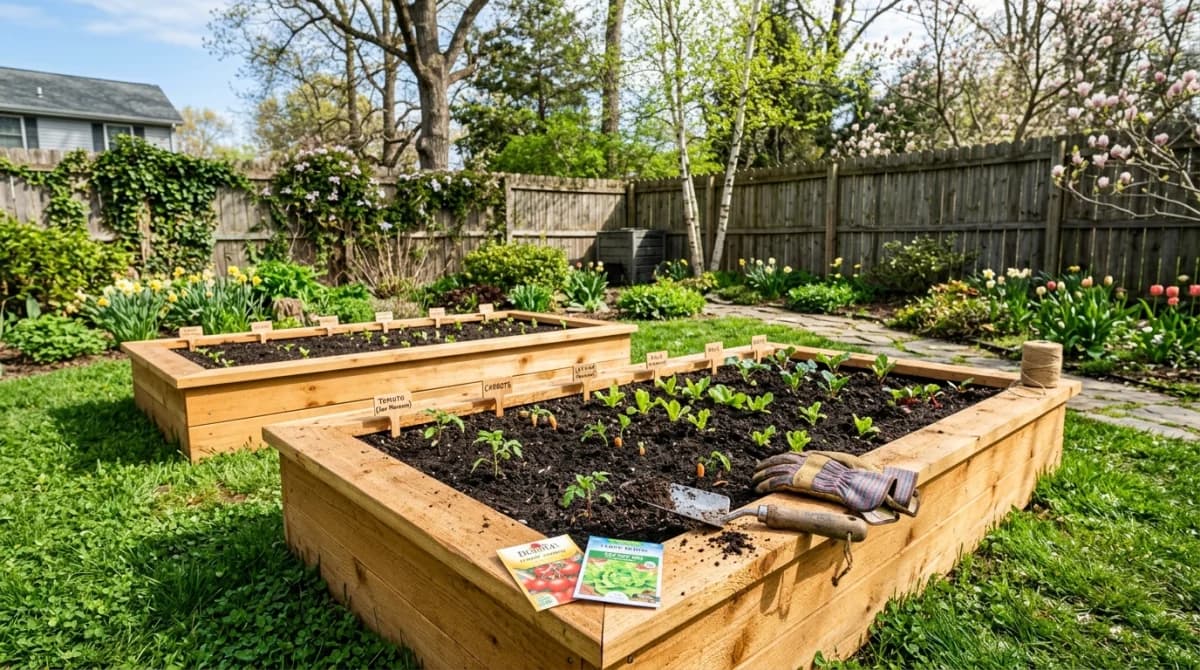
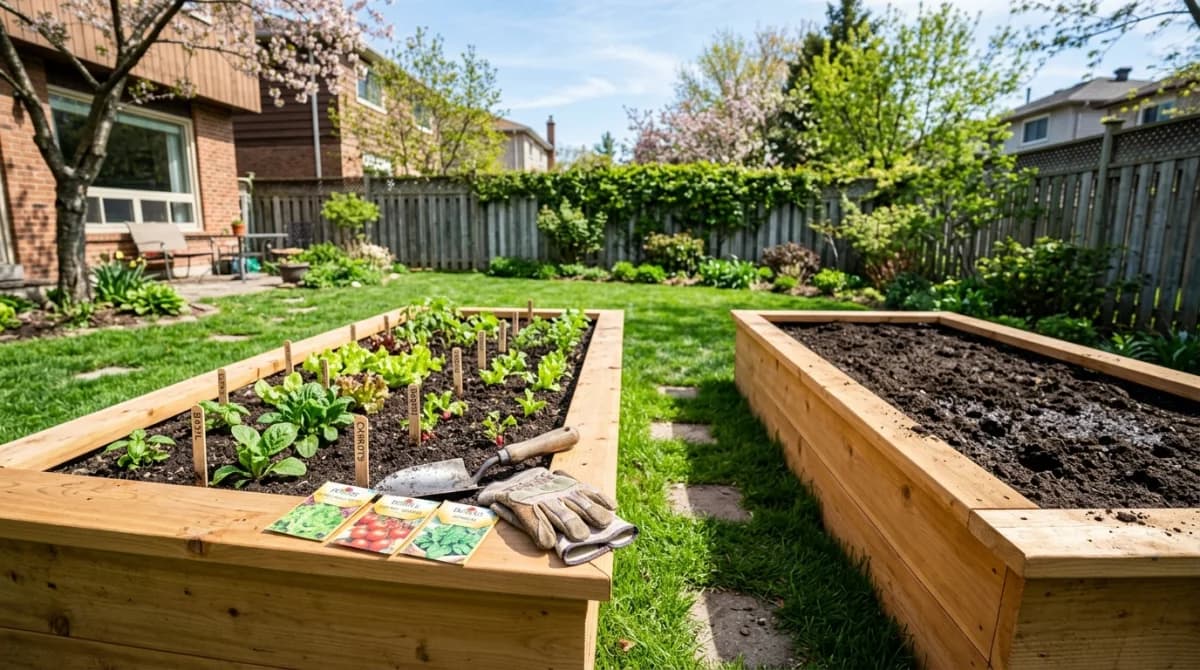
Here is how to grow potatoes from start to harvest, whether you have raised beds, in-ground rows, or just a few large containers on a patio.
Choosing Seed Potatoes
Do not plant grocery store potatoes. They are often treated with sprout inhibitors and may carry diseases. Buy certified seed potatoes from a garden center or online supplier. They are inspected for disease and bred to perform in the garden.
Types Worth Growing
- Yukon Gold — buttery yellow flesh, excellent all-purpose potato, ready in about 80 days
- Red Norland — early red-skinned variety, great for boiling and potato salad, ready in 70 days
- Kennebec — classic white potato, heavy yielder, stores well for months
- Russian Banana — fingerling variety with waxy flesh, perfect roasted, about 90 days
- Purple Majesty — deep purple skin and flesh, high in antioxidants, a conversation starter at dinner
For your first year, pick two or three varieties with different maturity dates. This spreads out your harvest and lets you learn which types perform best in your soil.
Chitting: Giving Potatoes a Head Start
Chitting means letting seed potatoes sprout before planting. It is optional but gives you a week or two head start on the growing season.
About two to three weeks before your planting date, set seed potatoes in a single layer in egg cartons or a shallow box. Place them in a cool, bright spot — a windowsill or unheated room works well. You want short, stubby green or purple sprouts, not the long white ones that grow in dark pantries.
Each seed potato should develop two to four strong sprouts about half an inch to an inch long. If a potato has more sprouts than that, rub off the weakest ones so the plant puts its energy into fewer, stronger stems.
Cutting Seed Potatoes
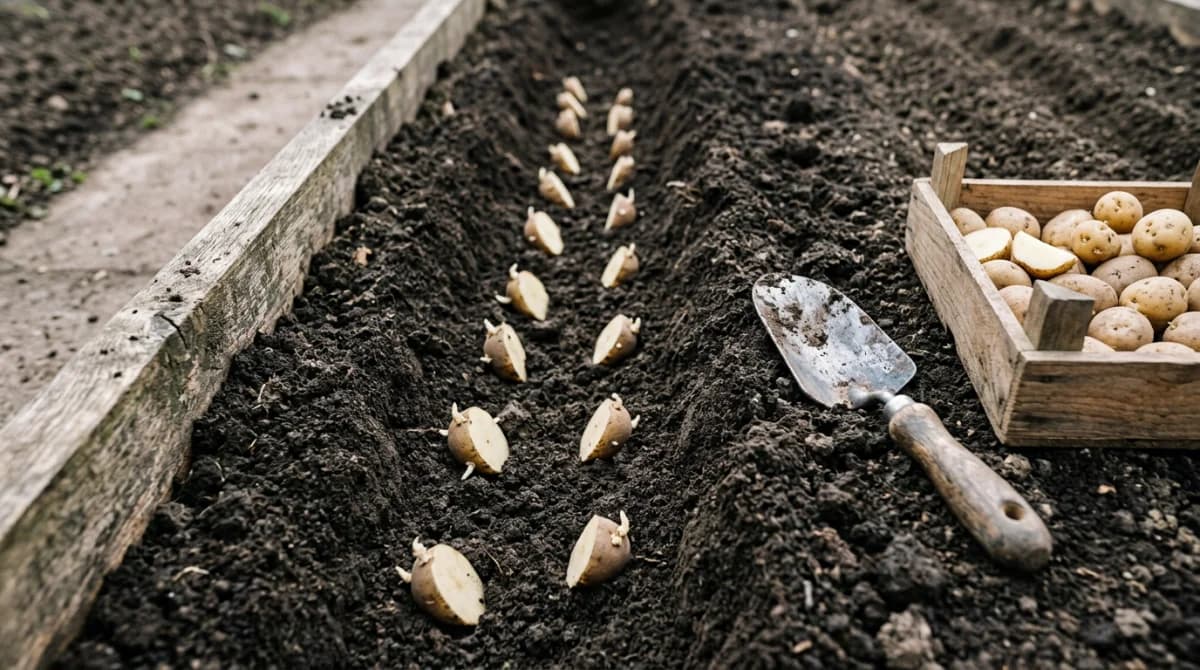
Small seed potatoes the size of a golf ball can go in the ground whole. Larger ones should be cut into pieces, each with at least two eyes (the small dimples where sprouts emerge).
Cut them two to three days before planting and let the cut surfaces dry and form a callus. This sealing prevents rot when the pieces hit cold, damp soil. Spread cut pieces in a single layer on newspaper in a cool room. By planting day, the cut surfaces should feel dry and slightly leathery.
When to Plant
The old rule is to plant potatoes when the soil temperature reaches 45 degrees Fahrenheit. In most of zones 5 through 7, that means mid-March to early April. Potatoes handle light frost — the foliage may get nipped but the plant recovers quickly.
A soil thermometer takes the guessing out of it. Push it 4 inches into the bed first thing in the morning. If it reads 45 or above for several consecutive days, you are good to go.
- Zones 3-4: Late April to early May
- Zones 5-7: Mid-March to early April
- Zones 8-9: February to early March (or fall planting in September)
Preparing the Bed
Potatoes need loose, well-drained soil. They struggle in compacted clay where tubers cannot expand and water pools around the roots.
Soil Requirements
- pH: 5.0 to 6.5 — potatoes prefer slightly acidic soil. Alkaline soil increases the risk of scab, a cosmetic disease that roughens the skin.
- Texture: Sandy loam is ideal. If you have heavy clay, work in 3 to 4 inches of compost to improve drainage.
- Fertility: Mix in a balanced organic fertilizer or a handful of bone meal per planting hole. Avoid fresh manure — it promotes scab.
Loosen the soil at least 12 inches deep. If you are using raised beds, this is one crop where deeper beds (12 inches or more) really pay off.
Planting Methods
Traditional Trench Method
This is the classic approach and works well for in-ground gardens.
- Dig a trench 6 inches deep and 6 inches wide.
- Place seed potato pieces cut-side down, 12 inches apart, with sprouts pointing up.
- Cover with 3 to 4 inches of soil. Leave the trench partially unfilled — you will add more soil later as the plants grow.
- Space rows 30 to 36 inches apart.
Raised Bed Method
If you garden in raised beds, skip the trench and plant seed potatoes 4 inches deep and 12 inches apart in all directions. This grid spacing maximizes your harvest in a limited space.
Container Method
Potatoes grow surprisingly well in large containers — at least 15 gallons. Fabric grow bags, half barrels, or large plastic tubs all work.
- Fill the container one-third full with a mix of potting soil and compost.
- Place three to four seed potato pieces on the surface, evenly spaced.
- Cover with 4 inches of soil mix.
- As the plants grow, keep adding soil mix until the container is full.
The container method is perfect for patios, balconies, or anywhere you do not have garden space. Harvesting is effortless — just dump the container and pick out the potatoes.
Hilling: The Key to a Big Harvest
Hilling is the most important technique for growing potatoes and the step most beginners skip. When potato stems are exposed to light, they produce more tubers along the buried portion. When tubers are exposed to light, they turn green and produce solanine, which is toxic. Hilling solves both problems.
How to Hill
When the plants are about 6 inches tall, mound soil, straw, or compost around the base of each plant, leaving only the top 2 to 3 inches of foliage exposed. Repeat every two to three weeks until the mound is 12 to 15 inches tall.
You can hill with:
- Garden soil from between the rows
- Straw or hay — clean, easy to work with, and makes harvest simple since you just pull the straw back
- Shredded leaves — free and effective, though they pack down more than straw
- Compost — adds fertility as it hills
Most of your potato crop forms in the hilled material above the original seed piece. Skip hilling and you get a fraction of the possible harvest.
Watering
Potatoes need consistent moisture, especially during tuber formation — the period from flowering until the foliage starts to yellow. Uneven watering causes knobby, misshapen tubers and hollow hearts.
Aim for about 1 to 2 inches of water per week. Drip irrigation or soaker hoses work best because they keep the foliage dry, which reduces the risk of late blight. Overhead watering in the evening is the worst combination — wet leaves overnight invite fungal disease.
Stop watering when the foliage begins to yellow and die back. This signals the tubers are maturing, and dry soil helps the skins set for storage.
Common Problems
Late blight: The same disease that caused the Irish Potato Famine. Shows up as dark, water-soaked spots on leaves that spread rapidly in cool, wet weather. Remove and destroy affected foliage immediately. Do not compost it. Prevent it by keeping foliage dry and choosing resistant varieties.
Colorado potato beetles: Bright yellow-orange beetles with black stripes. Hand-pick adults and crush the orange egg clusters on the undersides of leaves. Row cover applied at planting keeps them off entirely.
Scab: Rough, corky patches on the skin. Caused by alkaline soil and fresh manure. Lower your soil pH and use only well-aged compost. Scab is cosmetic — the potatoes are still edible after peeling.
Green tubers: Caused by exposure to sunlight. This is why hilling matters. Green potatoes contain solanine and should not be eaten. Keep tubers well covered with soil or mulch at all times.
Harvesting
New Potatoes
You can start stealing a few new potatoes about two to three weeks after the plants flower. Reach into the hill and feel around for egg-sized tubers without disturbing the plant. Take a few from each plant and let the rest keep growing.
Main Harvest
The main crop is ready when the foliage yellows, wilts, and dies back — typically 70 to 120 days after planting depending on the variety. Wait two weeks after the foliage dies before digging. This lets the skins toughen up for storage.
Use a garden fork, not a shovel, and start digging about 12 inches away from the plant to avoid slicing tubers. Work carefully and dig the entire hill. Potatoes hide in unexpected places.
Curing for Storage
Brush off loose soil but do not wash the potatoes. Lay them in a single layer in a cool, dark, well-ventilated spot for one to two weeks. This curing period heals any nicks from harvesting and toughens the skin.
After curing, store potatoes in a dark, cool place — ideally 38 to 45 degrees Fahrenheit with moderate humidity. A basement, root cellar, or unheated garage works well. Under these conditions, storage varieties like Kennebec will keep for four to six months.
Planning Your Potato Patch
Ten seed potatoes planted in a 4-by-8-foot raised bed can yield 20 to 40 pounds of potatoes depending on the variety and growing conditions. That is a significant amount of food from a small space.
If you are designing your garden layout for spring, Gardenly can help you visualize where a potato bed fits alongside your other plantings — useful when you need to plan for the 3-foot row spacing and account for the hilling that will happen over the season.
Get Seed Potatoes Now
Seed potatoes sell out fast at garden centers. Order online or visit your local nursery now — by early April, the best varieties may be gone. A 5-pound bag of seed potatoes costs around $8 to $12 and will plant a 15-to-20-foot row.
There is something deeply satisfying about digging potatoes. Every forkful of soil reveals another tuber, and you never quite know how many you will find until you dig. Plant some this week and you will understand by July.
Sources & Further Reading
- Growing Potatoes in Home Gardens — University of Minnesota Extension
- Grow Your Own Potatoes — Oregon State University Extension
- Potato Production — Penn State Extension