Hardening Off Seedlings: The Two-Week Process That Prevents Transplant Shock
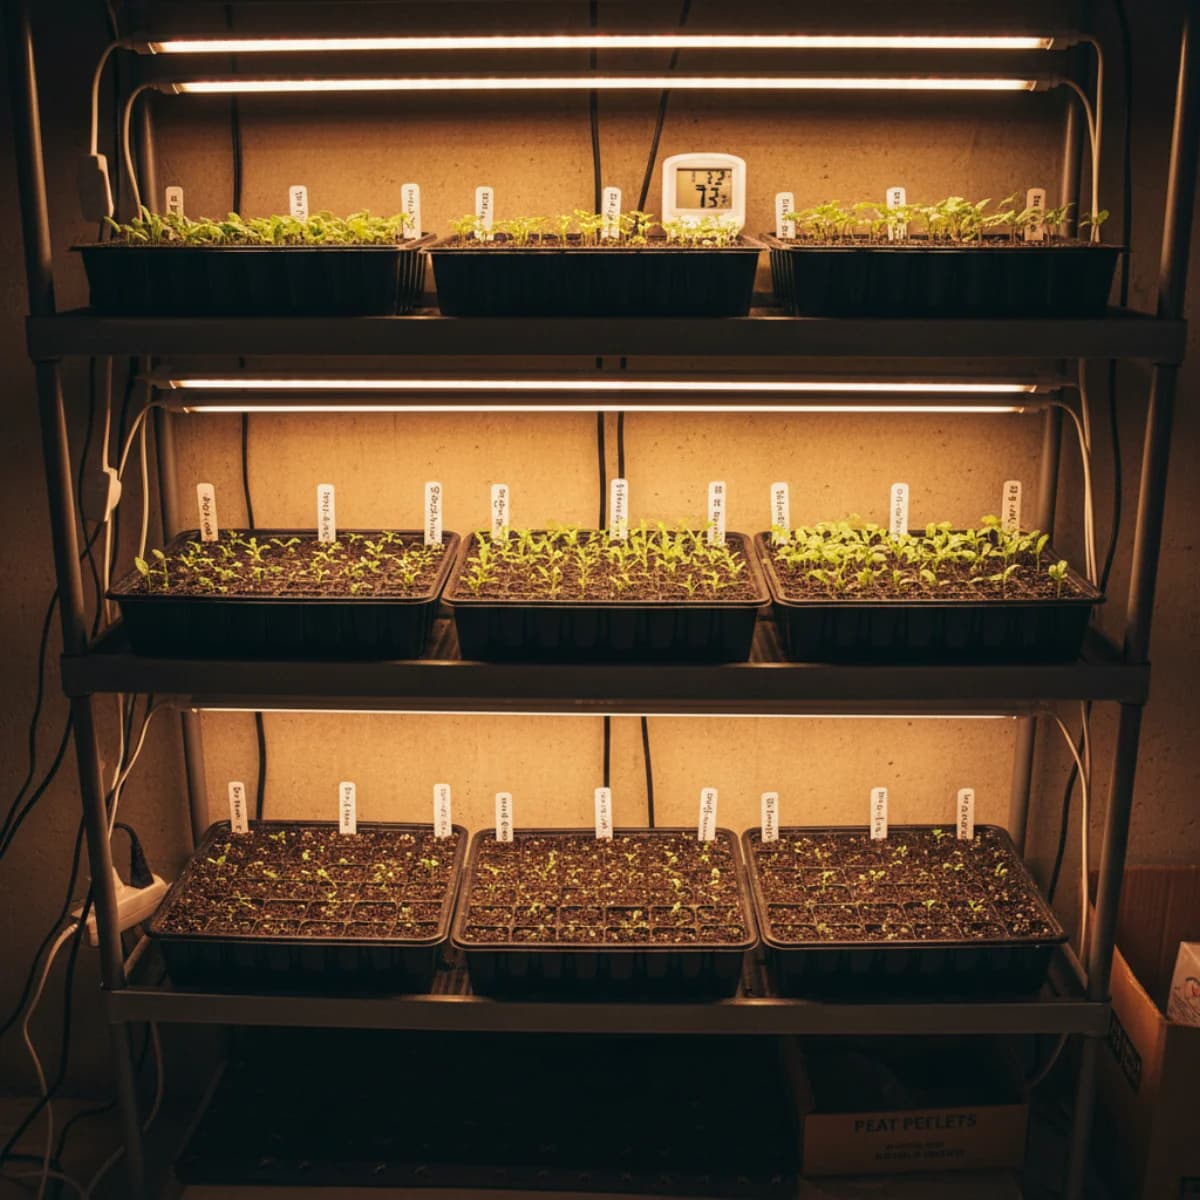
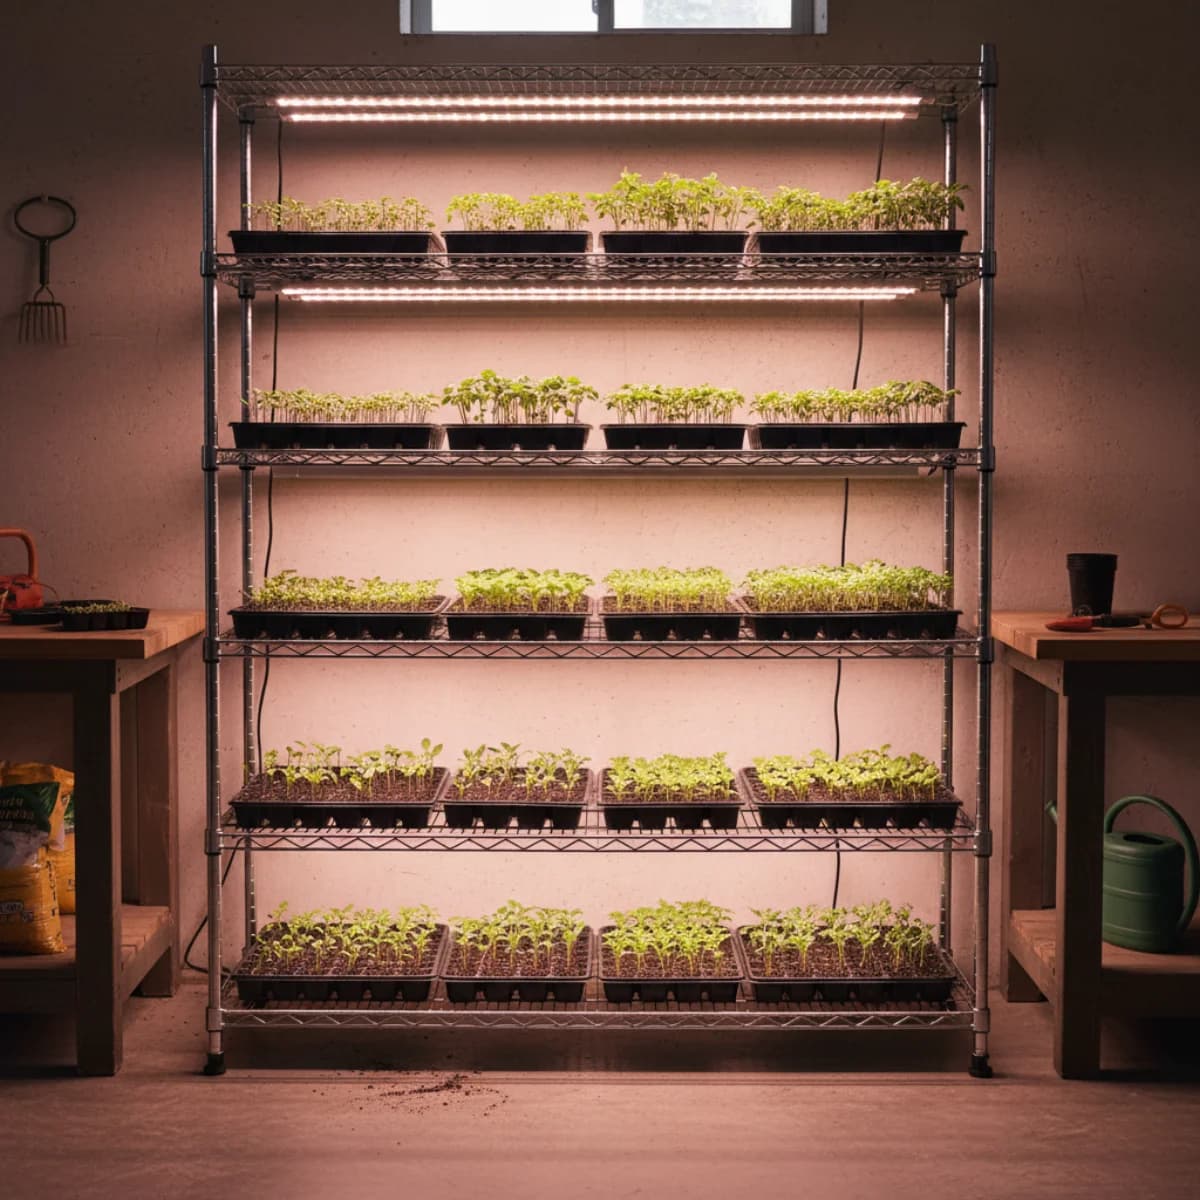
If you started seeds indoors in January or February, your seedlings are probably looking pretty good right now. Stocky stems, healthy leaves, maybe even some true leaf sets developing nicely under grow lights. They look ready.
They are not ready.
A seedling that has spent its entire life indoors has never dealt with wind, direct sun, temperature swings, or dry air. Moving it straight from a 70-degree room under consistent grow lights to an outdoor bed in March is roughly equivalent to dropping someone from a climate-controlled office into a mountain hike with no preparation. The plant may survive, but it will suffer — wilting, sunburn, stunted growth, or outright death.
Hardening off is the bridge between indoor comfort and outdoor reality. It takes about two weeks and requires almost no effort beyond remembering to move trays in and out. Skip it and you risk losing weeks of careful seed-starting work in a single afternoon.
What Hardening Off Actually Does
Indoor seedlings have soft, thin cell walls because they have never needed to resist wind or temperature stress. Their leaf surfaces lack the waxy cuticle that outdoor plants develop to manage water loss. Their stomata — the tiny pores that regulate gas exchange — are calibrated for still, humid indoor air.
Gradual outdoor exposure triggers the plant to thicken cell walls, develop a sturdier cuticle, and adjust stomatal behavior. The stems strengthen. The leaves toughen. Root growth accelerates in response to the new stimuli. By the end of the process, the seedling is physiologically different from the one you started with.
This is not optional. Even cold-hardy vegetables like broccoli and kale need hardening off. The issue is not just cold tolerance — it is the total shift in environment.
The Day-by-Day Schedule
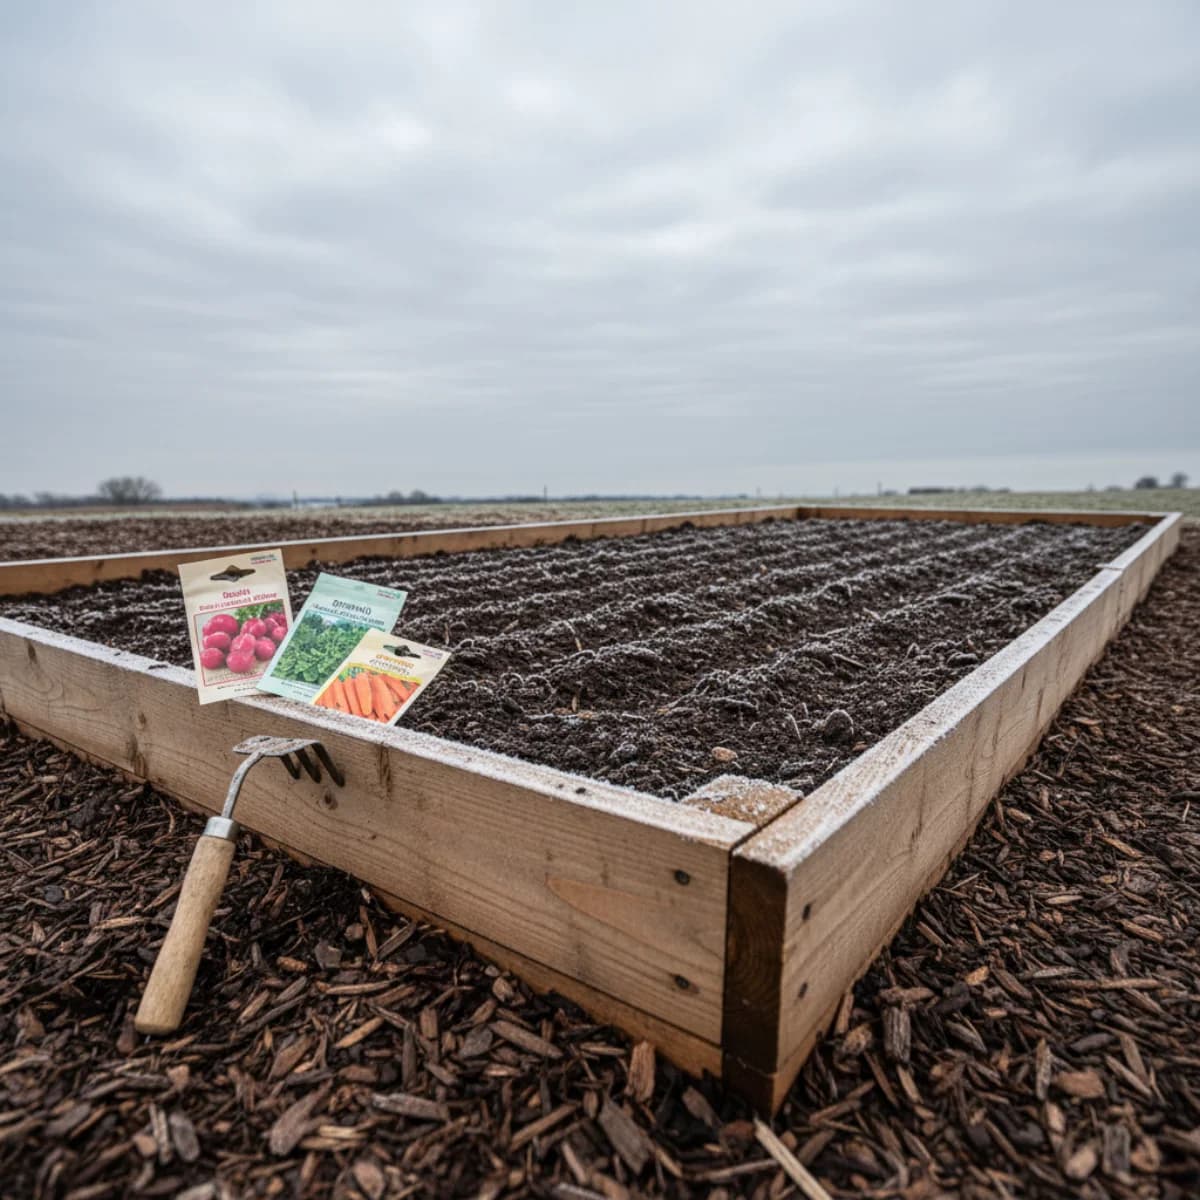
This schedule assumes you are starting in early March with daytime temperatures in the 40s to 50s Fahrenheit. Adjust timing if your conditions are significantly colder or warmer.
Days 1-3: Sheltered Shade
Place seedling trays outside in a sheltered, shady spot for 1-2 hours on the first day. A covered porch, the north side of the house, or under a patio table works well. No direct sun, no wind exposure. Bring them back inside.
Add 30-60 minutes each day. By Day 3, they should handle 3-4 hours of sheltered outdoor time.
Days 4-6: Introducing Sun
Move trays to a spot that gets morning sun — gentle, indirect light for the first hour, then a bit of direct morning sun. Continue the sheltered location for the rest of the time. Increase total outdoor time to 4-6 hours.
Watch for leaf bleaching or wilting. If leaves look pale or papery, pull back to more shade for another day.
Days 7-9: Longer Exposure
Seedlings can now handle 6-8 hours outside, including several hours of direct sun. Start leaving them in more exposed locations. Light wind is fine — it actually strengthens stems. Bring them in before evening temperatures drop.
Days 10-12: Nearly Full Days
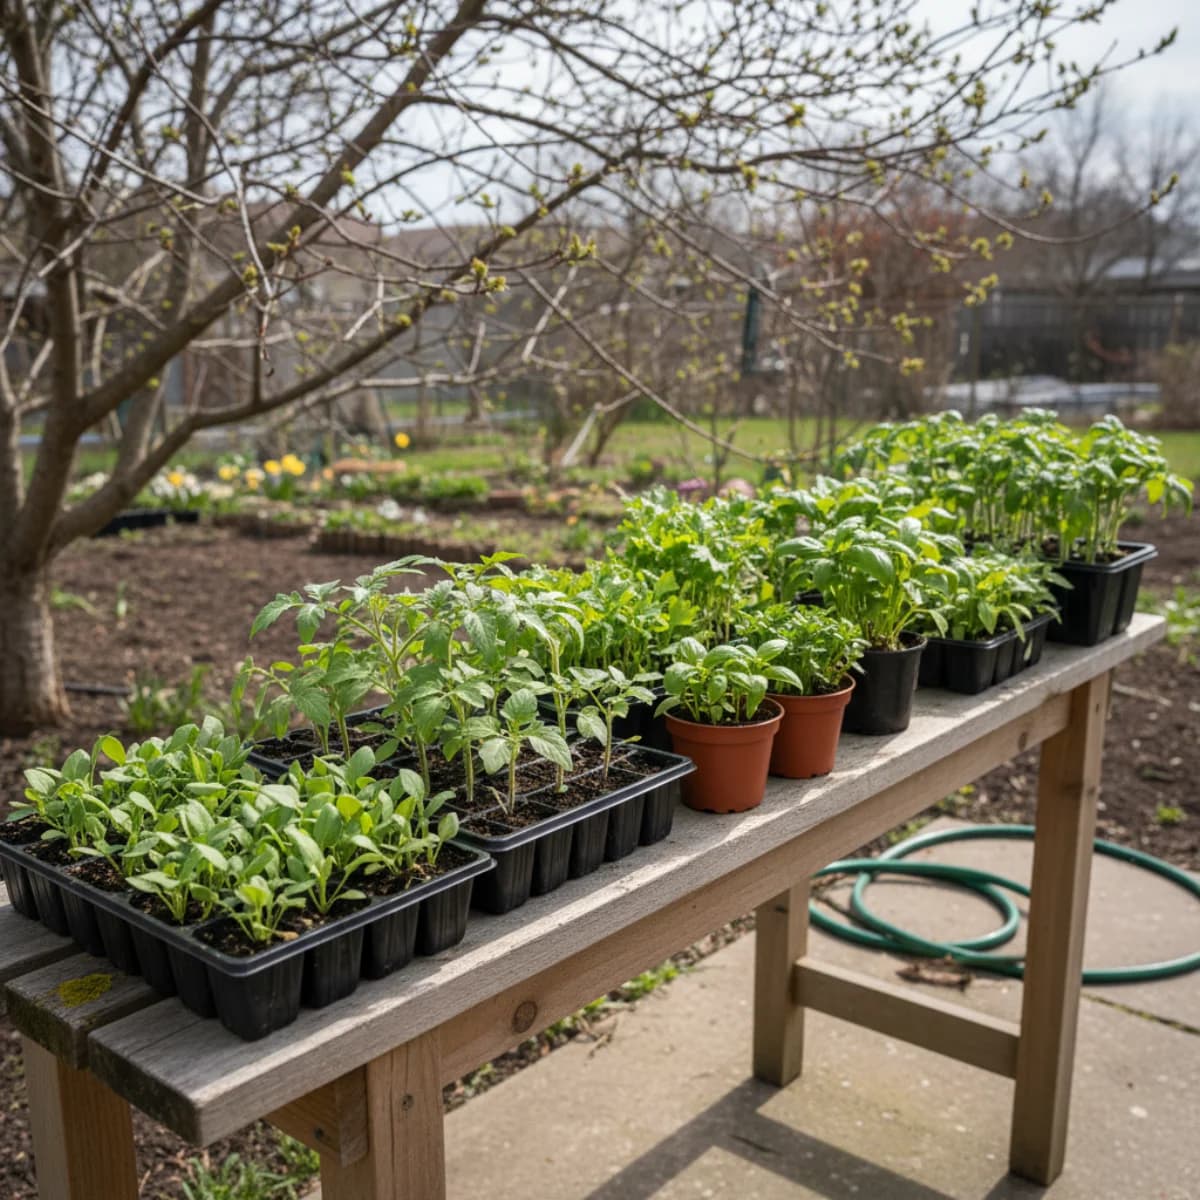
Leave trays out for most of the day, bringing them in only at night if temperatures drop below 40F. By now the seedlings should look visibly sturdier — darker leaves, thicker stems, and a general look of resilience compared to where they started.
Days 13-14: Overnight Test
If nighttime temperatures stay above 35-40F (for cold-hardy crops like brassicas, lettuce, and peas) or above 50F (for warm-season crops like tomatoes and peppers), leave them out overnight. Check in the morning. If they look fine, they are ready to transplant.
Common Mistakes
Moving Too Fast
The most common error. Gardeners get excited, the weather is nice, and they jump from Day 1 to Day 7 in a single afternoon. The seedlings get four hours of direct sun and wind when they have only ever experienced grow lights. Result: wilted, sunburned plants that set back growth by a week or more.
Stick to the schedule. Two weeks feels slow when spring is arriving, but it is faster than re-starting seeds.
Forgetting to Water
Outdoor air is drier and windier than your seed-starting area. Seedlings in small cells can dry out remarkably fast outside, especially on warm or windy days. Check soil moisture every time you bring trays in. Water thoroughly when the surface feels dry.
Ignoring the Forecast
A surprise frost, a day of driving rain, or a sudden wind storm can destroy hardening-off progress. Check the forecast each morning before setting trays out. If anything harsh is predicted, keep them inside for the day. One missed day does not matter.
Sun-Scorching Tender Leaves
Tomatoes, peppers, eggplant, and basil are particularly sensitive to direct sun in the early days. Their leaves can develop white, papery patches — sunscald — that the plant never recovers from on those leaves. Be especially conservative with shade exposure in Days 1-6 for these crops.
What About Cold Frames?
A cold frame simplifies hardening off considerably. Place seedling trays inside the cold frame and simply crack the lid a little wider each day. The frame provides wind protection, retains some heat, and lets you control light exposure by propping the lid at different angles.
If you have a cold frame, you can often condense the hardening-off timeline to 10 days instead of 14, because the environment is less extreme than fully open outdoor exposure.
Tracking Your Timing
The hardening-off window depends on your last frost date. Start the process about 2-3 weeks before you plan to transplant, which for most cold-hardy crops is around the last frost date.
For warm-season crops like tomatoes, peppers, and squash, begin hardening off 2 weeks before your planned transplant date, which is typically 1-2 weeks after the last frost.
If you are planning new beds or redesigning your garden layout this spring, tools like Gardenly can help you visualize where transplants will go before you commit to digging. Knowing the final layout before hardening off starts means you can match seedling quantities to actual bed space — and avoid the classic problem of growing 36 tomato plants when you have room for 8.
Signs They Are Ready
Hardened seedlings look different from indoor seedlings:
- Darker leaf color — often a deeper, slightly blue-green compared to the bright green of indoor growth
- Thicker stems — noticeably sturdier, resist bending in light wind
- Compact growth — less leggy, tighter internodes
- No wilting after a full day outside in sun and moderate wind
When your seedlings check these boxes and the transplant date has arrived, they are ready to go into the ground. Water the bed well, transplant in the evening or on a cloudy day, and water again after planting. The transition is complete.
Sources & Further Reading
- Hardening Transplants — Penn State Extension
- Hardening Off Tender Plants — Royal Horticultural Society
- Hardening Off Your Cole Crops — National Gardening Association