How to Get Your Garden Beds Ready for Early Spring Planting
There’s a small but satisfying window each year—late February into early March—when you can do meaningful garden bed preparation before the ground gets too soft and the mud season sets in. Gardeners who use this window arrive at planting season with ready-to-go beds and no backlog of cleanup. Those who wait until April are fighting to get everything done at once while simultaneously trying to plant.
Here’s how to use the window well.
The State of Your Beds Right Now
Most garden beds in February are in one of three states:
Tidy from fall cleanup: If you cleaned beds thoroughly in October and November—removing dead annuals, cutting back perennials, weeding before freeze—these beds need mostly just soil amendment now.
Left natural for winter: Increasingly popular, especially in perennial and wildlife-friendly gardens, leaving seed heads and standing stems through winter provides wildlife habitat and visual interest. These beds need cleanup now before new growth pushes.
Neither: Many gardeners make it partway through fall cleanup and run out of time or energy. You have a mix of cleared areas, standing dead material, and everything in between. Work through it section by section.
Step 1: Assess What Survived Winter
Before removing anything, take stock of what’s there.
For perennials, look for signs of life: green crowns emerging at soil level, swelling buds on woody-based perennials, fresh shoots in ornamental grasses. Scratch the crown of anything you’re unsure about—healthy tissue is firm and may show green or cream when scratched; dead crowns are mushy or completely dried out.
Note which plants didn’t make it—and think about why. Poor drainage? Wrong zone? Unusually harsh winter? This informs both replacements and any site improvements needed.
Step 2: Clear Winter Debris
Wait until overnight temperatures are reliably staying above 25°F before aggressive cleanup. Earlier than that, the standing growth still provides some insulation to crowns.
When conditions allow:
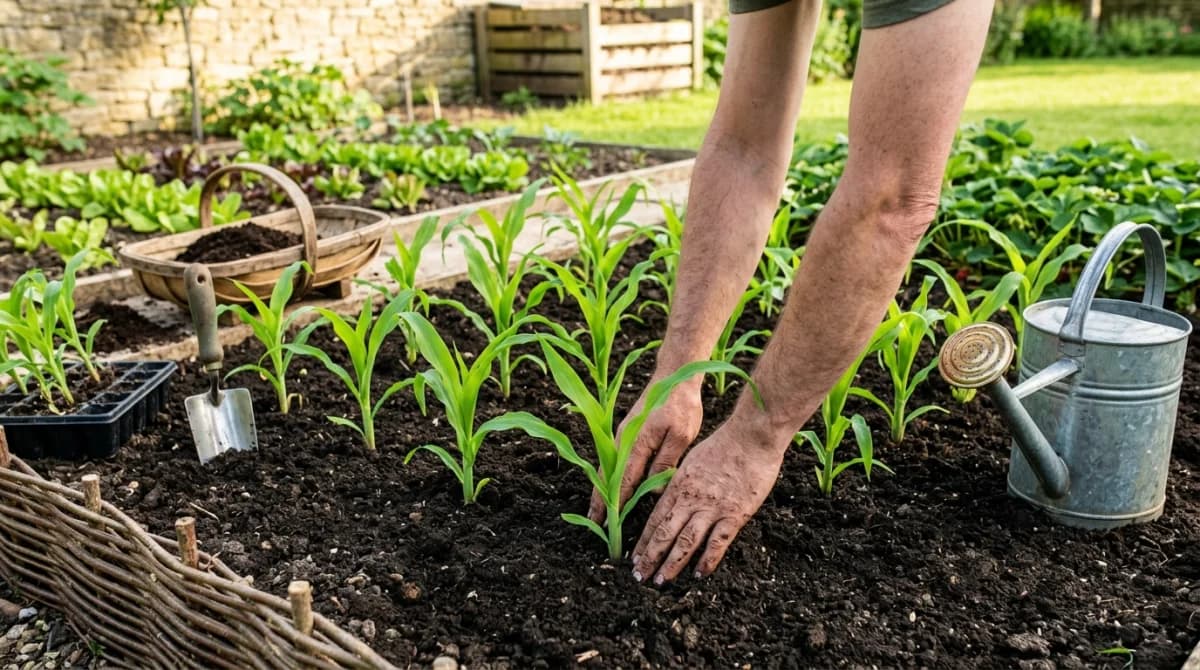
Cut back dead perennial growth that was left standing. Most ornamental grasses, seed-head bearing perennials (echinacea, rudbeckia), and other structural winter plants can come down now to make way for new growth. Leave about 3-6 inches of stub—cutting to the ground risks damaging emerging growth.
Rake out debris: Fallen leaves that accumulated over winter, dead annual stems you didn’t get to in fall, general organic detritus. A light layer (an inch or less) of dry leaves in a perennial bed is fine to leave as mulch; thicker or matted-down layers can smother crowns and harbor pests.
Pull early weeds: The cool, moist conditions of late winter are ideal for cool-season weed germination. Chickweed, hairy bittercress, henbit, and various annual grasses can be thriving in beds right now. Pull them before they set seed—this is one of the highest-leverage weeding moments of the year.
Don’t step on wet soil: If the soil is soft and muddy, wait. Compaction from foot traffic on waterlogged soil damages structure significantly. Lay down boards or use existing paths to reach into beds.
Step 3: Amend the Soil
Once beds are cleared, add soil amendments before the growing season begins.
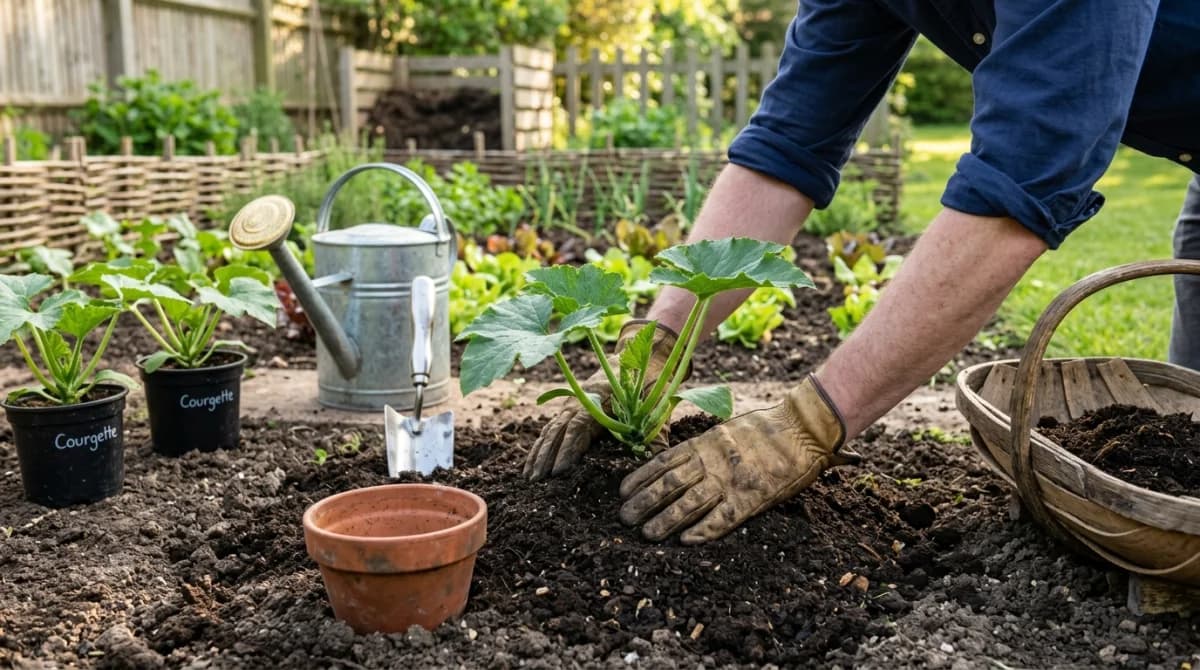
Compost: The foundation of soil health. Apply 2-3 inches across the bed surface and work it into the top 6-8 inches with a fork. In perennial beds where you can’t till without disturbing roots, spread compost on the surface as a top-dressing—it will work its way down with rain and microbial activity.
Any specific amendments from soil test results: If you tested your soil last fall (or this winter), apply any recommended lime or sulfur now. These are slow-acting and need weeks to months to affect pH—applying now gives them maximum lead time before you’re planting.
Well-aged manure: If you have access to well-composted manure, this can be worked in now as a nitrogen boost. Fresh manure should wait at least 3-4 months before contact with food crops.
Step 4: Address Drainage Issues
If your beds have areas that drain poorly—spots where water stands after rain or snow melt, or areas where the soil stays saturated long after surrounding soil has dried—now is a good time to address them before the season creates urgency.
Options for poor drainage:
- Raise the bed: Adding soil material to raise the grade above surrounding area promotes drainage
- Create pathways for water: Grade beds to drain toward lower areas or existing drainage
- Add organic matter: Repeated compost additions improve drainage in clay soils over time
- Consider a raised bed: If drainage is a persistent problem, raised beds filled with quality growing mix solve the issue definitively
Step 5: Edge Beds
Crisp, clean edges between beds and lawn are one of the highest-impact, lowest-effort improvements you can make to a garden’s overall appearance. Edge in late winter and the work is fresh through spring.
For straight-edged beds: A flat-bladed spade or edging tool, positioned along the bed margin and pressed down vertically, cuts a clean edge. Work along the line systematically.
For curved beds: Use a garden hose or rope to lay out the curve before edging. Step back and look at the curve from a distance—minor adjustments now save regretting a wobbly line later.
Maintain edges through the season with a half-moon edger or a spade, every 4-6 weeks or whenever grass creeps back.
Step 6: Plan New Beds
If you’re adding beds this year, late winter is the time to lay them out.
Mark the outline: Use stakes and string for straight-edged beds; garden hose for curves. Live with the outline for a day or two and look at it from different angles and from inside the house. It often takes a few adjustments to get it right.
Smother existing turf: If you’re converting lawn to garden, lay cardboard directly on the turf, overlapping edges by 6 inches, then pile 6-8 inches of compost or topsoil mix on top. This smothers grass without digging and the cardboard decomposes into organic matter. You can plant directly into the compost layer within a few weeks.
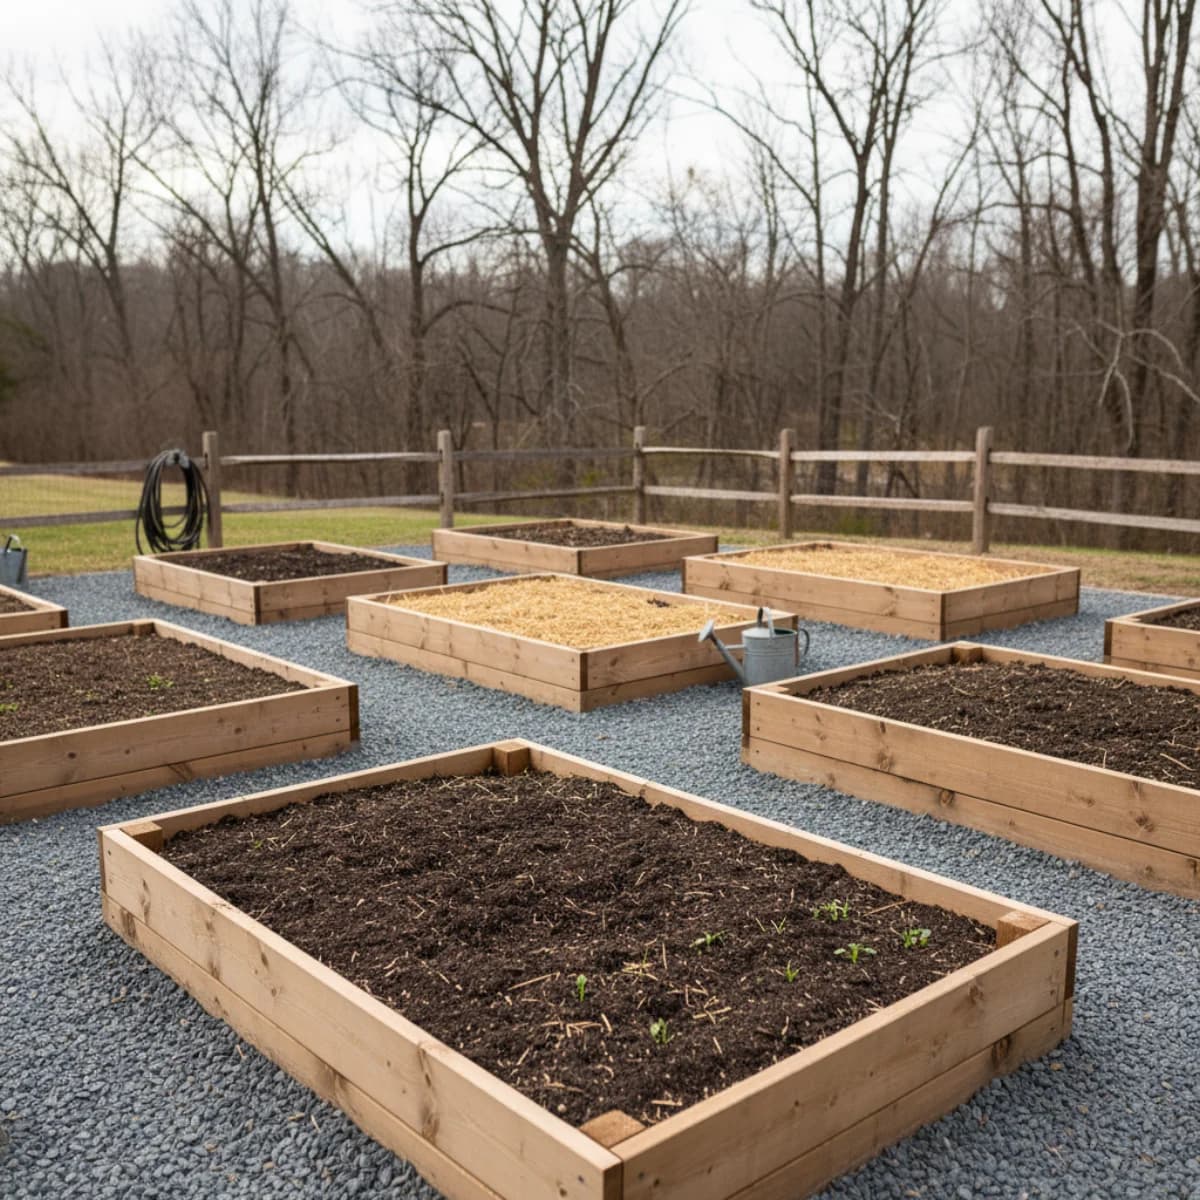
Build raised beds now: Raised beds built in February or March will have settled and warmed faster than in-ground beds by planting time. Wood lumber (cedar or untreated), composite lumber, or galvanized metal are all good options.
Setting Up for Cold-Season Planting
Once beds are clean and amended, you’re ready for the earliest spring crops as soon as conditions allow.
Many cool-season crops—spinach, kale, arugula, peas, and overwintered lettuce—can handle light frost and go out well before the last frost date. A bed that’s been prepared in February can receive these crops in March in most zones.
For even earlier planting, cover prepared beds with black plastic or a floating row cover for 2-3 weeks to warm the soil before direct sowing. Soil temperature (not air temperature) determines when seeds germinate—even a few degrees of warming makes a meaningful difference.
Preparation done now translates directly into earlier crops and less spring scrambling. Use the window while it’s here.
Sources & Further Reading
- How Much Compost Should You Apply to Your Garden This Spring? — University of Minnesota Extension
- Improving Garden Soils with Organic Matter — Oregon State University Extension
- Create New Garden Beds with Sheet Composting and Sheet Mulching — Penn State Extension
- How to Use Compost in Gardens and Landscapes — Oregon State University Extension