Soil Testing in January: Know Your Ground Before You Plant
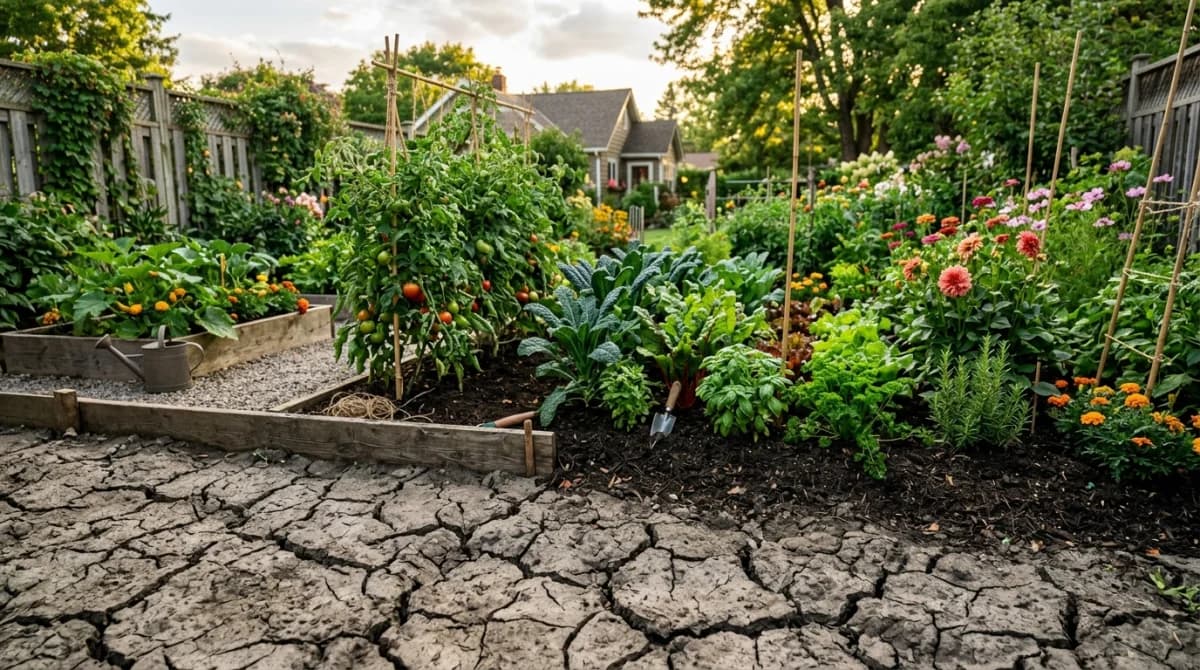
Most garden problems—poor plant growth, yellowing leaves, vegetables that underperform, flowers that never really thrive—trace back to soil. And most soil problems are invisible. You can’t see a pH imbalance, a calcium deficiency, or a phosphorus surplus by looking at your garden beds. You need a test.
Soil testing in January gives you results before spring planting, which means you have time to make meaningful amendments—and for those amendments to begin working—before seeds go in the ground.
What a Soil Test Tells You
A basic soil test from a university extension lab or commercial testing service typically reports:
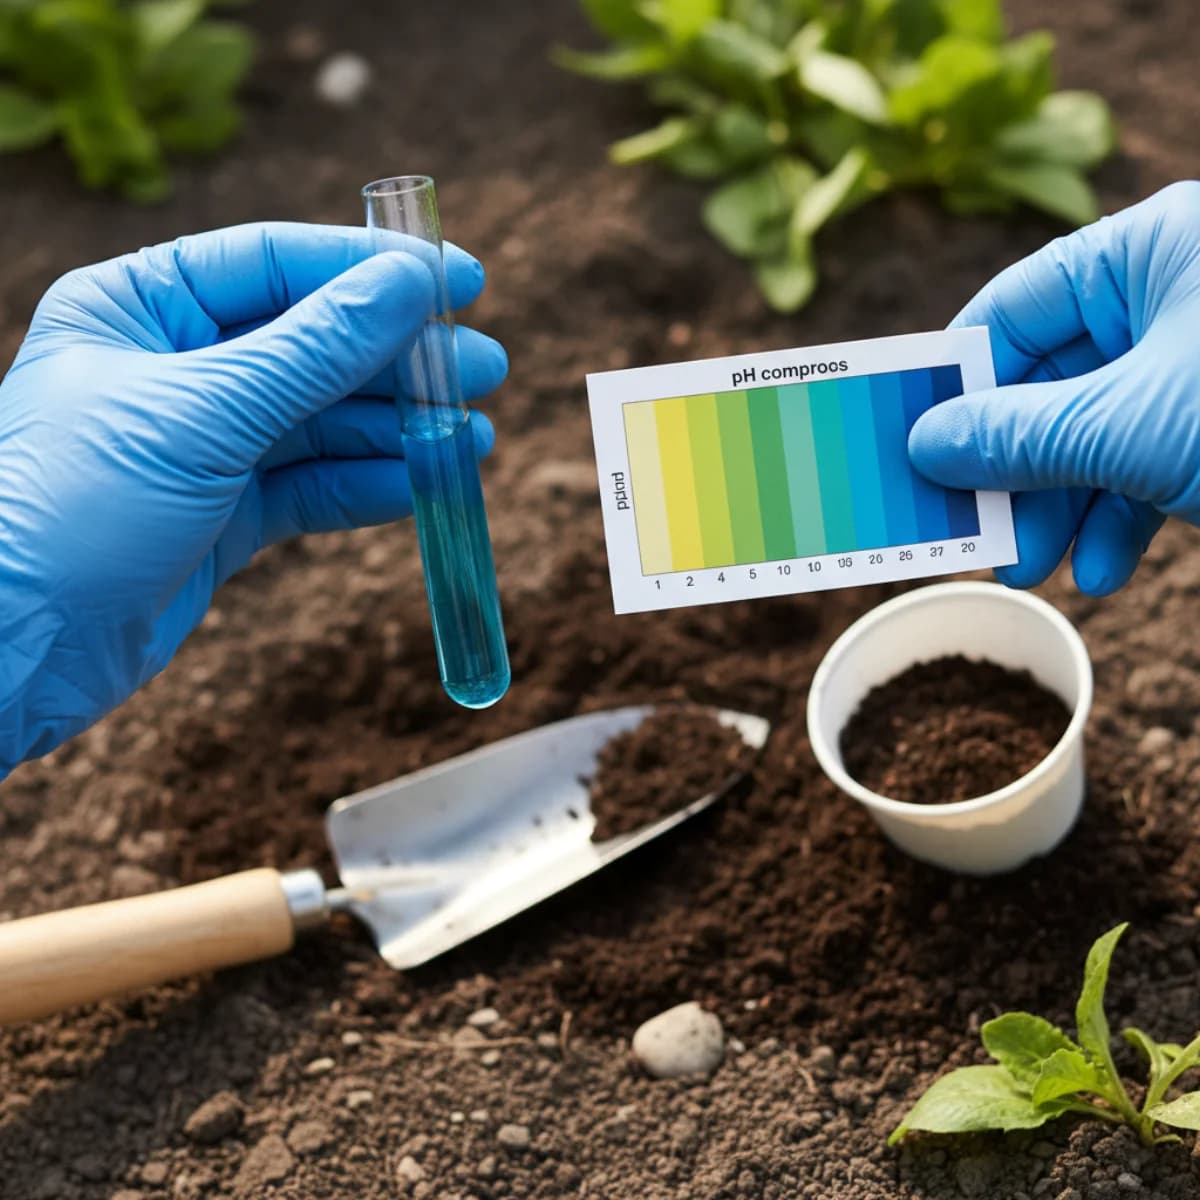
pH: The measure of soil acidity or alkalinity on a scale from 1 (most acidic) to 14 (most alkaline), with 7 as neutral. Most vegetables and many ornamentals grow best between pH 6.0-7.0. Below 6.0, some nutrients become locked up even if they’re present; above 7.0, iron and manganese deficiencies become common.
Major nutrients:
- Nitrogen (N): Drives leaf and stem growth. Highly mobile in soil; regular additions needed.
- Phosphorus (P): Root development, flowering, fruiting. Often excessive in gardens that have been heavily amended over many years.
- Potassium (K): Overall plant health, disease resistance, water regulation.
Secondary nutrients:
- Calcium: Essential for cell wall structure; deficiency causes blossom end rot in tomatoes.
- Magnesium: Component of chlorophyll; deficiency causes interveinal yellowing.
- Sulfur: Protein synthesis; acidifies soil.
Organic matter content: The percentage of organic material in your soil. Healthy garden soil typically runs 3-5% organic matter; below 2% indicates poor fertility and water-holding capacity.
More comprehensive tests add micronutrients (iron, manganese, zinc, boron, copper) and can be worth it if you’ve had persistent problems or are growing high-demand crops.
Types of Soil Testing
University Cooperative Extension Labs
The most reliable, most educational, and often least expensive option. Every US state has a cooperative extension service associated with the land-grant university system, and most run accredited soil testing labs.
Typical cost: $15-30 for a basic analysis. Results include specific amendment recommendations calibrated for your crops and your region—not generic advice.
Find your state’s extension service by searching “[your state] cooperative extension soil test.” Submission involves mailing a soil sample (they provide instructions and sometimes a kit). Results typically come back in 1-3 weeks.
Commercial Soil Testing Kits
Sold at garden centers and online. These are less accurate than lab tests but give useful ballpark readings for pH and major nutrients. Good for a quick check, not for making precise amendment decisions.
The most reliable home tests are those that produce a color-change reaction you compare to a chart—these beat the cheaper strip-based tests for accuracy.
Send-Away Commercial Labs
Companies like Logan Labs, Ward Laboratories, or A&L Great Lakes Laboratories offer detailed testing at prices ranging from $20 to over $100 depending on what you’re testing for. These labs often provide more detail than extension labs and may be preferred if you want comprehensive micronutrient profiles.
How to Take a Good Soil Sample
The quality of your sample determines the usefulness of the results. A poorly taken sample produces misleading information.
Tools needed: Trowel or soil probe, clean plastic bucket, soil test bags or boxes from the lab.
What to do:
-
Take samples from multiple locations within each bed or zone you’re testing—8-15 samples per area is typical. Avoid spots that are obviously unusual (near a compost pile, an old burn pile, under a downspout).
-
For each sample, remove surface debris and thatch, then dig to the depth of typical rooting—4-6 inches for lawns, 6-8 inches for vegetable beds and garden beds.
-
Take a thin slice or core of soil from the side of the hole. The whole depth you dug, not just the surface.
-
Combine all samples from one area in the bucket. Mix thoroughly.
-
Take about a cup of this mixed soil and place in the sample bag. Label clearly with the crop or area (e.g., “vegetable beds” or “front border”).
-
Let it air-dry if wet (a day at room temperature is fine). Don’t microwave or oven-dry—this can alter chemistry.
Test different areas separately: front lawn, back lawn, vegetable garden, perennial borders. They likely have different histories and problems.
Understanding and Acting on Results
pH Adjustment
To raise pH (make more alkaline): Apply ground agricultural limestone (calcitic or dolomitic lime). Rates depend on current pH, target pH, and soil texture. Extension labs provide specific rates.
Lime takes 3-6 months to fully alter soil pH—applying it in January or February means it will be working by planting time.
To lower pH (make more acidic): Apply elemental sulfur. Soil bacteria convert it to sulfuric acid over weeks to months. Again, early application is important.
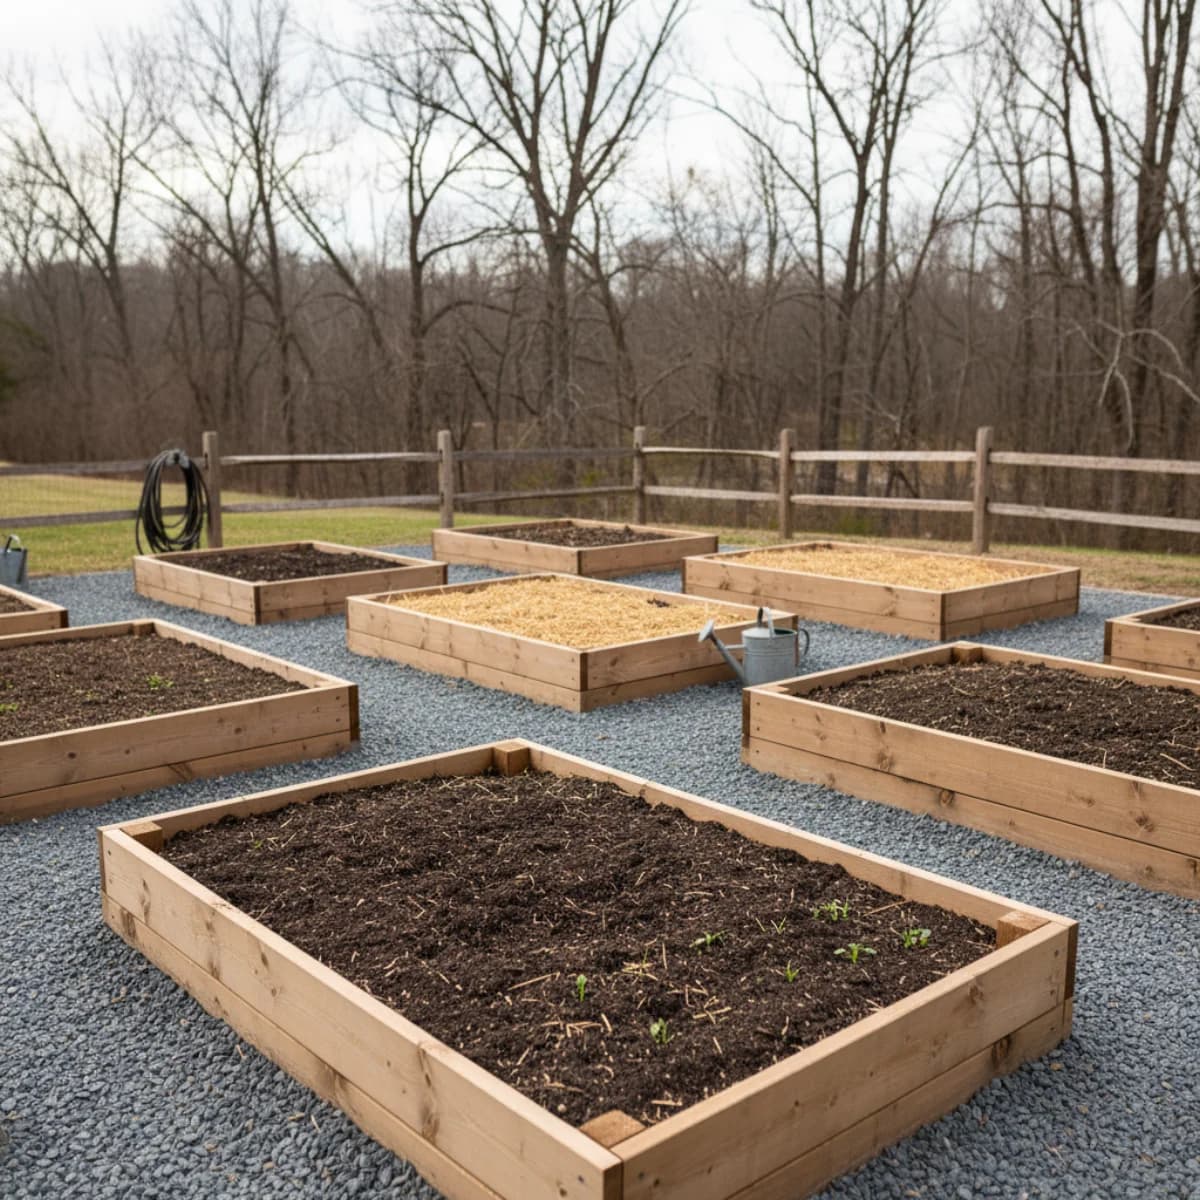
For in-ground beds, broadcast and work into the top 6-8 inches. For raised beds with imported soil, amending at the surface is less effective—incorporate into the mix when possible.
Nutrient Deficiencies
Nitrogen: Compost (1-3 inches worked in), blood meal, feather meal, fish meal, or granular all-purpose fertilizers. Nitrogen additions are made closer to planting or growing season—it leaches out quickly and doesn’t benefit from winter application.
Phosphorus deficiency: Bone meal, rock phosphate. Apply in fall or early spring; phosphorus moves slowly in soil.
Phosphorus excess: This is common in heavily amended vegetable gardens and causes problems by interfering with iron and zinc uptake. The fix is simple: stop adding phosphorus for a few years. Reduce compost additions and stop using high-P fertilizers.
Potassium: Greensand, kelp meal, or potassium sulfate for organic gardens; muriate of potash (potassium chloride) for conventional. Apply in late winter before planting.
Calcium: Agricultural lime adds calcium as well as raising pH. In neutral or already-alkaline soils, gypsum (calcium sulfate) adds calcium without changing pH.
Organic Matter
Adding organic matter is almost always beneficial regardless of what else you do. The most efficient sources:
- Compost: 1-3 inches worked in each year
- Aged manure: High in organic matter; best aged or composted to reduce weed seed and pathogen risk
- Cover crop residues: If you grew a cover crop last fall, incorporate it now
What to Do With Results
Once you have your test results and recommendations:
- Calculate how much amendment you need (the lab will often tell you how many pounds per 100 square feet)
- Order or purchase amendments in January so you have them ready
- Apply to beds as soon as weather permits—late January through February for most of the US
- Record what you applied and when—this becomes part of your soil history
A soil test is a once-every-3-year task for established beds (annually for vegetable beds under heavy use). The initial test is the most important—it establishes your baseline and catches any serious problems before you’ve wasted years growing into them.
Test now, know your soil, and plant with confidence in spring.
Sources & Further Reading
- Soil Testing for Lawns and Gardens — University of Minnesota Extension
- Soil Testing — Penn State Extension
- Soil Testing and Soil Testing Labs — University of Maryland Extension