How and When to Prune Fruit Trees in Late Winter
Pruning fruit trees is one of those tasks that feels more intimidating than it actually is. The basic principles are simple, the timing is forgiving within a reasonable window, and trees are surprisingly resilient when you make a mistake. The real damage comes from not pruning at all—untended fruit trees become increasingly unproductive, disease-prone, and difficult to harvest from as they grow.
February is the ideal month in most temperate climates. Trees are still dormant, making it easy to see their branch structure clearly. The worst cold of winter has usually passed, reducing the chance of frost damage to pruning cuts. And spring growth hasn’t begun, so you’re not removing any of this year’s energy investment.
The Timing Question by Tree Type
Not all fruit trees get pruned at the same time. The key distinction is between stone fruits and pome fruits.
Pome Fruits: Prune in Late Winter
Apples, pears, and quinces are the most forgiving for late winter pruning. Prune any time from January through the appearance of the first flower buds—you have a wide window.
Stone Fruits: Wait for Drier Conditions
Peaches, plums, cherries, and apricots are more vulnerable to fungal diseases that enter through pruning cuts, particularly a destructive pathogen called Leucostoma canker. The guidance here varies by region:
- In dry climates (California, inland Southwest): prune stone fruits in late winter alongside pomes
- In wet climates (Pacific Northwest, humid East): wait until the tree is actively growing and wounds can close more quickly—late spring is often recommended for cherries specifically
If you’re uncertain, late winter pruning of stone fruits when the weather is dry and not too cold is generally acceptable everywhere.
The Two Main Training Systems
Most fruit trees are trained to one of two shapes. Understanding which system applies to your tree tells you which cuts to make.
Central Leader (Christmas Tree Shape)
Used primarily for apples and pears. A single main trunk runs up the center, with scaffold branches spiraling outward and upward at regular intervals. Trees are roughly pyramidal, taller than wide.
Prune to: Remove any branches competing with the central leader for dominance, thin the scaffold branches so they don’t overlap or crowd each other, and cut back branch tips slightly to encourage branching.
Open Center (Vase Shape)
Used for peaches, plums, and sweet cherries. No central leader—instead, 3-5 main scaffold branches emerge from the trunk and radiate outward, creating an open center that admits light.
Prune to: Maintain the open center (remove anything growing into the middle of the tree), select 3-5 well-spaced scaffold branches and remove others, and cut back to outward-facing buds to continue the vase shape.
The Four Categories of Cuts
Regardless of training system, you’re always making cuts in one of four categories:
1. Remove Dead, Damaged, or Diseased Wood
Always first. Cut dead wood back to healthy tissue (you’ll see white or green inside a live branch, brown inside dead). Remove any branches showing signs of disease, unusual cankers, or pest damage. Disinfect your pruners between cuts if you’re dealing with a diseased tree.
2. Remove Crossing or Rubbing Branches
Where two branches cross and rub, they create wounds that invite disease. Remove the weaker or more poorly positioned one—generally the one that’s growing toward the center of the tree or at an awkward angle.
3. Remove Water Sprouts and Suckers
Water sprouts are vigorous, vertical shoots emerging from major branches—they produce no fruit, shade the interior, and should come off. Suckers are shoots emerging from the rootstock below the graft union (the knob low on the trunk) and should be removed flush with the ground or trunk.
4. Thin for Light and Air
Once the above are handled, step back and look at whether light can reach the interior of the tree. Dense, crowded canopies mean less sunlight reaching developing fruit, which means smaller, less sweet, less colored fruit. Removing a third to a half of the canopy may sound dramatic but produces better results than timid pruning.
Make thinning cuts to a lateral branch or to a bud, not in the middle of a branch (those are “stub cuts” and they don’t heal well).
Key Cuts to Know
Heading cut: Shortening a branch to a bud or lateral branch. Stimulates bushy growth below the cut. Use when you want a branch to branch out.
Thinning cut: Removing an entire branch at its point of origin. Creates no new growth at that point. Use to remove a branch entirely without stimulating a bunch of new shoots.
Don’t use: Flush cuts (cutting so close to the trunk that you remove the branch collar, the slight swelling at the base of branches) or stub cuts (leaving a stub that will die back anyway). Both compromise healing.
A Simplified Process
- Walk around the tree and study it before making any cuts
- Remove all dead, diseased, and damaged wood first
- Remove suckers and water sprouts
- Remove crossing branches
- Step back and assess: is the center open to light? Is there a clear structure?
- Make further thinning cuts as needed for light penetration
- Make any heading cuts to shape branch tips
Leave the wound open. Modern research has overturned the old advice to paint pruning wounds with wound dressing. Paint doesn’t improve healing and can actually trap moisture and promote rot. Leave cuts open and let the tree handle it.
Tools You Need
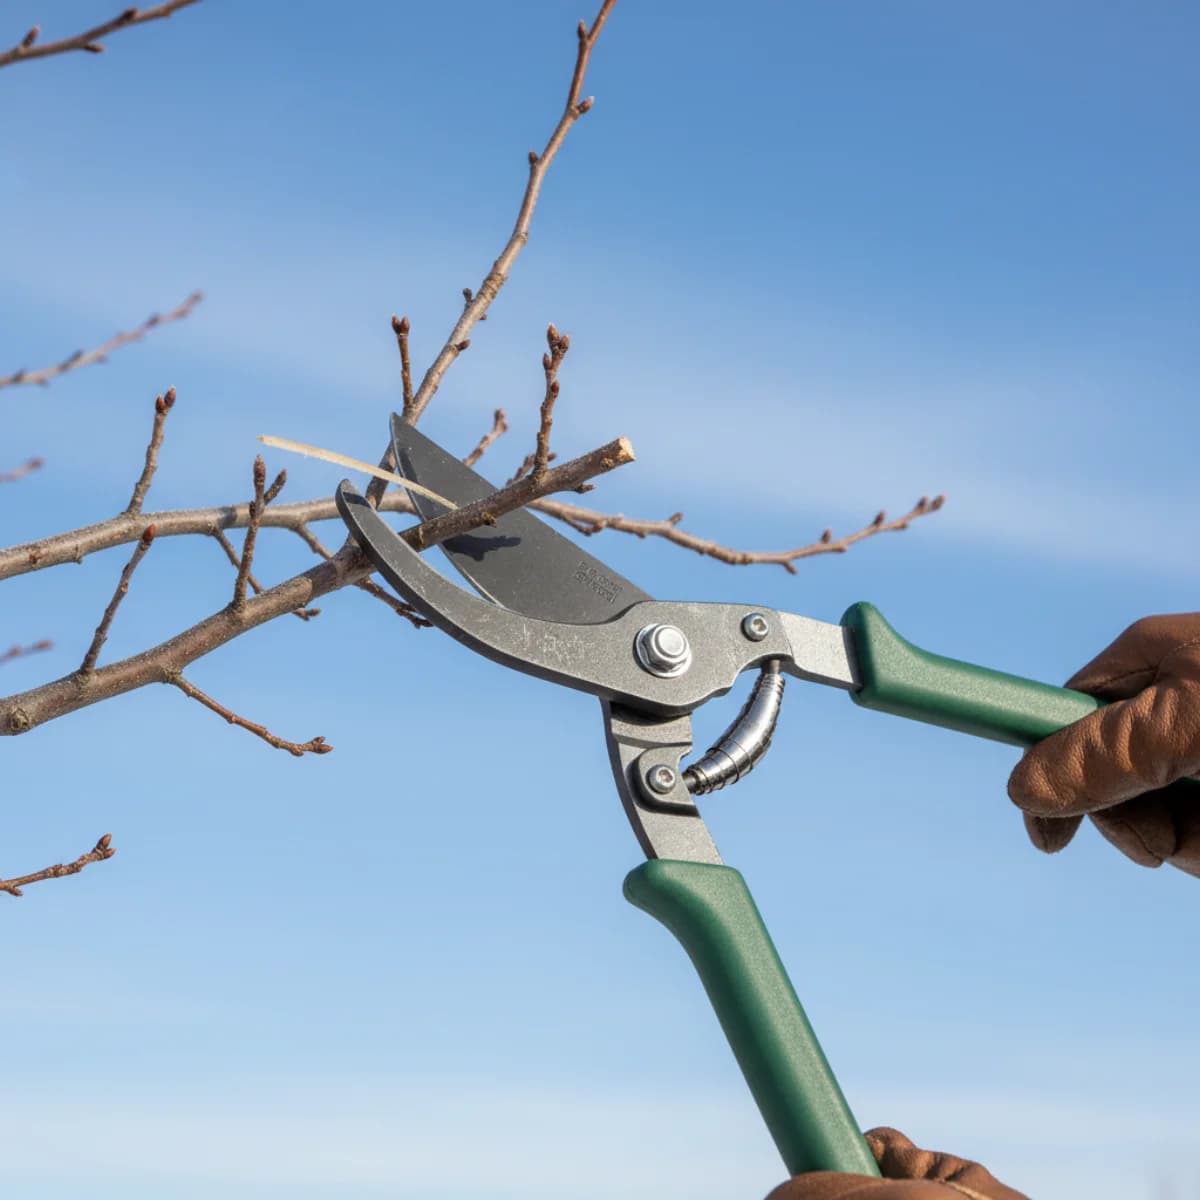
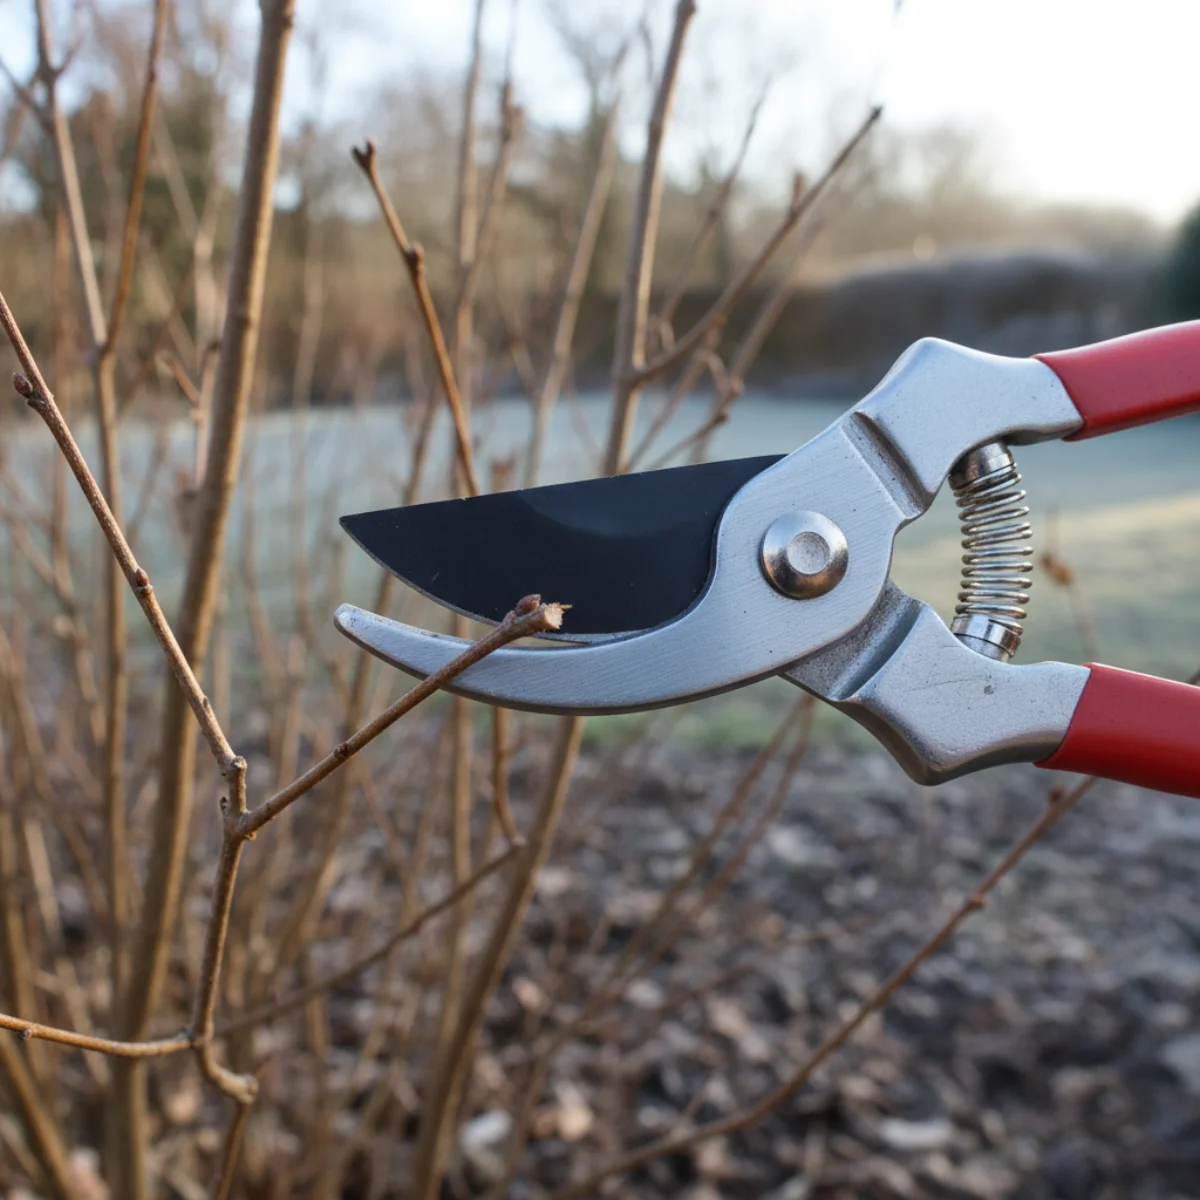
Bypass pruners: For branches up to about ¾” diameter. Bypass cuts (like scissors) are cleaner than anvil cuts and heal better.
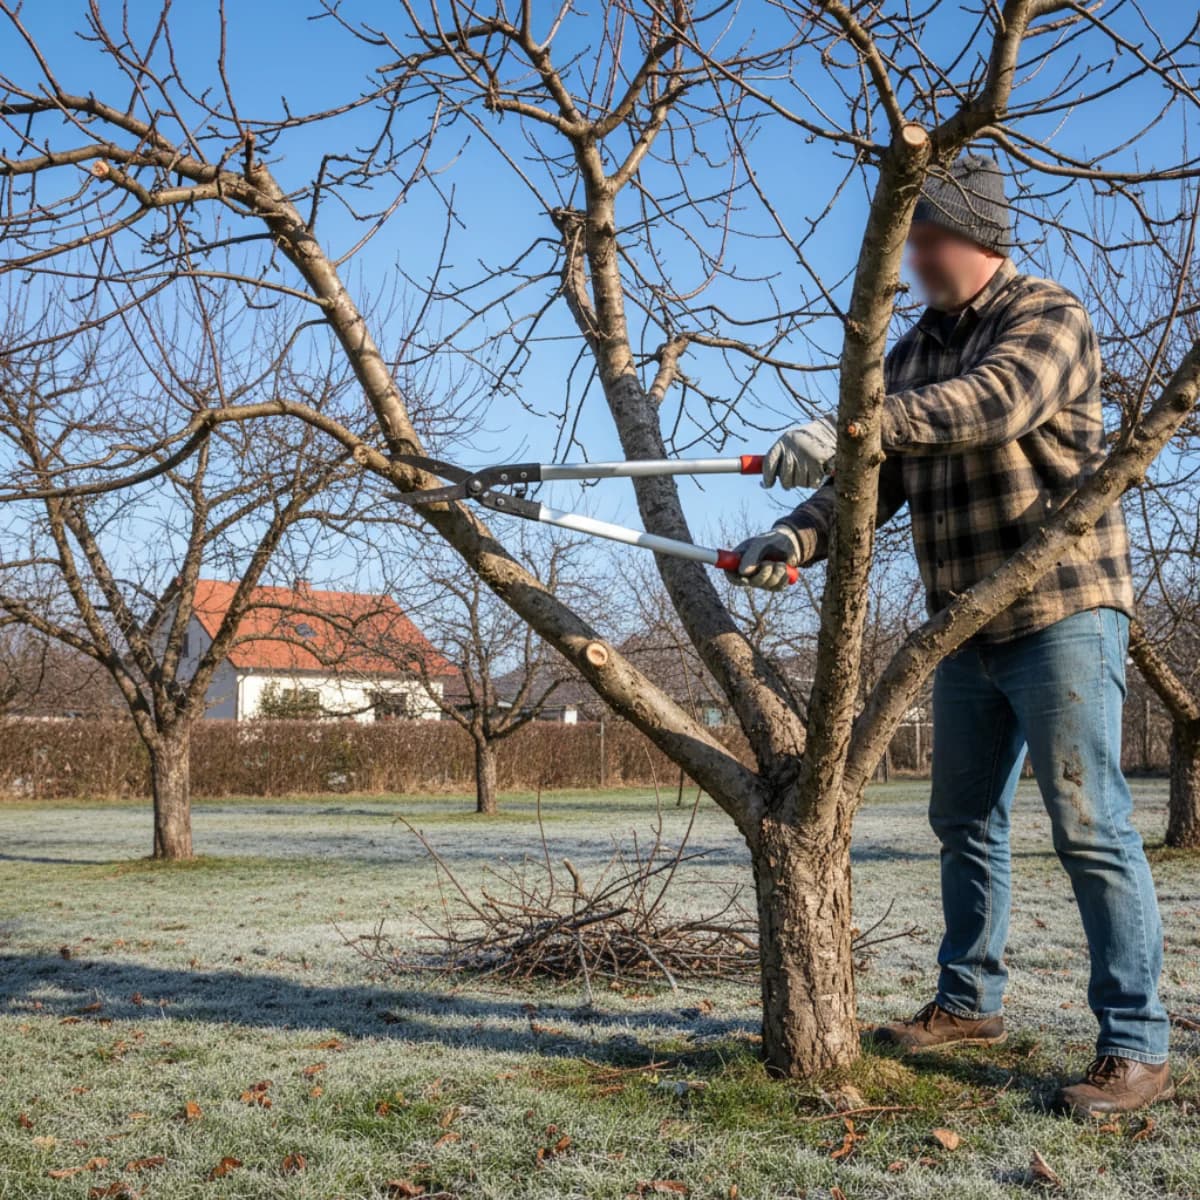
Loppers: For branches ¾” to 1.5” diameter. Long handles give leverage.
Pruning saw: For anything larger. A folding Japanese-style pruning saw cuts incredibly well and is worth the investment over a bow saw for most home orchards.
All tools should be sharp. Dull pruners crush rather than cut, causing ragged wounds that heal slowly and invite disease. Sharpen before you start.
How Much to Remove
The general guideline is not to remove more than a quarter to a third of the tree’s canopy in a single year. A severely overgrown tree is better brought back to shape over 2-3 years of pruning rather than dramatically cut back in one session.
If your tree is very overgrown and you’re unsure, consult a certified arborist. Many offer consultations where they’ll assess the tree and advise (or demonstrate) what’s needed.
After Pruning
Pile the prunings away from the tree and remove them from the property or chip them. Leaving cut wood under a tree can harbor pests and diseases. If your tree had any diseased wood, burn those prunings or dispose of them in trash rather than composting.
Apply a balanced fertilizer appropriate for fruit trees, or a top-dressing of compost around the drip line (but not touching the trunk). February or March, before growth starts, is an appropriate time to fertilize.
Pruning fruit trees is a skill that improves with practice and observation. Your first pruning may not be perfect—but it will almost certainly be better than not pruning at all.
Sources & Further Reading
- Pruning Apples and Pears in Home Fruit Plantings — Penn State Extension
- Training and Pruning Your Home Orchard — Oregon State University Extension
- Prune Apple Trees in Late Winter for Stronger Growth and Better Fruit — Oregon State University Extension
- Pruning Fruit Trees — UC Marin Master Gardeners