Winter Compost: Keeping Your Pile Working Through the Cold
Composting in winter is a different proposition than summer composting. The bacteria that break down organic matter are temperature-sensitive—below about 50°F, activity slows noticeably; below freezing, active decomposition essentially stops. Most winter compost piles are less a hot, working pile and more a cold storage bank for materials that will decompose in spring.
That’s fine. It’s still worth maintaining.
What Actually Happens in a Cold Pile
A well-made compost pile generates its own heat through microbial activity. An active, hot pile can reach 140-160°F in its core—warm enough to decompose material quickly and kill weed seeds and pathogens. This is what you’re aiming for in summer.
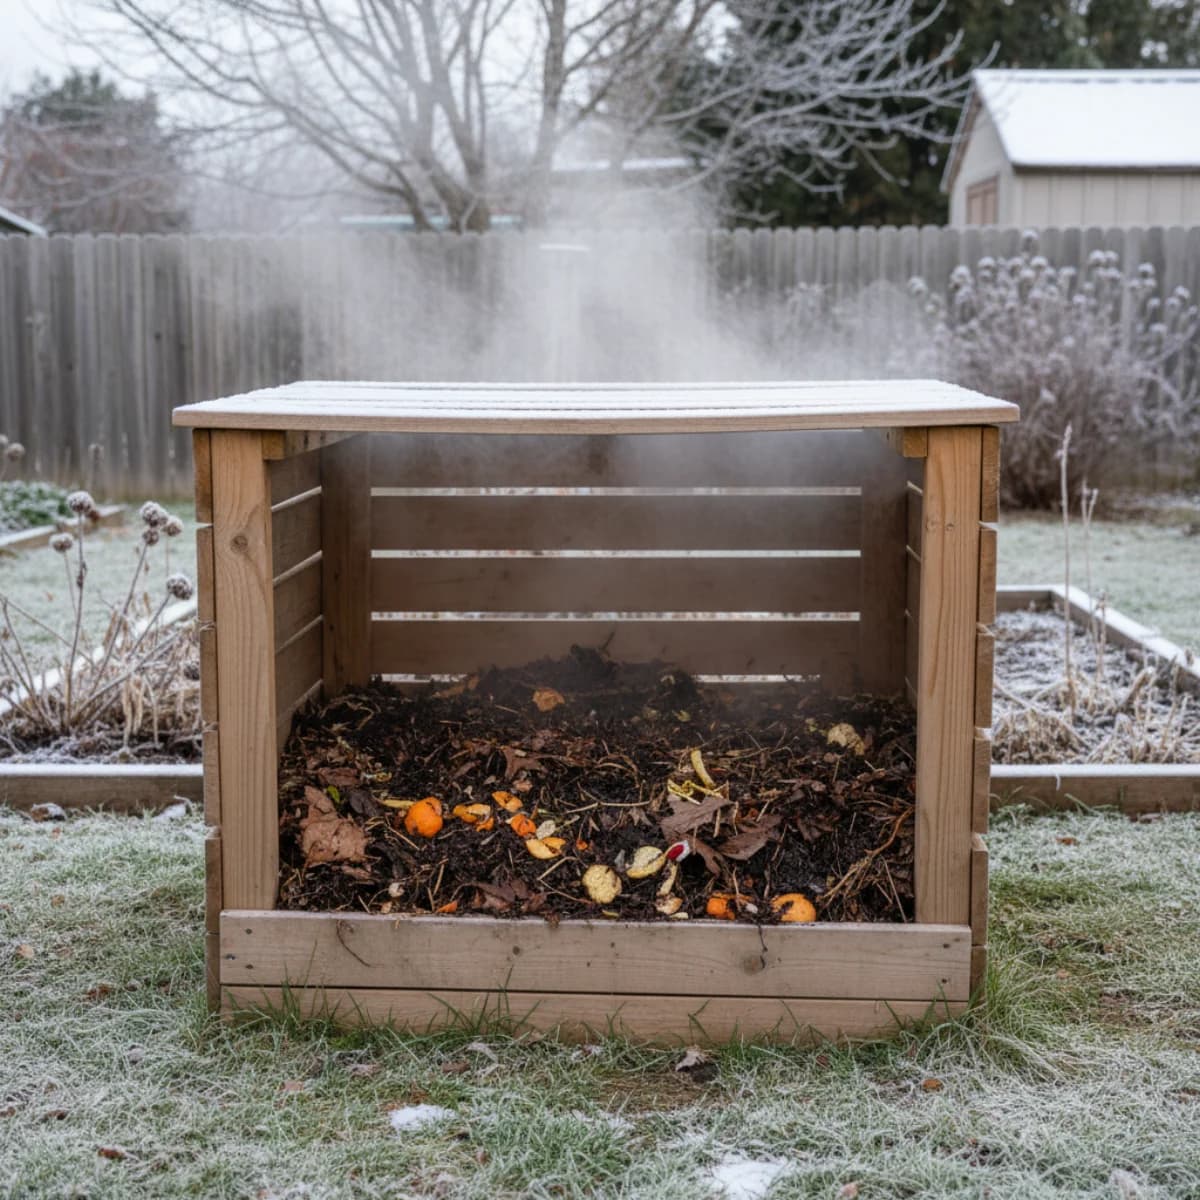
In winter, the pile loses heat to the environment faster than the microbes can generate it. The core may still be somewhat warm, but the outer layers will freeze in hard winters. Decomposition continues slowly in the warmer center; the frozen outer layers are in suspension.
In spring, as temperatures rise, the frozen material thaws and decomposition resumes—often with remarkable speed, as though making up for lost time.
Should You Keep Adding Material in Winter?
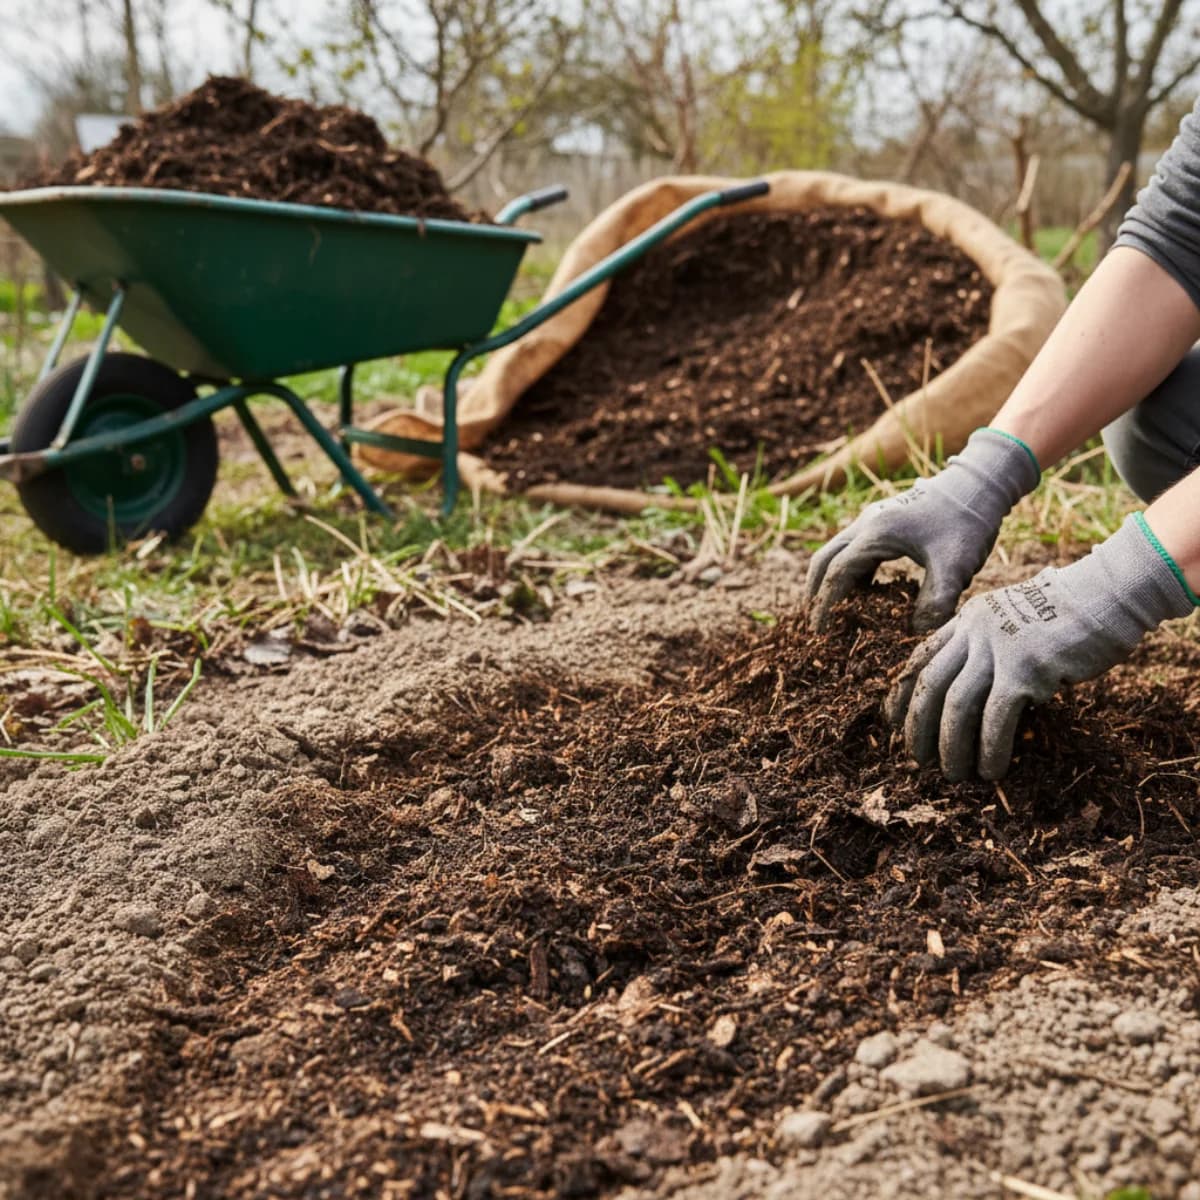
Yes. Even if active decomposition is minimal, your pile is storing organic material that will eventually become compost. Continuing to add material through winter means a larger pile by spring and more finished compost by early summer.
The key is maintaining the carbon-to-nitrogen ratio:
Nitrogen-rich “green” inputs (even in winter):
- Kitchen scraps (vegetable peels, fruit, coffee grounds, eggshells)
- Fresh kitchen waste
- Any fresh plant material
Carbon-rich “brown” inputs (important in winter):
- Fallen leaves (save bags of these from fall specifically for winter use)
- Cardboard torn into pieces
- Paper bags, newspaper
- Straw
- Dried stems from the garden
In winter, you’re likely generating more kitchen scraps than brown garden material. Balance each addition of kitchen scraps with roughly equal volume of carbon material. This prevents the pile from becoming a wet, anaerobic mess.
Practical Winter Composting
The Simplest Approach: Let It Rest
If you don’t want to manage a winter pile actively, the simplest approach is:
- Continue adding kitchen scraps and brown material
- Don’t turn it (turning loses heat and in frozen conditions does little good anyway)
- In spring, turn aggressively when temperatures rise above 50°F
This produces good compost, just more slowly.
Active Winter Composting
If you want to maintain some heat and active decomposition through winter:
Insulate the pile: Surround the pile with bales of straw, wrap a compost bin in cardboard, or cover with a tarp that traps heat. This helps the core maintain temperature even when air temperatures are well below freezing.
Chop inputs finely: Smaller pieces decompose faster and maintain heat better. Use a knife or food processor for kitchen scraps; shred paper and cardboard.
Maintain the right moisture: The pile should be as moist as a wrung-out sponge. Too dry, and decomposition stops. Too wet, and it freezes solid and becomes anaerobic. Check occasionally—if the pile is dry, add water or cover during rain events.
Consider a compost thermometer: If you’re actively managing, a long-stem compost thermometer lets you know whether the pile is working (above 100°F is good; above 130°F is hot composting) or stalled.
Indoor Worm Bin (Vermicomposting)
For apartment dwellers or gardeners without outdoor space, worm bins work year-round at indoor temperatures. Red wigglers (Eisenia fetida) thrive at 55-77°F and process kitchen scraps efficiently into worm castings—arguably the richest soil amendment available.
A well-maintained worm bin is odorless and can live in a basement, garage, or even under a kitchen sink. It processes fruit and vegetable scraps, coffee grounds, tea bags, and paper materials.
Setup requires a bin with drainage and air holes, bedding material (shredded cardboard and paper), and a starter batch of red wigglers (available online or from worm composters in your area). After that, it’s self-sustaining with regular feeding.
What Not to Add in Winter
The same rules apply year-round, but some additions cause more problems in winter:
Cooked food, meat, fish, dairy: These attract rodents (which are more desperate for food in winter) and decompose anaerobically, creating foul odors. Avoid entirely.
Diseased plant material: If you add diseased plants to a cold, inactive pile, pathogens survive. Either dispose of diseased material separately or wait until the pile is hot-composting again.
Large chunks of woody material: These take too long to break down even in a hot pile. Chip or shred woody material before adding, or keep a separate woody pile for slower decomposition.
Using Last Year’s Compost This Spring
If you have well-decomposed compost from last season, January is a good time to prepare it for spring use:
Screen it: Pass finished compost through a 1/2-inch hardware cloth screen to remove large undecomposed pieces. Those pieces go back into the active pile. The finished, fine compost goes into bags or containers for spring application.
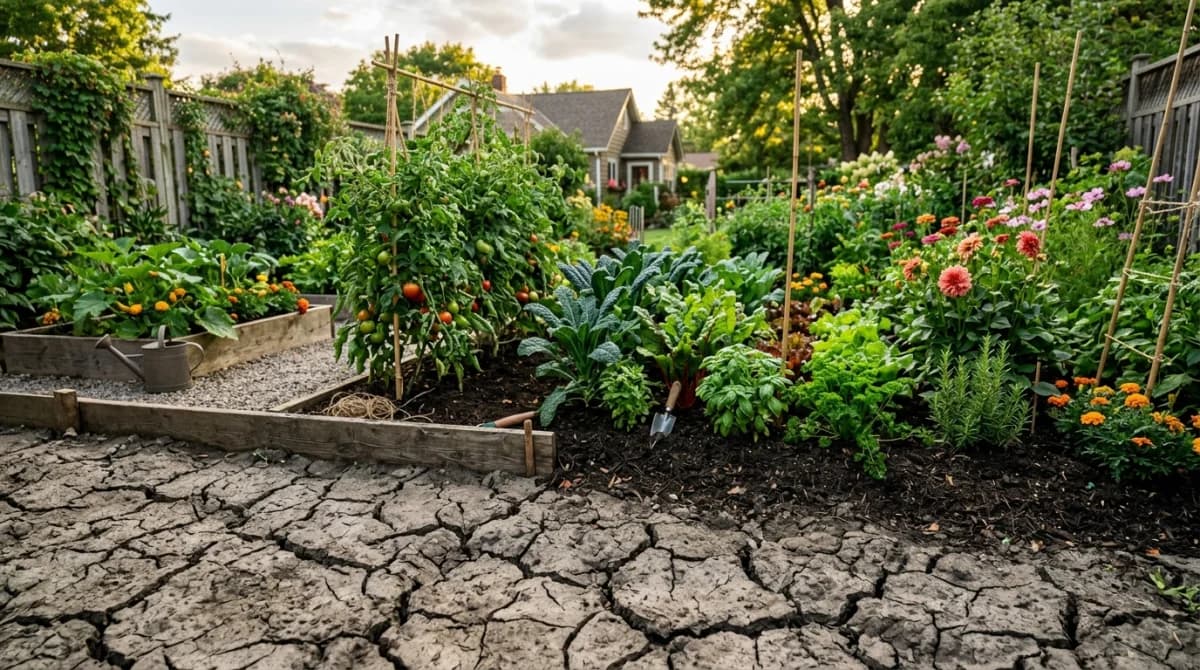
Prepare for application: Work out how much you have and where it’s going. A top-dressing of 1-2 inches across garden beds is the standard spring application. Vegetable gardens benefit from slightly heavier applications (2-3 inches worked into the top 6 inches).
Don’t apply frozen: Wait until the ground has thawed and dried out slightly before spreading compost. Spreading onto frozen or waterlogged soil leads to runoff rather than incorporation.
The Long View
Composting is one of those garden practices where the investment is small and the return is compounding. Every year you compost is a year of soil building—improving structure, feeding soil life, increasing water-holding capacity, and reducing fertilizer needs.
Winter composting keeps that process going at whatever pace the cold allows. By spring, you’ll have more material to work with, and the garden will be richer for it.
Sources & Further Reading
- Winter Composting: Keeping Your Pile Active Through the Cold Months — University of Minnesota Extension
- Composting At Home — US EPA
- Composting with Worms — OSU Extension Service