Winter Mulching: How to Protect Your Plants Through the Cold

Mulch is one of those garden elements that does several jobs simultaneously, all of them valuable. In summer, it suppresses weeds and retains moisture. In winter, its primary function shifts: insulating the soil against freeze-thaw cycles, protecting root systems that would otherwise be exposed to damaging extremes.
January inspection of your beds often reveals where mulch has washed, blown, or decomposed away. This is the time to assess and add—before a hard freeze exposes vulnerable plants, and before spring growth starts under inadequate protection.
Why Winter Mulch Matters
The temperature that damages most garden plants isn’t cold per se—it’s freezing. More specifically, it’s repeated freeze-thaw cycles. When soil freezes and thaws repeatedly—which happens most often in shoulder seasons (late fall and early spring) rather than during the stable cold of January—plant roots can be pushed out of the ground by the expanding and contracting soil. This is called frost heaving.
Shallow-rooted perennials are particularly vulnerable. A plant heaved partially out of the soil in January, with roots exposed to cold and air, is often a dead plant by spring.
Mulch prevents frost heaving by insulating the soil and slowing the freeze-thaw cycle. The soil under a thick mulch layer still freezes in sustained cold, but it freezes more slowly and thaws more slowly—the rapid cycling that causes heaving is moderated.
Additionally, mulch protects:
- Marginally hardy plants (plants at the edge of their hardiness zone)
- Newly planted perennials and shrubs that haven’t fully established their root systems
- Bulb beds where frost depth is a concern
- Vegetable beds left for overwintering crops (kale, spinach, carrots)
Timing: When to Apply Winter Mulch
The timing of winter mulch application matters more than most gardeners realize.
Don’t mulch too early: If you apply winter mulch before the ground has frozen in late fall, you trap warmth in the soil—which delays dormancy, can invite mice and voles to nest (warm, cozy, full of food = perfect vole habitat), and may encourage late growth that’s then damaged by hard frost.
Ideal timing: Apply winter mulch after the ground has frozen but before extreme cold arrives. In most of the northern US and UK, this is typically November-December. If you’re reading this in January and haven’t mulched yet, check whether your plants need it now.
January mulching: Still worthwhile if beds are exposed. Inspect particularly: newly planted perennials and shrubs from last fall, plants at the edge of their hardiness zone, and any beds where you’ve seen frost heaving in previous years.
Which Plants Need Winter Mulch
Definitely Mulch
Tender perennials: Any perennial rated one zone warmer than your location needs protection. In Zone 6, plants rated to Zone 7 need mulching. Salvias, penstemons, some echinaceas, and many ornamental grasses fall in this category depending on region.
Newly planted perennials: Plants installed in fall of the same year don’t have fully established root systems. A 4-6 inch mulch layer gives them insurance.
Fall-planted bulbs: Tulips, daffodils, and other spring bulbs planted last fall benefit from mulch in climates where soil freezes deep (Zone 5 and colder). It doesn’t hurt them in milder climates.
Evergreen ground covers: Bergenia, hellebores, and some sedums can suffer winter burn (leaf scorching from cold, dry winds) that a light mulch layer around the crown helps prevent.
Consider Mulching
Established roses: Bush roses in Zone 6 and colder often benefit from a mound of loose soil or compost around the base, up to 12 inches high, to protect the graft union. Remove in spring once frost danger has passed.
Borderline shrubs: Any shrub in its first or second winter after planting.
Don’t Over-Mulch
Most established perennials in their appropriate hardiness zone don’t need heavy winter mulch. Excess mulch over the crown of a perennial can cause crown rot and vole damage. Don’t pile mulch directly on the crown—leave the crown itself slightly exposed or mulch lightly up to but not over it.
The Best Mulch Materials for Winter
Shredded bark and wood chips: The most widely available and practical. Apply 3-4 inches depth. Breaks down slowly; doesn’t mat or form a barrier that water can’t penetrate.
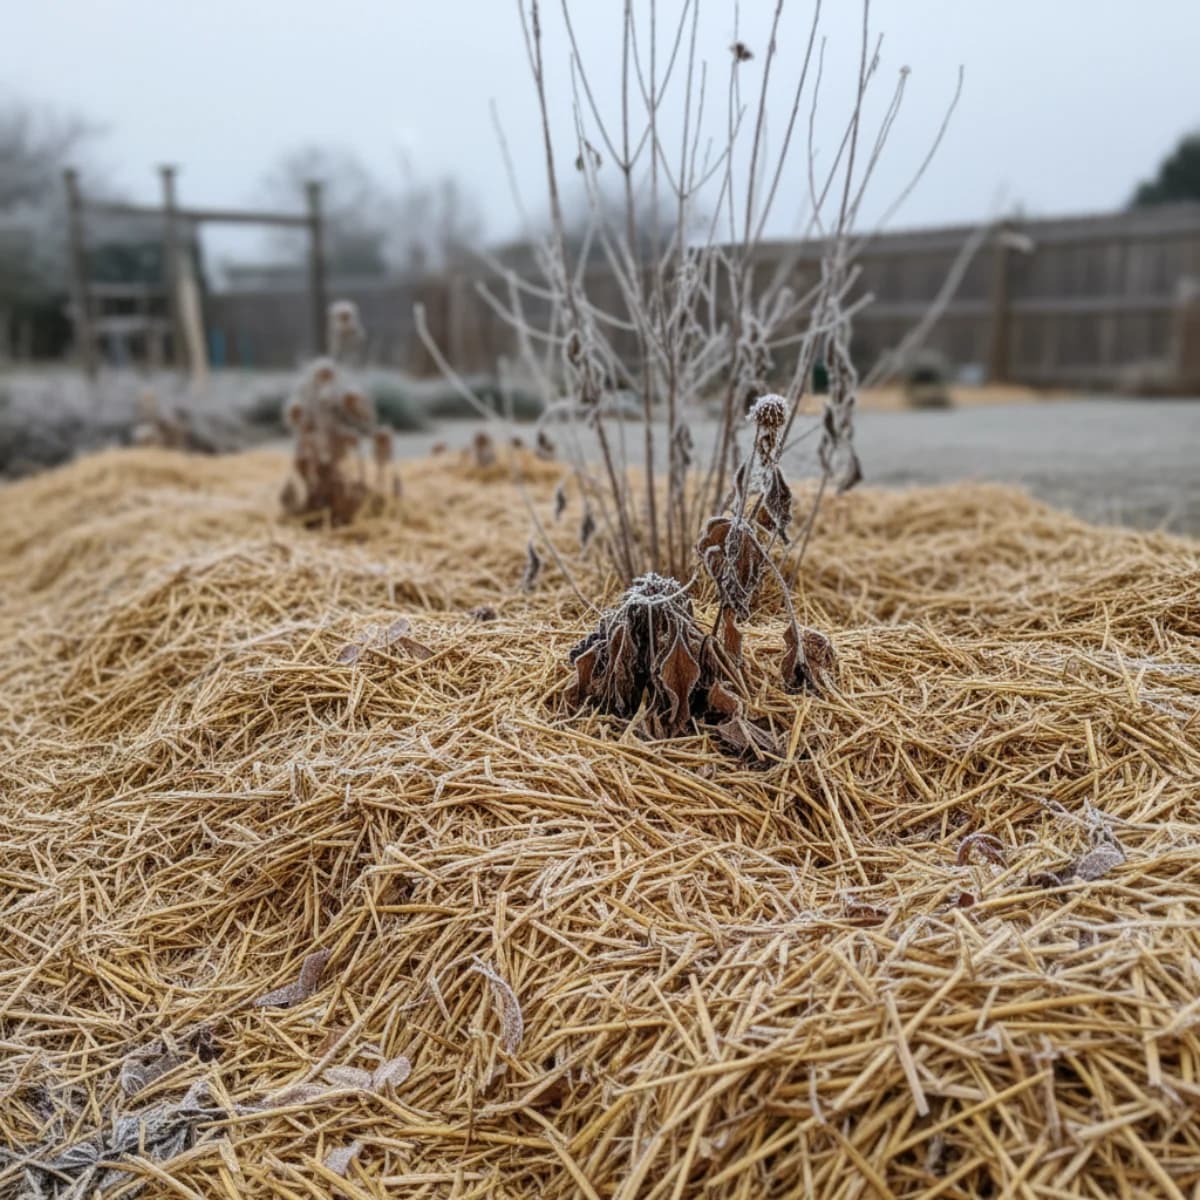
Straw: Excellent insulating properties because of its air pockets. Very light and can blow away in wind; use bales and break them loosely over beds, not as a tight mat. Excellent for vegetable beds with overwintering crops.
Pine needles: Light, porous, don’t mat, and acidify the soil slightly as they break down (good for acid-loving plants like blueberries, azaleas, and rhododendrons).
Shredded leaves: Perhaps the best mulch material from a soil-health perspective—they break down to excellent humus, feed soil life, and are free. The challenge is they can form a mat that sheds water; shred them first (a lawn mower works well) for better performance.
Compost: Not insulating enough on its own for winter protection, but excellent as a soil amendment. Can be used as a thin top-dressing in combination with coarser mulch above.
What to Avoid
Whole leaves in thick layers: Maple leaves especially form a wet, smothering mat. Shred them before using as mulch.
Bark dust or fine sawdust: Mats quickly and becomes waterproof; prevents water and air from reaching roots.
Dyed mulches: Various colored bark mulches use dyes that have no horticultural benefit and may introduce unwanted chemistry into the soil.
Fresh wood chips directly on plant roots: Very fresh chips can temporarily tie up nitrogen as they decompose. Fine as path material or as mulch around established trees and shrubs; keep away from vegetable beds and perennial crowns.
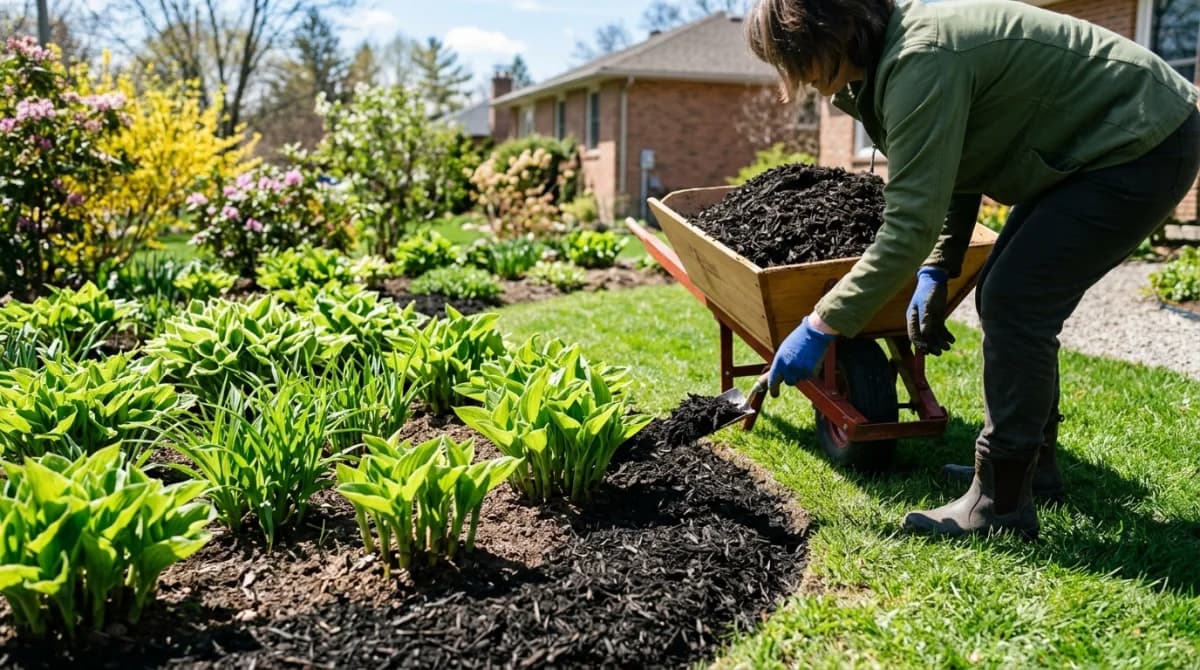
Application Technique
-
Clear surface debris from the bed first—remove old mulch that has decomposed, any weeds, and surface plant debris.
-
Don’t mound against stems and trunks: Leave a 2-4 inch gap around woody stems. Mulch piled against bark holds moisture and can cause rot and disease entry points.
-
Apply to the right depth: 3-4 inches for most situations; 4-6 inches for tender or newly planted plants; 6-8 inches around the base of marginally hardy shrubs (mound mulch up around the base, not over the crown).
-
Mark plants clearly: Before mulching newly planted perennial beds, mark each plant’s location with a labeled stake. In spring when you’re eager to remove mulch and start working, it’s easy to accidentally dig up plants you can’t see.
Spring Removal
Remove winter mulch gradually in spring—don’t pull it all off in one go. New shoots emerging from beneath mulch are etiolated (pale, soft) and need gradual exposure to increase light. Pull mulch back a few inches when you see the first signs of growth, then remove it progressively over a week or two as plants emerge.
Save good mulch material to use as summer mulch or compost the rest.
The beds you mulched well in winter will start spring with better plant survival, earlier growth, and less work to get ready for the season.
Sources & Further Reading
- Protecting Trees and Shrubs in Winter — University of Minnesota Extension
- Preparing Landscape Plants for Winter — University of Wisconsin Extension Horticulture
- Winter Care of Perennials in Central Oregon — OSU Extension Service