Winter Sowing: Start Seeds Outdoors in January Without Grow Lights
Most seed-starting advice assumes you have grow lights, heat mats, and a dedicated indoor space. Winter sowing flips this assumption entirely. Instead of trying to replicate spring conditions indoors in January, you embrace the cold and let nature do the work.
The method is simple: fill a recycled container with seed-starting mix, sow your seeds, tape it shut, set it outside, and wait. The container acts as a mini greenhouse. Seeds experience cold stratification naturally, germinate when conditions are right, and produce seedlings that are already acclimated to outdoor temperatures.
The results are often better than indoor-started plants: stockier, hardier, and requiring no hardening off because they’ve been outside the whole time.
Why It Works
Many plants—particularly hardy perennials, natives, and cool-season vegetables—actually need a period of cold before they’ll germinate. This process is called cold stratification. In nature, it prevents seeds from germinating during a fall warm spell only to be killed by winter. Indoors, gardeners try to simulate this by refrigerating seeds for weeks before planting.
Winter sowing provides natural stratification. The seed sits in cold, moist soil through January and February, then germinates when lengthening days and warming temperatures signal true spring. You can’t really make it happen too early—the seeds wait until conditions are right.
The transparent container creates a warmer, more humid microclimate than the open air, which is enough to push germination once temperatures start to rise. By the time seedlings are large enough to transplant, they’re already acclimated and ready to go.
What to Sow in Winter
Best Candidates
Hardy perennials and natives: This is where winter sowing really shines. Echinacea, rudbeckia, asters, milkweed, baptisia, and most prairie natives benefit strongly from cold stratification. Many are notoriously difficult to start indoors but germinate readily when winter sown. Even perennials that aren’t usually recommended from seed—columbine, phlox, veronicastrum—do well this way.
Cool-season vegetables: Kale, cabbage, broccoli, leeks, onions, spinach, and lettuce are all good winter sowing candidates. They can handle frost and will germinate early enough to give you a spring harvest.
Hardy annuals: Larkspur, bachelor’s buttons (cornflowers), nigella, and poppies all appreciate cold. They often self-sow in the garden, which means they’re already adapted to exactly this treatment.
Herbs: Parsley, cilantro, chives, and dill all do well. Basil is not a candidate—it wants warmth.
Poor Candidates
Tender tropicals: Tomatoes, peppers, eggplant, basil, and melons need warmth to germinate and will rot or fail in cold containers.
Finicky germinators: Plants that need very precise conditions—begonias, petunias, snapdragons—are better suited to controlled indoor conditions.
Large seeds: Squash, beans, and corn germinate so quickly that there’s no advantage to starting them in January—direct sow in the garden at the right time.
The Container Method
Choosing Containers
Almost any transparent or translucent container works. Popular choices:
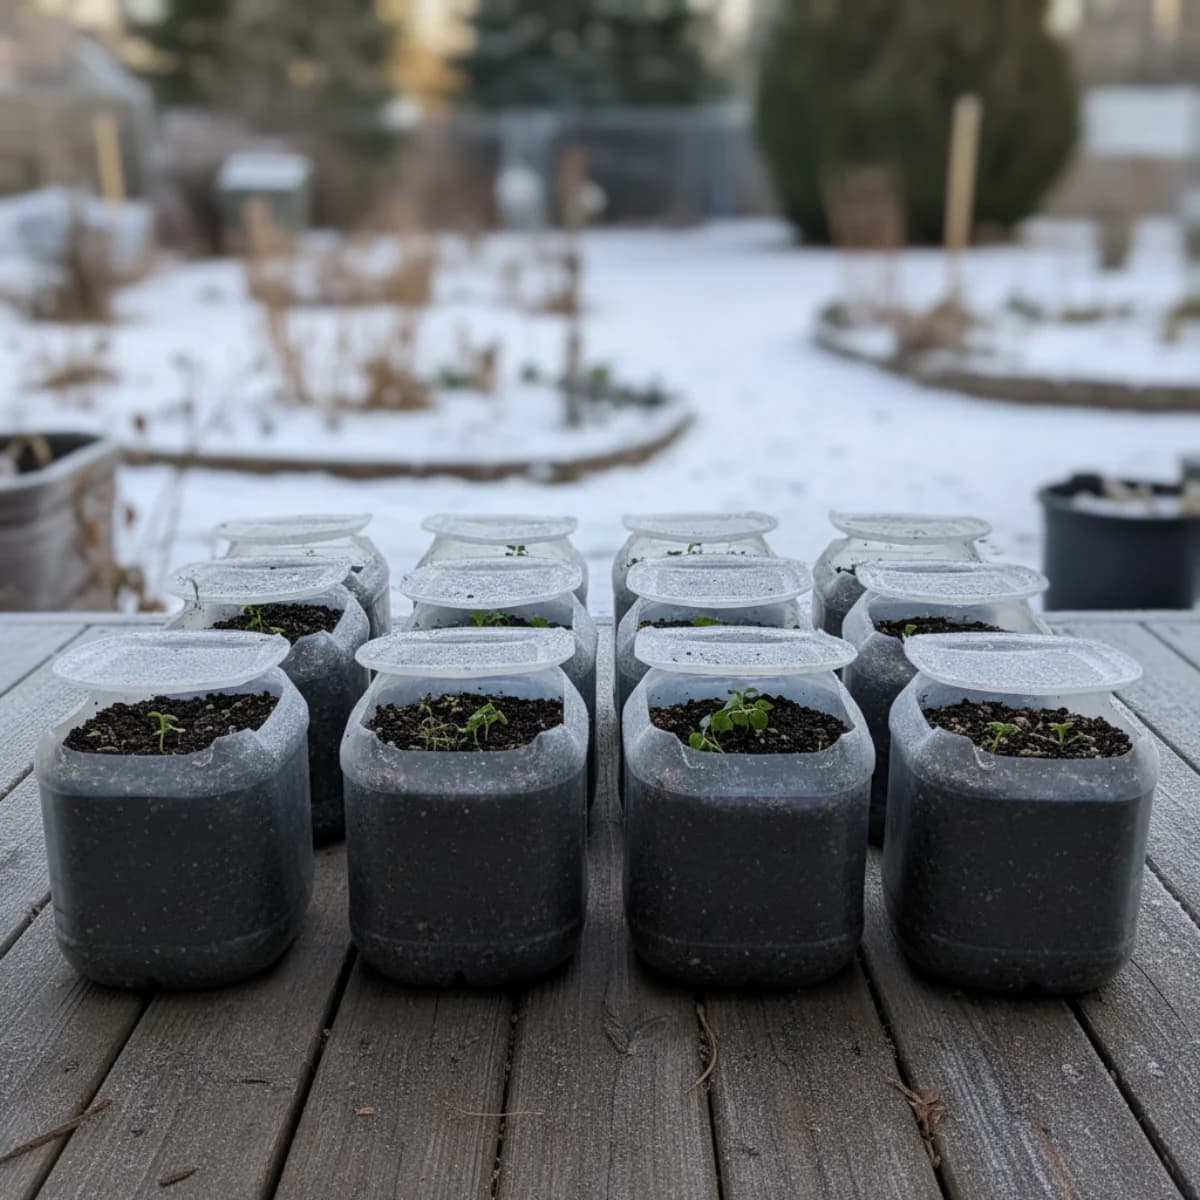
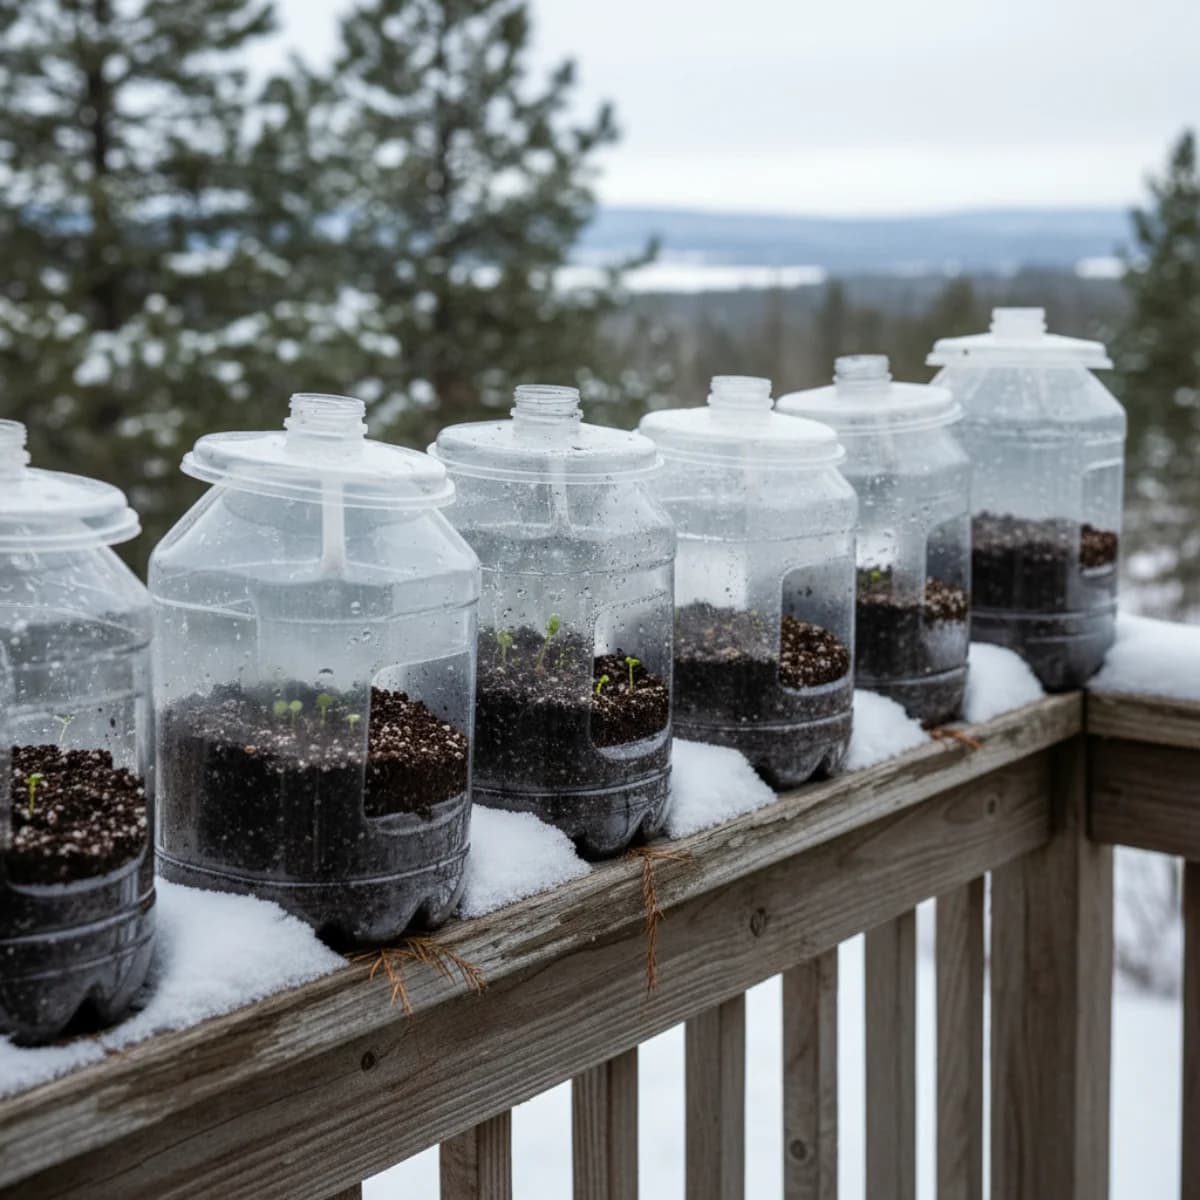
- Plastic milk jugs (gallon or half-gallon): The classic. Cut around the jug about 2/3 of the way up, leaving a hinge on one side. Fill the bottom, sow seeds, tape shut.
- Clear plastic takeout containers: The kind with a snap-on lid. These work especially well for small seeds—just flip the lid on, drill drainage holes in the bottom.
- 2-liter bottles: Cut in half, use the bottom as the container and the top (inverted) as a lid.
- Seedling trays with domes: Can work outdoors with dome on, but check that they’re secured against wind.
The key requirements: transparent or translucent lid for light, drainage holes in the bottom (essential), and enough depth for at least 3-4 inches of soil.
Setting Up Your Containers
- Poke or drill drainage holes in the bottom—4-6 holes for a milk jug, more for larger containers
- Fill with seed-starting mix to within 2 inches of the cut line. Don’t use garden soil (too heavy and compacted for containers)
- Sow seeds at the depth indicated on the packet. For tiny seeds, press them onto the surface without covering
- Water thoroughly so the mix is evenly moist but not soggy
- Label inside and outside the container—labels inside last longer when wet
- Seal the lid with heavy-duty tape (painter’s tape or duct tape). Leave the drainage holes open
- Do not water again until seedlings appear—the sealed container creates its own humidity cycle
Placement
Set containers outdoors in a spot that gets good light but isn’t exposed to harsh, desiccating winds. A north-facing or protected spot works well through January and February—you want cold, not warm. Move them to full sun exposure in early spring when you want germination to begin.
If you have a specific spot that gets good winter sun, use it—but note that south-facing spots may trigger premature germination during January warm spells, then get hit by late frost.
Timing
For most of the US north of Zone 7, January through mid-February is the ideal window for winter sowing. You want the seeds to experience at least 6-8 weeks of cold before spring arrives.
For cool-season vegetables, you can winter sow even in late February or early March—these don’t need as long a cold period.
Germination will begin when daytime temperatures consistently reach 40-50°F for perennials and natives, and around 50-60°F for vegetables. In most northern climates, this means late March through April.
Managing Your Containers
Once seeds germinate and you start seeing seedlings, begin venting the containers on mild days (above 40°F) by propping the lid open slightly. This gradually acclimates seedlings to outdoor air movement and humidity variations.
As temperatures rise and seedlings grow, increase venting time. By the time nights are consistently above 40°F, remove lids entirely.
Water when the soil surface feels dry—winter-sown seedlings need watering less often than indoor starts because they’re not under grow lights, but they do need consistent moisture once growing.
Transplanting
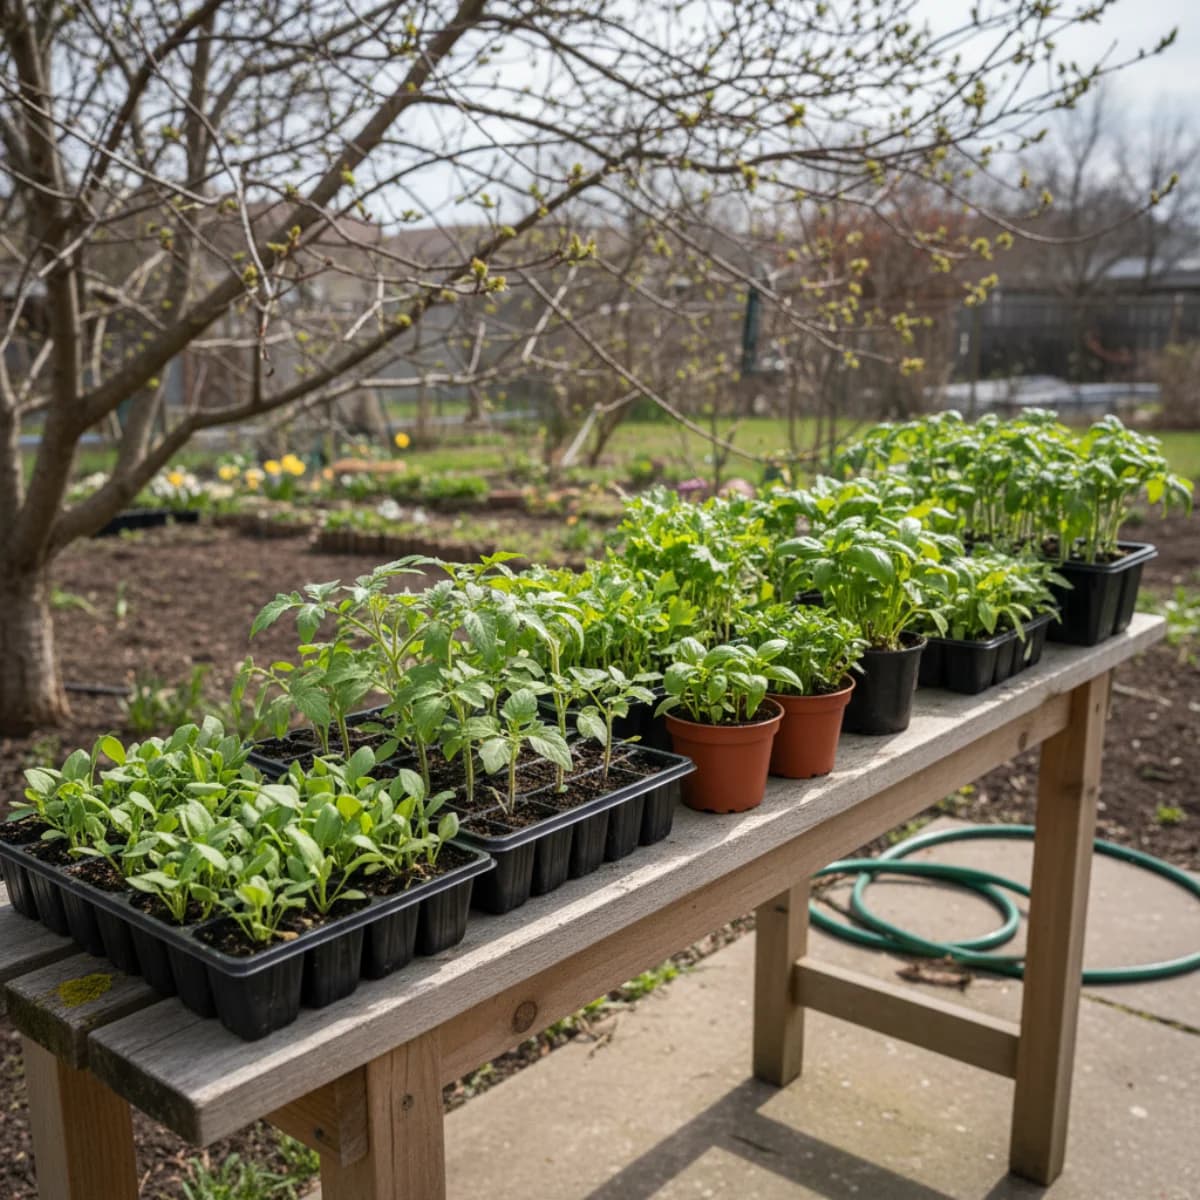
Winter-sown seedlings can be transplanted into the garden earlier than indoor-started plants because they don’t need hardening off. When they’re large enough to handle (typically with 2-4 true leaves for most plants), they can go directly into prepared beds.
For perennials and natives, expect smaller plants than you’d get from indoor-started ones—that’s fine. They’ll establish quickly and often catch up by midsummer.
The Payoff
The winter sowing method produces seedlings that are genuinely tough. They’ve experienced real winter conditions. They’re not shocked by cold nights, wind, or temperature swings because they’ve been outdoors from the start.
For perennials especially, this often translates into better root establishment and more vigorous growth in the first growing season—which is exactly what you want from a plant you’re asking to live in your garden for years.
Set up your containers this January, stack them in a protected corner, and let winter do the work for you.
Sources & Further Reading
- Planting in the Cold: The Magic of Winter Sowing — Penn State Extension
- Jug It and Grow: Winter Sowing for Pollinator Gardens — University of Minnesota Extension
- Seed Starting Using the Winter Sowing Method — UC Master Gardeners of El Dorado County, UC ANR