Winter Sowing: The No-Fuss Method for Starting Seeds Outdoors Right Now

Winter sowing is the lowest-tech, most forgiving seed-starting method most gardeners have never heard of. It requires no grow lights, no heat mats, no indoor space, and no carefully timed transplanting dates. You plant seeds in recycled containers in the middle of winter, set them outside, and let nature handle the rest.
The results? Hardy, stocky, naturally hardened transplants that outperform indoor-grown seedlings in toughness and disease resistance—and a dramatically simpler process.
The Concept
Many plants need cold stratification to germinate—a period of cold and moist conditions that breaks seed dormancy. This is especially true for native wildflowers, many perennials, and some cool-season vegetables. In nature, seeds fall in autumn, experience winter, and germinate in spring. Winter sowing replicates this process in a controlled, miniature form.
Even seeds that don’t require cold stratification often perform well with winter sowing because the mini-greenhouse effect of the container protects seeds while allowing natural freeze-thaw cycles to soften seed coats and encourage germination right when conditions are naturally right.
What to Sow in Winter
Works Exceptionally Well
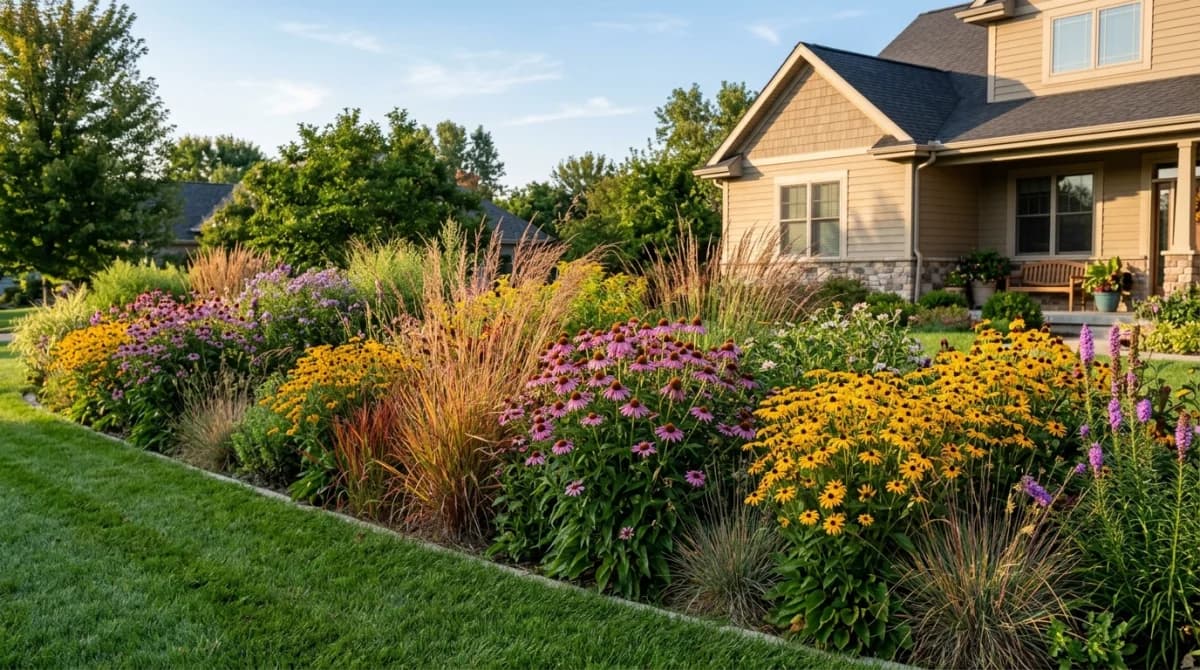
- Native wildflowers and perennials: Many require cold stratification—rudbeckia, echinacea, milkweed, black-eyed Susan, columbine, poppies, lobelia, baptisia
- Cool-season vegetables: Spinach, kale, broccoli, cabbage, lettuce, mache, claytonia, onions, leeks
- Annual flowers that prefer cool starts: Larkspur, bachelor’s button, calendula, snapdragon, sweet William, dianthus, viola
Borderline (Try It)
- Tomatoes and peppers: These can be winter sown but require more warmth to germinate and may need protection on extreme cold nights. Some gardeners have great success; others prefer indoor starting for these.
Not Recommended for Winter Sowing
- Frost-sensitive tropicals that need warm soil to germinate and grow (basil, melons, cucumbers)
What You Need
Containers
Gallon milk jugs are the classic winter sowing container—they’re clear or translucent (lets light in), have a handle (easy to move), and are widely available as recycled materials. Other containers that work:
- 2-liter soda bottles
- Plastic clamshell containers from salad greens or strawberries
- Rotisserie chicken containers
- Any clear or translucent plastic container with a lid
Opaque containers work too but allow less light for seedlings once they emerge—if you use opaque containers, cut large holes or remove tops once germination begins.
Other Supplies
- Potting mix or seed-starting mix (not garden soil—too heavy and often contains weed seeds)
- Seeds
- A knife or scissors for cutting containers
- Duct tape or clear tape
- A permanent marker for labeling
- Something to make drainage holes (a skewer, nail, drill)
The Method
Step 1: Prepare Your Containers
For a milk jug:
- Make drainage holes in the bottom (poke with a skewer or drill—5-10 small holes)
- Cut around the jug about halfway up, leaving a 1-2 inch “hinge” of plastic uncut on one side so the top flips back like a clamshell
- Fill the bottom half with 3-4 inches of moistened potting mix
- Do NOT cut the cap off yet—you’ll remove it once seedlings need ventilation
For clamshell containers: punch drainage holes in the bottom, add mix, sow seeds, close the lid.
Step 2: Sow Seeds
Plant seeds at the depth recommended on the packet—usually 2-3x the diameter of the seed. Moisten the surface lightly after sowing.
Sow somewhat densely (you’ll thin later) but not so densely that seedlings will immediately crowd each other.
Step 3: Close and Label
Tape the cut edges of the jug closed with duct tape. Label the outside clearly with the plant name, variety, and date—use a permanent marker. Labels fade outdoors; write legibly.
Remove the jug cap (for ventilation—you don’t want the inside getting too hot on sunny days, which could cook seeds). If temperatures will drop below -15°F, you might replace the cap during extreme cold snaps.
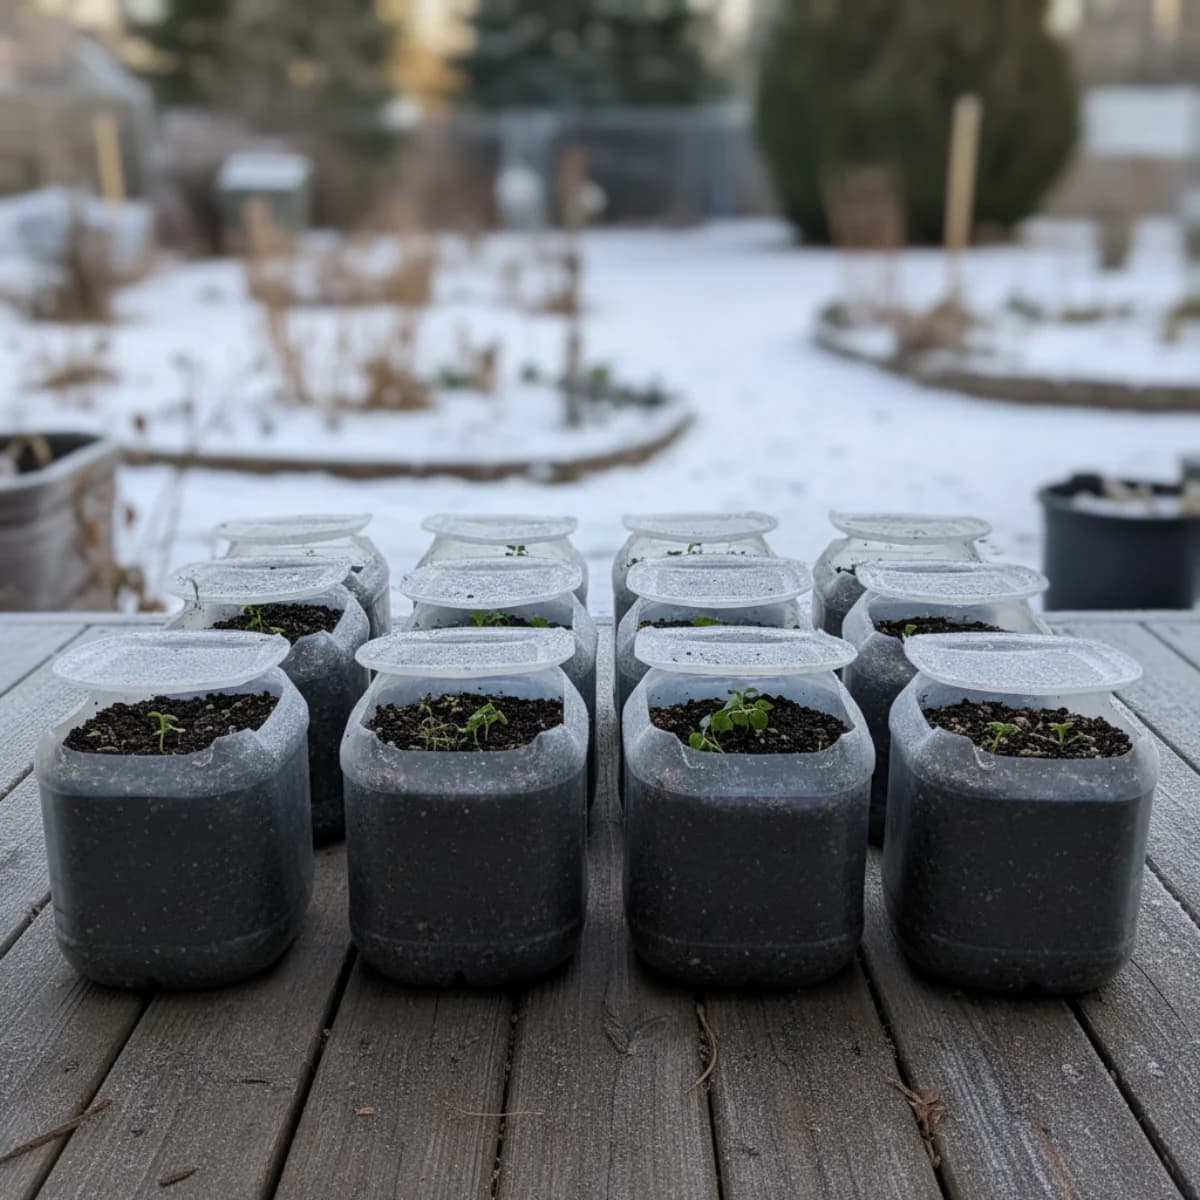
Step 4: Set Outside
Place jugs in an outdoor spot that gets natural precipitation and receives at least some light. South-facing locations in moderate climates, north or east-facing in zones with mild winters (you don’t want containers overheating in February sun when seeds aren’t ready to germinate).
No need to water—natural precipitation will handle it. If there’s a prolonged dry spell, you can open and mist occasionally, but most winters provide adequate moisture.
Then leave them alone.
Step 5: Watch and Wait
The containers will experience freezing and thawing many times throughout winter. This is exactly what seeds need. Don’t bring them inside when temperatures drop—that defeats the purpose.
Seeds germinate when conditions are right for them, not according to your schedule. Cool-season crops often begin germinating in March or April when soil temperature reaches 40-50°F. Native perennials may not show until April or May.
Step 6: Transition to Open Air
Once seedlings emerge, watch for signs that they need ventilation (wilting during warm days, excessive condensation). Open the tops on mild days to air them out; close at night if frost is expected.
As weather warms and seedlings grow, leave tops open more and eventually remove them entirely. By the time you’d normally harden off indoor-grown seedlings, your winter-sown seedlings are already hardened—they’ve lived outside all along.
Step 7: Transplant
When seedlings have 2-3 sets of true leaves and the weather permits, transplant to the garden. Handle roots gently, transplant into prepared beds, water in well.
Winter-sown transplants typically experience far less transplant shock than indoor-grown plants because they’re already acclimated to outdoor conditions.
Troubleshooting
Nothing germinating: Patience. Cool-season seeds may take 4-6 weeks after sowing; native perennials sometimes wait until April or May. Check for adequate moisture and make sure the container isn’t sitting in full shade.
Seeds germinated but seedlings look weak: Too dark inside the container. Increase light exposure or open the top on cloudy days.
Container overheating on sunny days: Move to a shadier spot or orient away from south-facing sun during warm spells. Seeds can cook if container interiors exceed 90°F on warm winter days.
Mold on soil surface: Reduce moisture and increase ventilation. A little surface mold is usually harmless; extensive mold may indicate too much moisture retention.
The Appeal of Winter Sowing
What makes winter sowing addictive is its simplicity. You’re not managing temperature, light cycles, or watering schedules. You’re not hardening off seedlings. You’re not fighting damping off caused by indoor humidity. You’re setting up containers once and letting the season do the work.
Many gardeners who start perennials and wildflowers this way report better germination rates and stronger plants than they ever achieved starting seeds indoors. The natural process is simply what these plants are designed for.
For anyone who’s wanted to try native wildflowers or unusual perennials but felt intimidated by starting perennials from seed, winter sowing is where to start.
Sources & Further Reading
- Winter Seed Sowing — Penn State Extension
- Jug It and Grow: Winter Sowing for Pollinator Gardens — University of Minnesota Extension
- Planting in the Cold: The Magic of Winter Sowing — Penn State Extension