AI Garden Design From a Photo: 30-Minute Tutorial
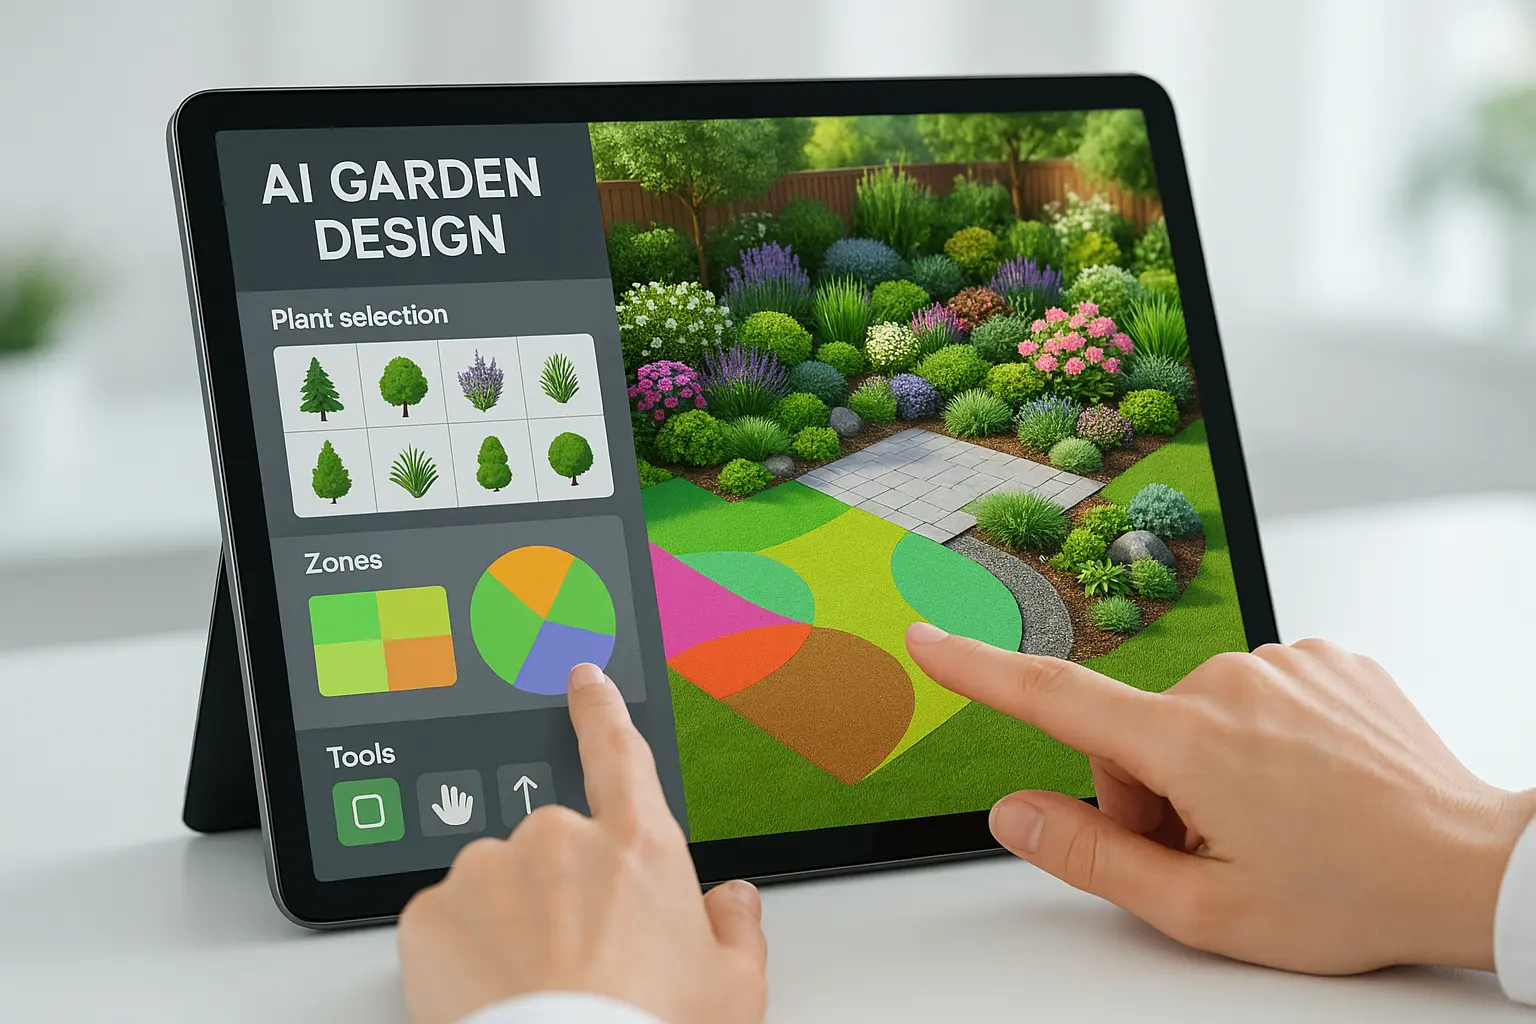
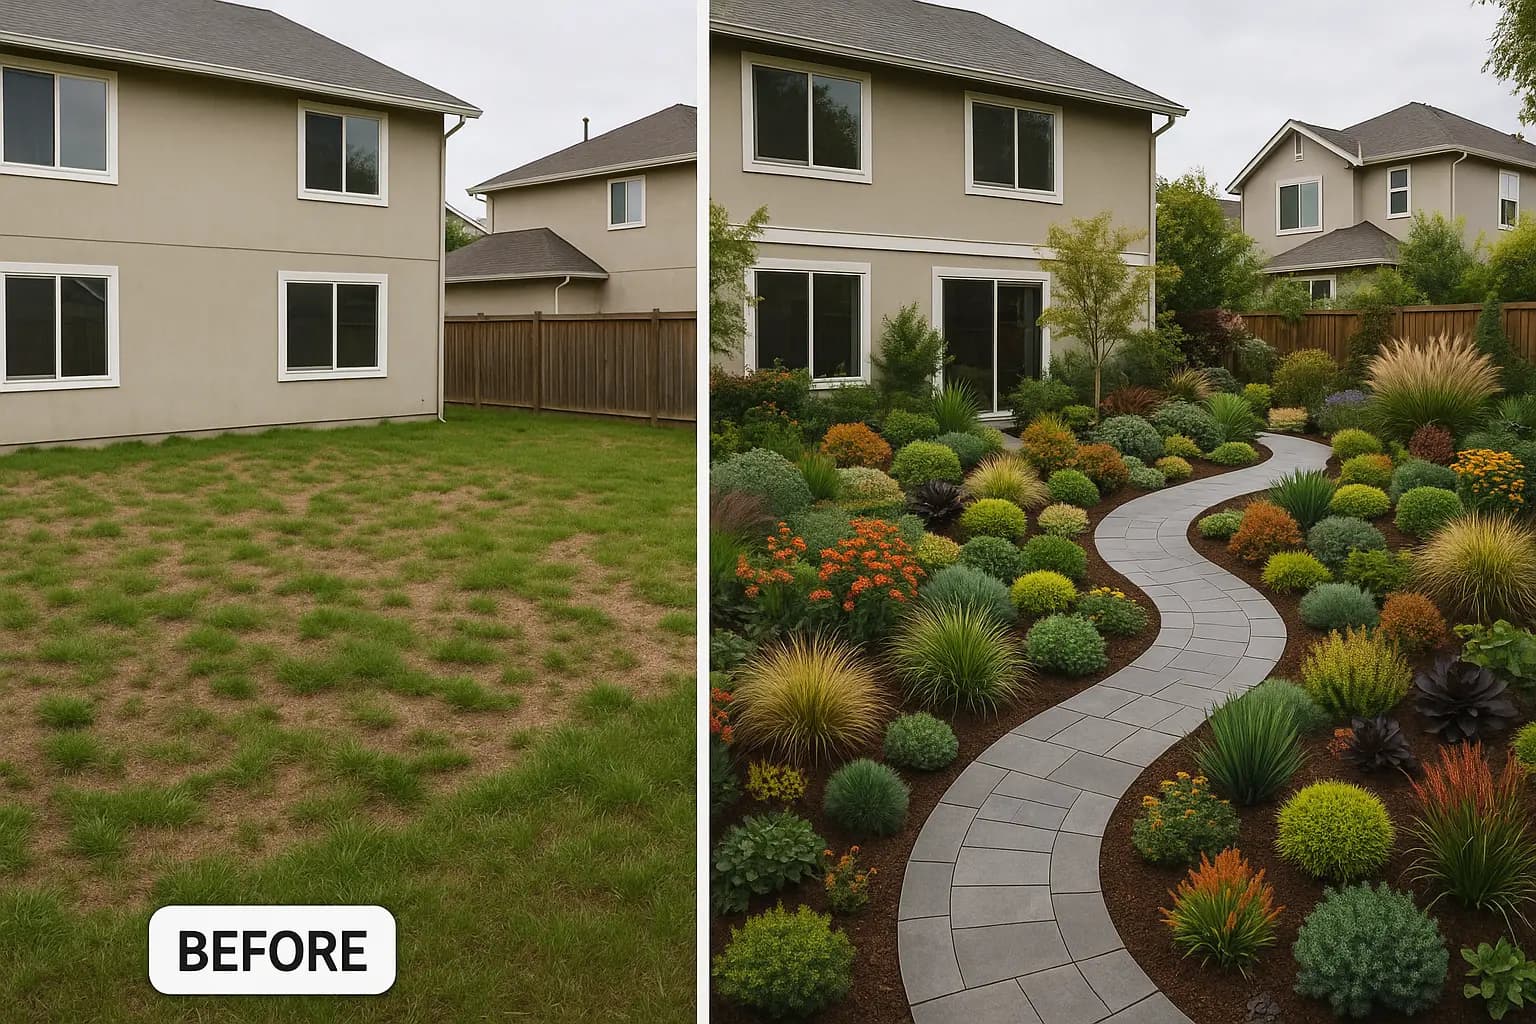
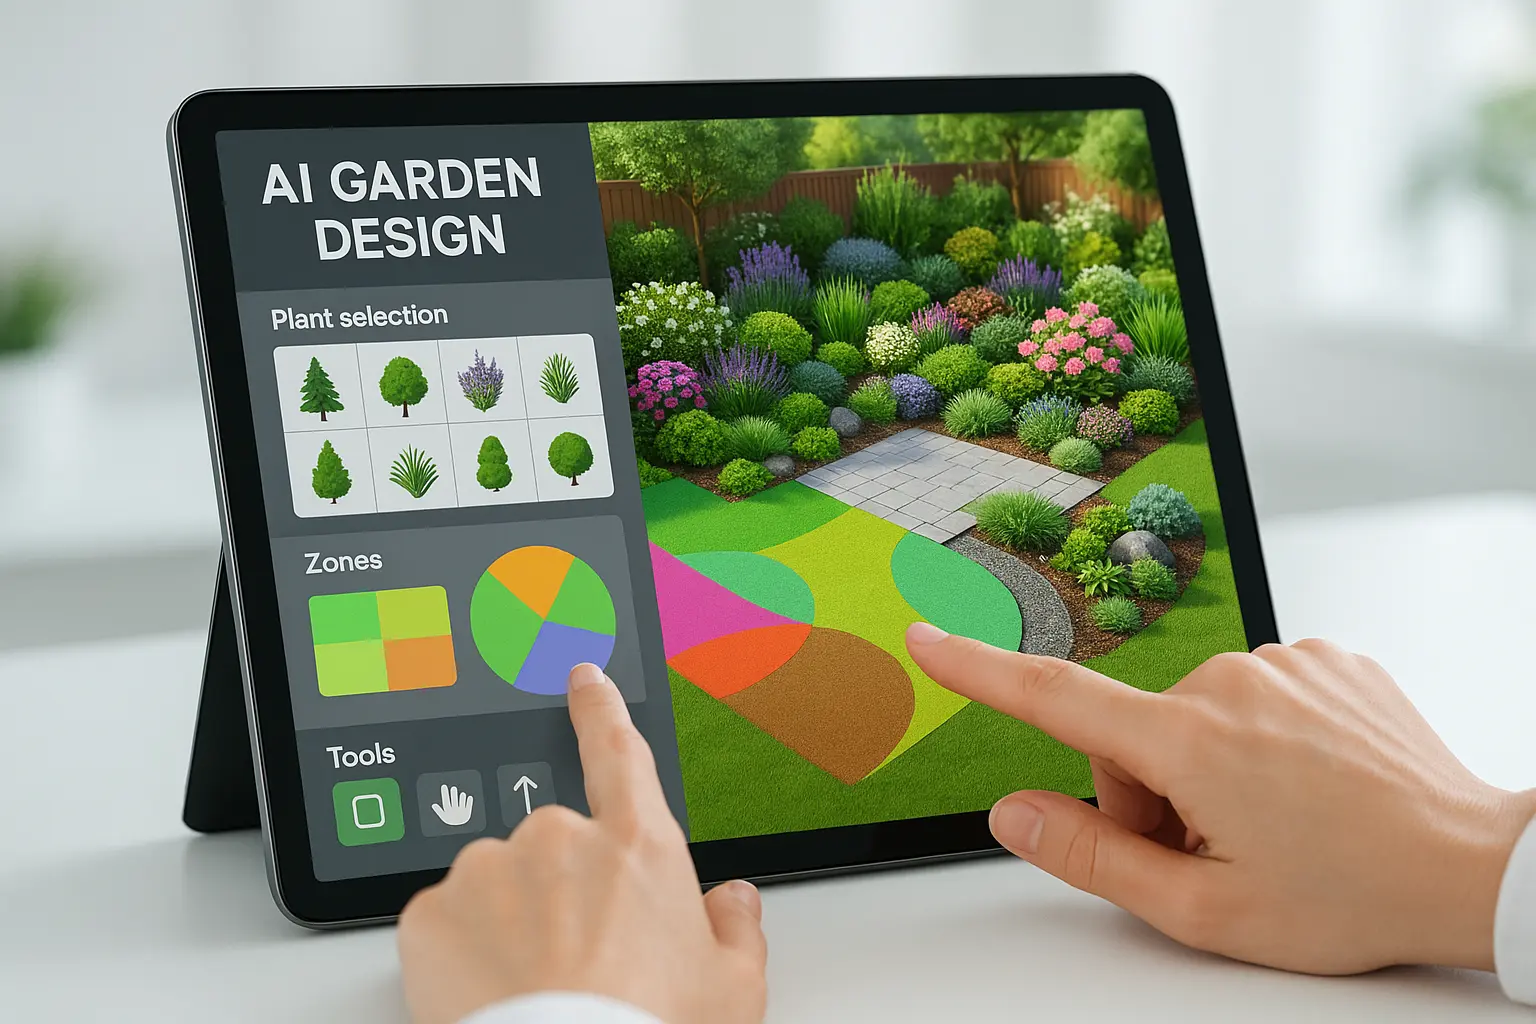
Upload one daylight photo of your yard, pick a style, and Gardenly returns a photorealistic redesign with a plant list filtered to your hardiness zone. The generation itself takes under a minute. The other 29 minutes go into the photo, the prompt and the edits, which is where a usable design separates from a pretty picture you can’t plant.
This walkthrough covers the whole loop: what to shoot, how to word the prompt, how to read the output critically, and what to do when the result looks wrong.
If you are still choosing a tool, read the ranking of the best AI garden design apps first. If you want the free options, see best free AI garden design apps.
Quick Answer
To design a garden from a photo with AI: shoot the space in flat daylight from standing height with both boundaries in frame, upload it to an AI garden design tool, set your country or hardiness zone so plant suggestions match your climate, describe the function you want rather than the mood, and generate. Expect a render back in under a minute. Budget most of your time for iteration, changing one variable per run.
What You Need
| Item | Requirement |
|---|---|
| Photo | One shot, 1024×1024 pixels or larger, JPG, PNG or WebP, up to 10MB |
| Light | Overcast daylight, or morning before the shadows harden |
| Location | Country, or a US address for automatic USDA zone detection |
| Time | About 30 minutes for the first design, five for each one after |
| Cost | Credits from $2.50 for 10, or 20 credits a month on Starter at $4.50/mo billed annually |
New accounts start with zero credits. You can create a space and upload photos before paying, but generating a design draws down credits. The smallest pack is 10 credits for $2.50, which covers a first project comfortably.
Step 1: Shoot the Photo (5 minutes)
The photo constrains everything downstream. A model cannot design around a fence it cannot see.
Stand with your back to the house and shoot outward. This is the view you actually live with, and it puts the boundary in frame, which the model needs to judge depth.
Shoot in flat light. Overcast is best. Hard midday sun throws shadows that the model reads as objects, so you get planting beds where a shadow fell. Early morning works if the sun is still low and diffuse.
Shoot from standing height, at eye level. Photos taken from an upstairs window flatten the space, and phone-at-knee-height shots exaggerate the foreground.
Clear the frame. Hoses, bins, garden tools, a trampoline. Anything temporary gets treated as permanent and designed around.
Keep both side boundaries in shot. If you can only fit one, step further back rather than reaching for the ultra-wide lens, which bends straight fences and confuses the perspective.
What to leave in: mature trees, the shed, the patio, the slope, the neighbour’s overhanging conifer. These are the constraints you want the design to respect.
Step 2: Set Up the Space (3 minutes)
A space is a project folder for one area. Front garden, back garden and patio each get their own, because they have different light, different function and different plant lists.
- Name it after the area, not the project. “Front garden” beats “Makeover 2026” when you have six of them.
- Set your country. Plant suggestions get filtered against it. US addresses resolve to a USDA hardiness zone without you looking it up.
- Upload the photo you shot in step 1.
Skipping the location step is the single most common way people end up with a plant list they cannot buy locally or overwinter.
Step 3: Choose the Flow (2 minutes)
Three flows, and picking the wrong one wastes credits.
Redesign replaces the space. Use it when you are starting over, or when you want to see something genuinely different from what is there. This is the one to reach for first.
Improve keeps the existing character and raises the quality of it. Fuller planting, cleaner bed edges, more privacy, better hardscaping. Use it when you like your garden and want it to look finished.
Fix an area targets one spot. A patchy corner, a boring strip along the fence, a wet dip that never drains. You name the problem and pick the replacement: flower bed, rock garden, ground cover, decking.
Step 4: Write a Prompt That Works (5 minutes)
Most disappointing results trace back to the prompt. Two rules cover most of it.
Name the function, not the mood. “Somewhere to eat dinner for six, screened from the neighbour on the left, low upkeep” gives the model something to place. “Beautiful relaxing garden” gives it nothing, so it returns a generic render.
Name the constraint you cannot change. Slope, shade from the conifer, the drain cover, the fact that the bins need wheeling past. A design that ignores your drain cover is a design you cannot build.
Compare these two:
| Weak prompt | Strong prompt |
|---|---|
| ”Modern backyard with nice plants" | "Modern back garden: dining terrace for six near the house, lawn kept for the kids, evergreen screening along the right fence, gravel path to the shed" |
| "Make my front yard prettier" | "Front garden, north facing and shaded until midday, replace lawn with low planting, keep the two-car parking, keep the path to the door clear” |
Then pick a style. There are 26 or more, grouped roughly as:
- Modern Minimalist, Contemporary Modern, Scandinavian
- Cottage, English Traditional, Victorian
- Japanese, Zen Minimalist
- Mediterranean, Spanish Courtyard, Tropical
- Native Pollinator, Prairie Meadow, Forest Woodland
- Edible Kitchen, Low Maintenance, Child-Friendly
Match the style to your house before you match it to your taste. A Japanese courtyard against a red-brick semi reads as a mismatch in a render and reads worse in real life. Mediterranean planting in a cold, wet climate looks great on screen and dies in February.
Enable zone-aware plant filtering if you set your location. It is the difference between a plant list and a shopping list.
Step 5: Read the Result Critically (5 minutes)
The render arrives in under a minute in the before/after viewer, with a slider you drag across the comparison. Resist the urge to judge it on whether it looks nice. Judge it on four things.
Scale. Find something in the render you know the size of, a door, a fence panel, a chair. Then check the trees and shrubs against it. Models routinely render a five-metre tree at two metres because it composes better.
Plant list against your zone. Cross-check anything unfamiliar. Zone filtering catches most of it, but confirm anything you are about to buy six of.
Circulation. Do the paths reach the doors, the shed, the bins? A path that stops halfway across the render is a path you will have to redesign on site.
Buildability. Retaining walls, level changes and large paving runs cost real money. If the render quietly regraded your garden, price that before you fall in love with it.
Season. Renders show a garden in peak summer. Ask what the same bed looks like in February, and add evergreen structure if the answer is “bare soil”.
Step 6: Iterate (7 minutes)
Change one variable per run. Same photo, same prompt, different style. Then same style, different prompt. Change two things and you learn nothing about which one moved the output.
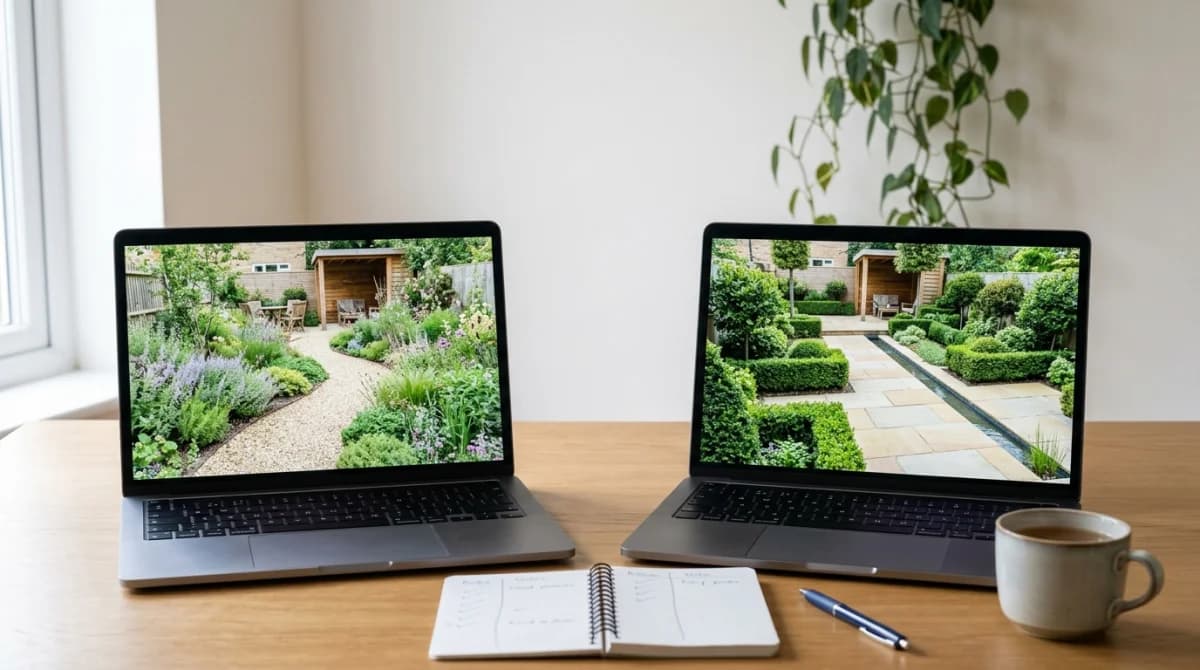
A sequence that works: generate the same space in two opposed styles first, because the contrast tells you what you actually want faster than deliberating does. Then run Improve on the one you prefer to tighten it. Then use Fix an area on whatever corner still looks wrong.
Every design stays in the space, so you can put four side by side and let the family argue over them.
From Render to Real Garden
Download the high-resolution render and the plant list. Both are useful to different people.
For a contractor, the render communicates intent faster than a paragraph of description ever will. Send it with the quote request and mark which elements are fixed and which are negotiable.
For yourself, phase it. Hardscape first if you are hiring it out, since machinery destroys new planting. Planting first if you are doing it yourself and the hardscape can wait a season. Structural plants and trees before the perennials, because everything else gets designed around them.
Verify before you buy. Take the plant list to a local nursery and check availability and mature size against your conditions. The render is a proposal, not a plan.
The Other Tools
Design is one part of it.
Plant identification runs through PlantNet integration. Photograph anything already growing in the space before you redesign around it, since knowing whether that shrub is worth keeping changes the design.
Care instructions come back climate-adapted for anything you save to your collection.
The water schedule generator is free and does not need an account. Useful once the planting is in.
Common Failure Modes
| What went wrong | Cause | Fix |
|---|---|---|
| Design ignores an existing tree | Tree out of frame or in deep shadow | Reshoot in flat light with the tree fully visible |
| Plants won’t survive your winter | Location not set | Set country or zone, regenerate |
| Everything looks generic | Prompt described mood, not function | Rewrite naming activities, users and constraints |
| Proportions look off | Ultra-wide lens or very low camera angle | Step back and shoot at eye level with the standard lens |
| Render looks nothing like your garden | Photo too tight or too cluttered | Wider shot, clear the frame, both boundaries in view |
Frequently Asked Questions
The Bottom Line
The generation is the easy part. What decides whether you get a buildable design is the photo you feed it and the specificity of what you ask for. Shoot in flat light with the boundaries in frame, set your location so the plant list is real, describe function rather than mood, and change one thing at a time.
Start with AI garden design, or compare the options first in our ranking of garden design apps.
Sources & Further Reading
- Landscape Design and Plant Selection — University of Minnesota Extension
- Beginning a Vegetable Garden — Penn State Extension